Phase 1 — Frame Prep & Bonding Surface
Phase 1: Frame Prep & Bonding Surface
1. Weld the Frame
Weld the steel frame to 55” × 13½” with ½” outer measurements and the 13” cross-beams. Weld the two 13” flat steel cross-beams to the inside bottom of the frame, exactly 7” from each short end. Weld a third cross-beam in the center at 27½”.
- Use clamps and a thin strip of hardboard at 13¼” as a jig to achieve a squared frame.
- Measure corner-to-corner to verify square (~56½”).
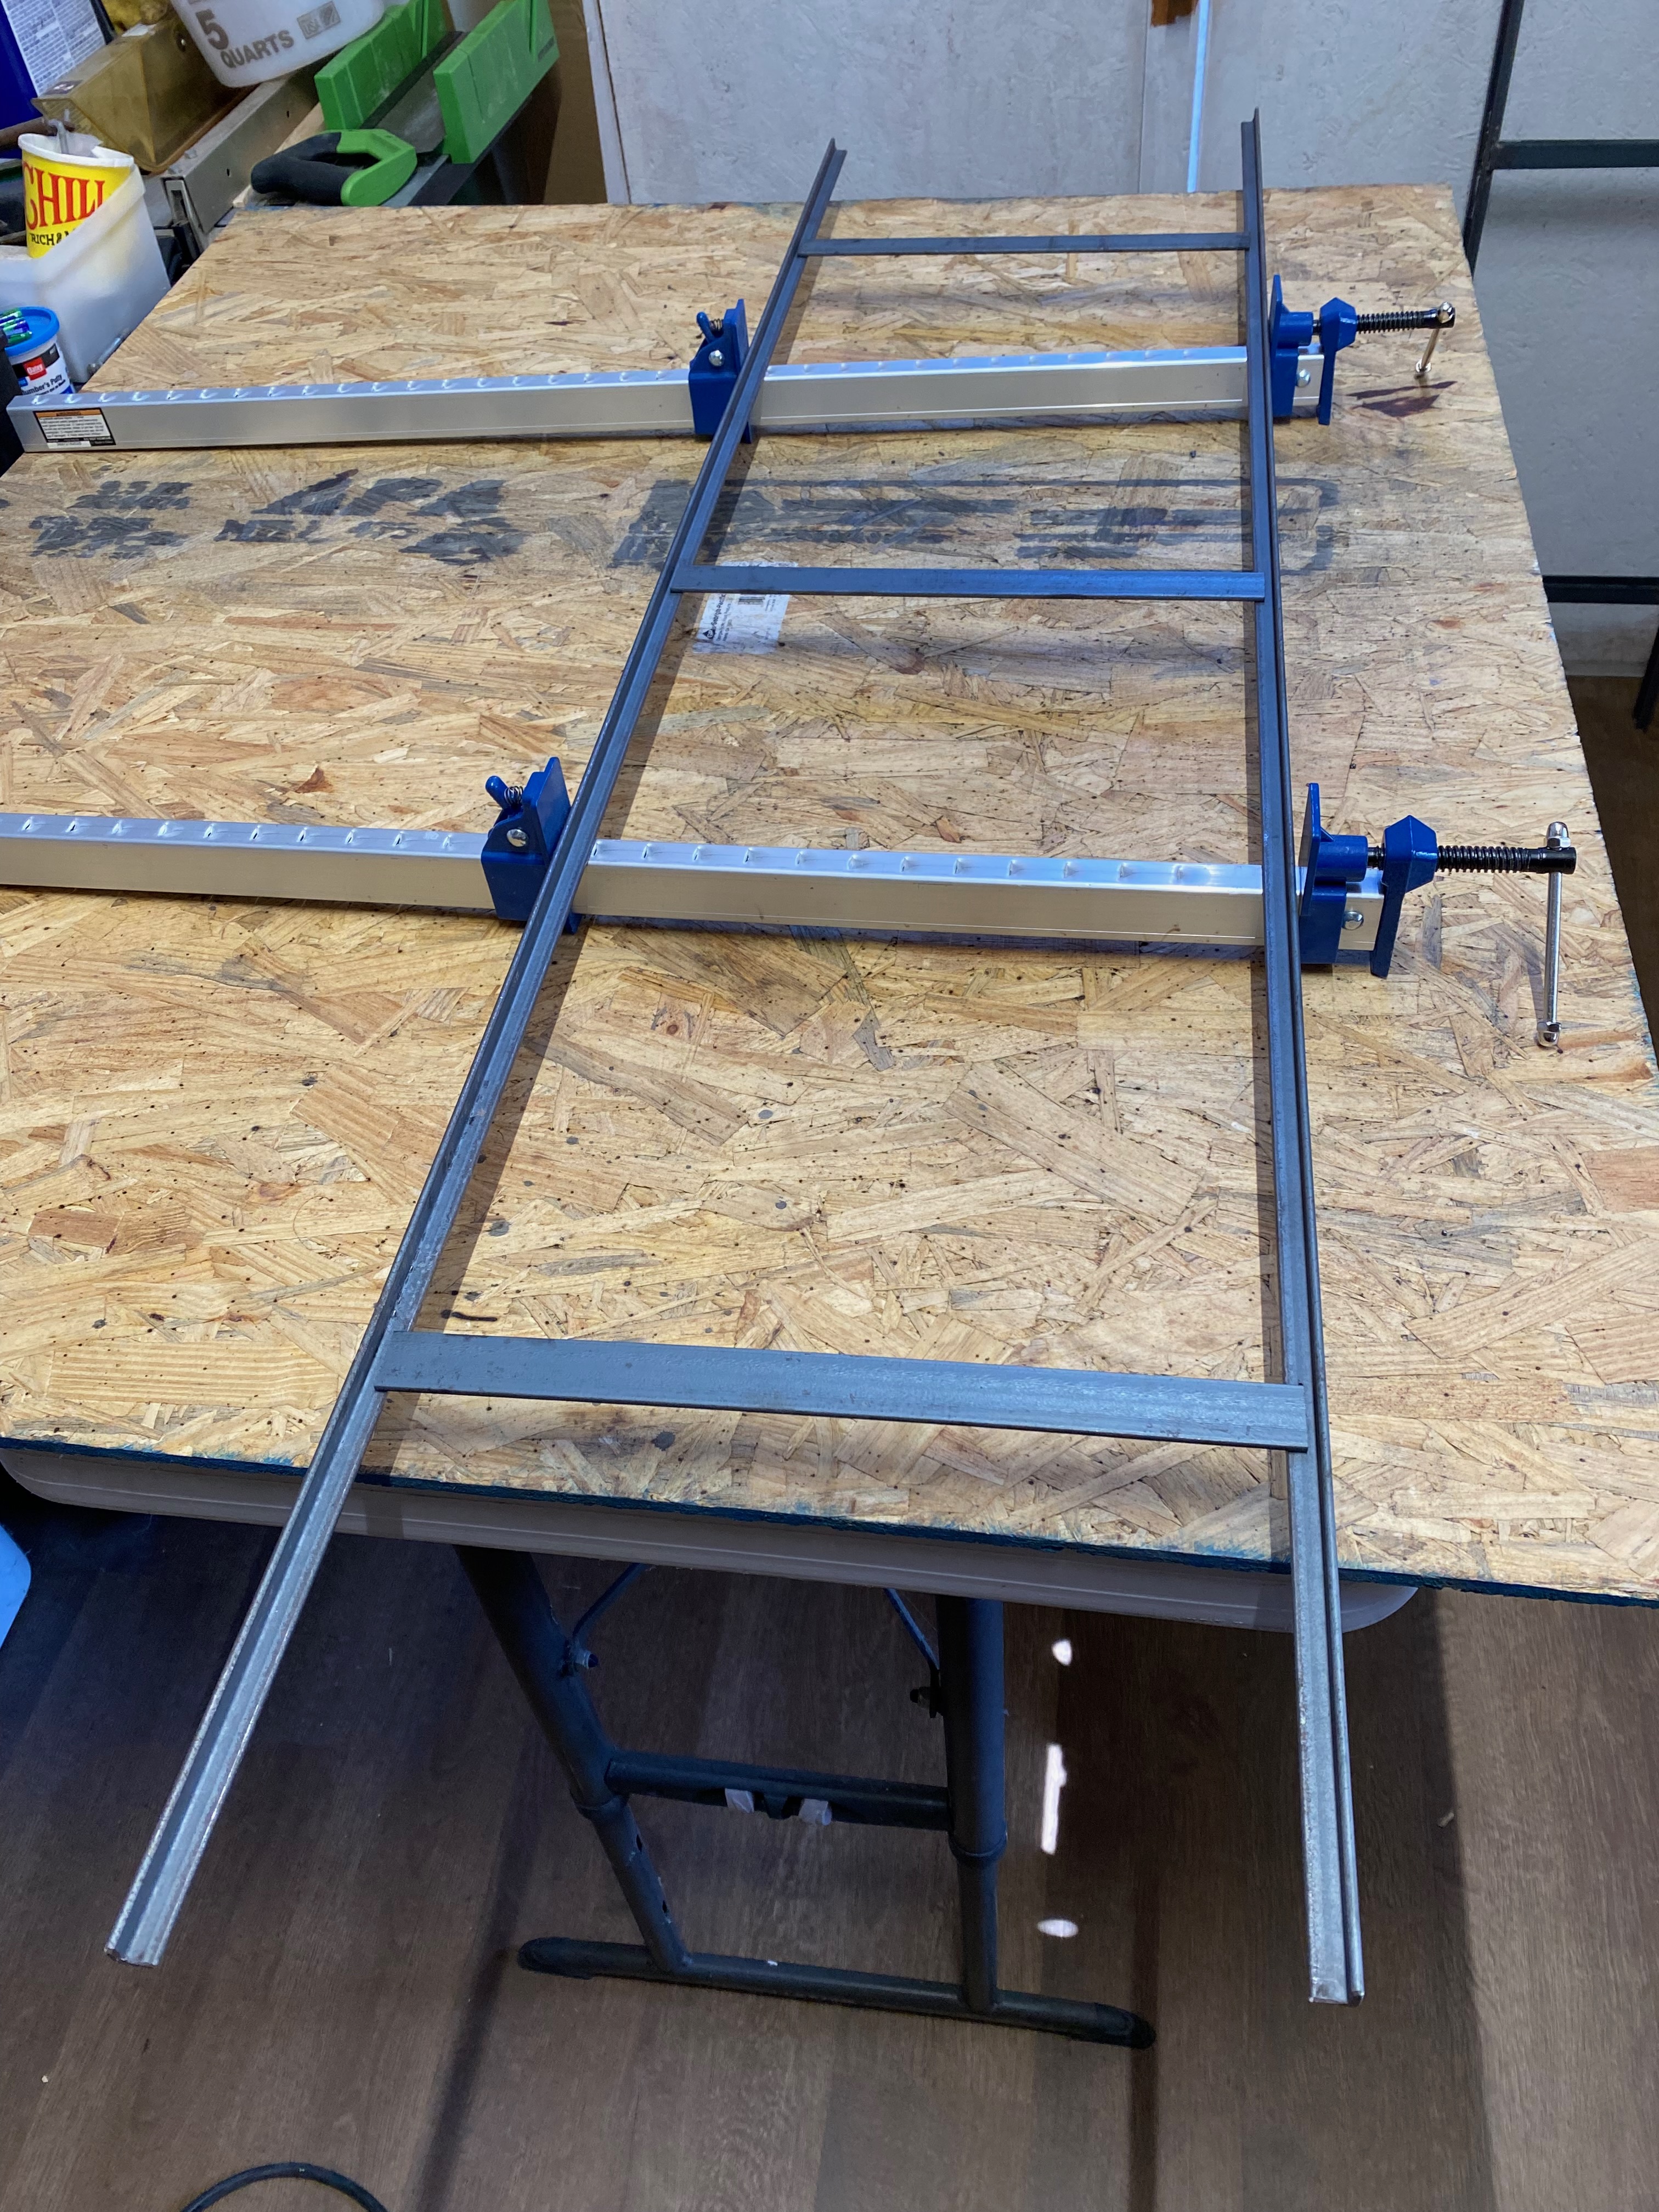
- Measure cross-bars and use welding magnets to hold them in place for welding.
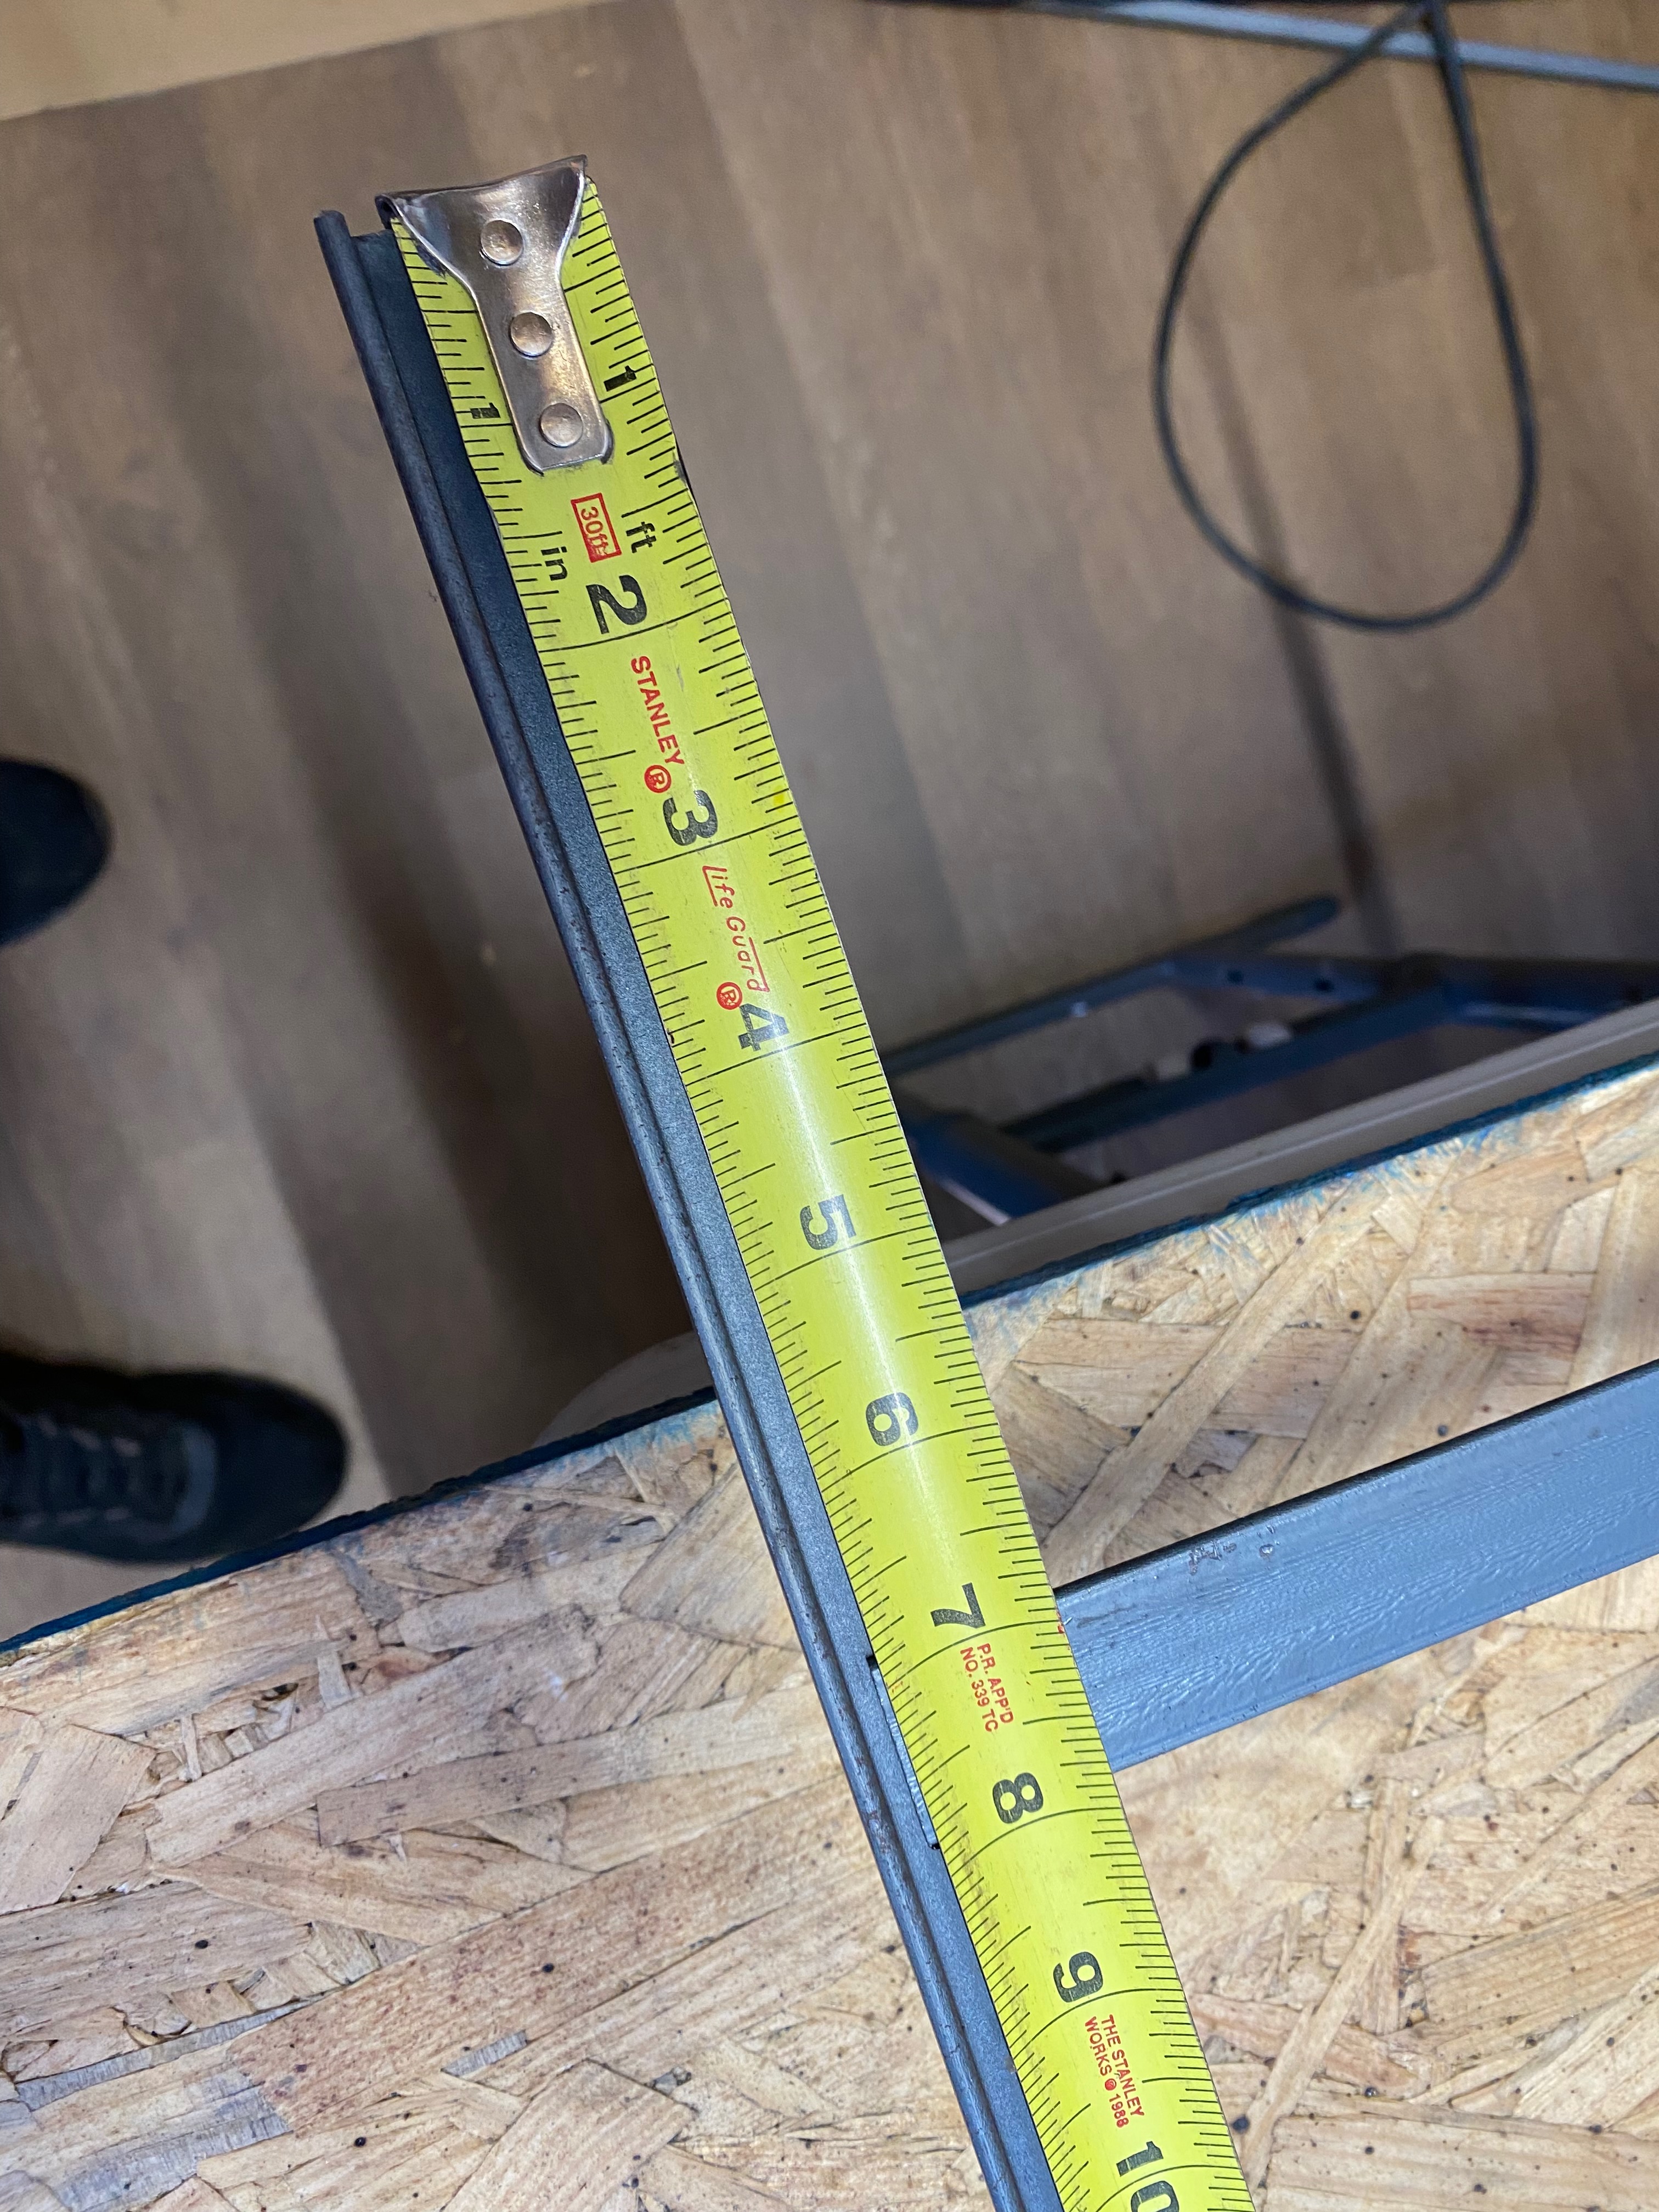
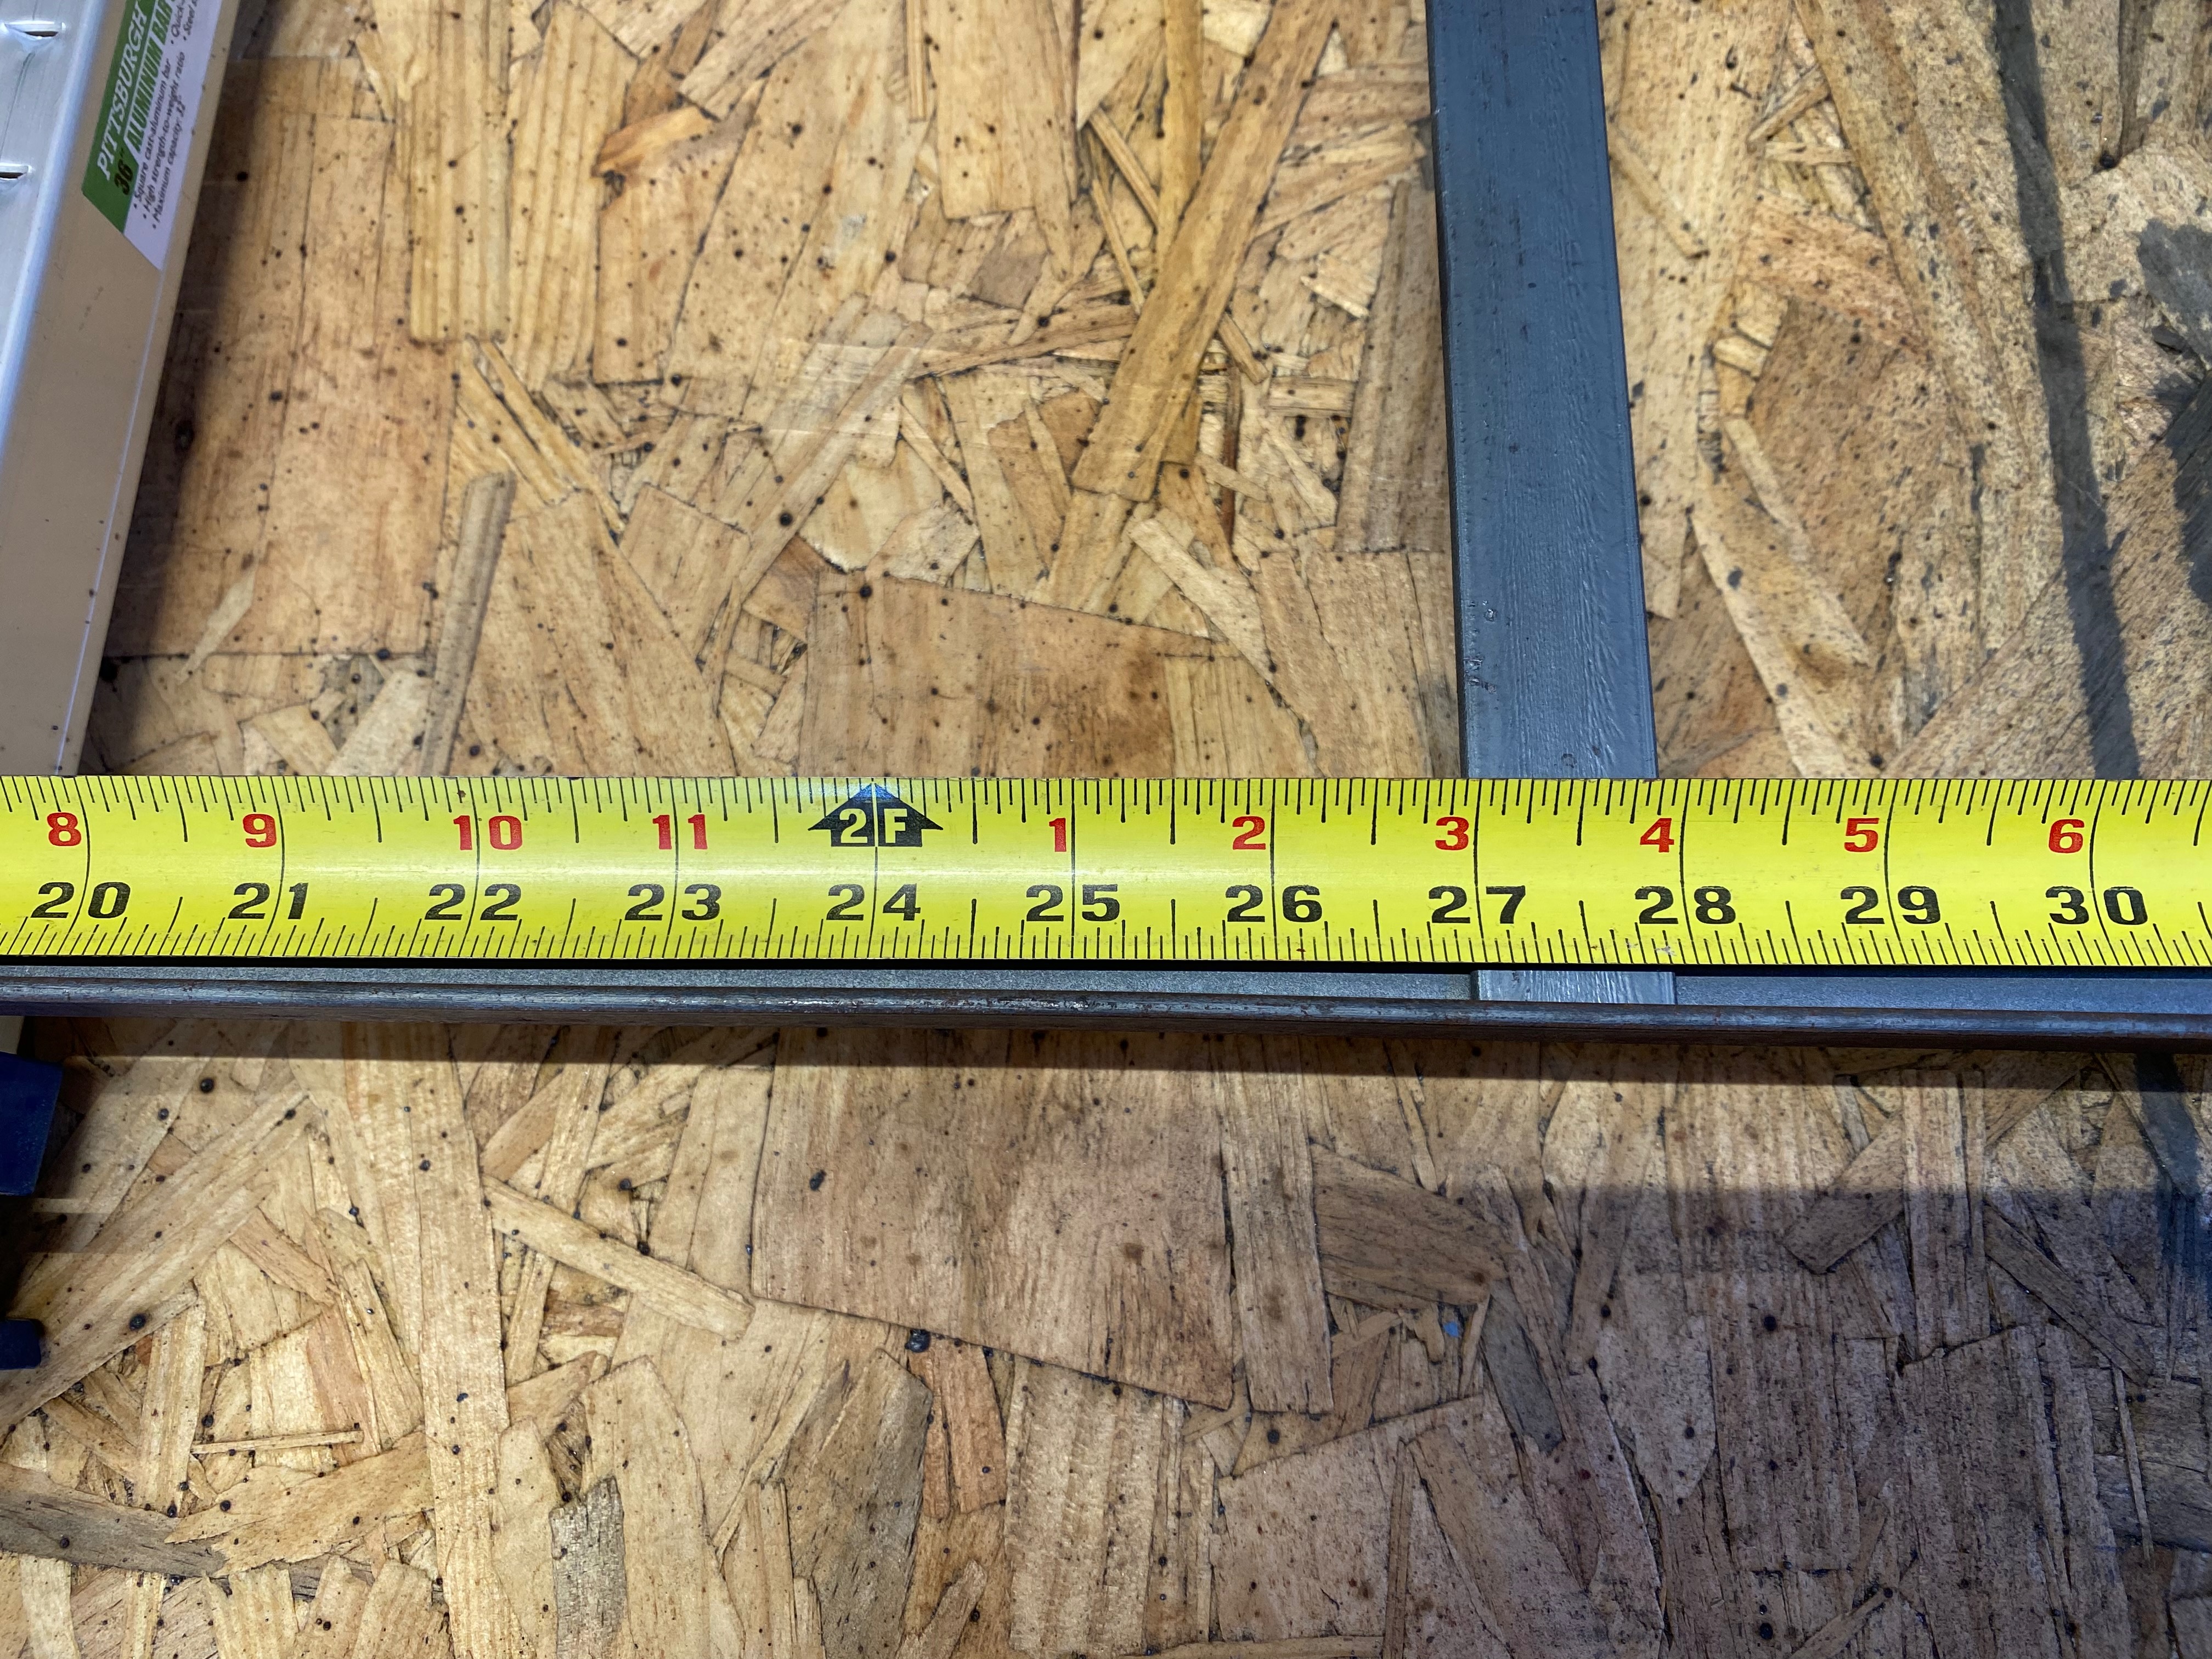
- Weld the cross-bars. The fourth one was the cleanest, but this was the first welding project so it was a learning experience.
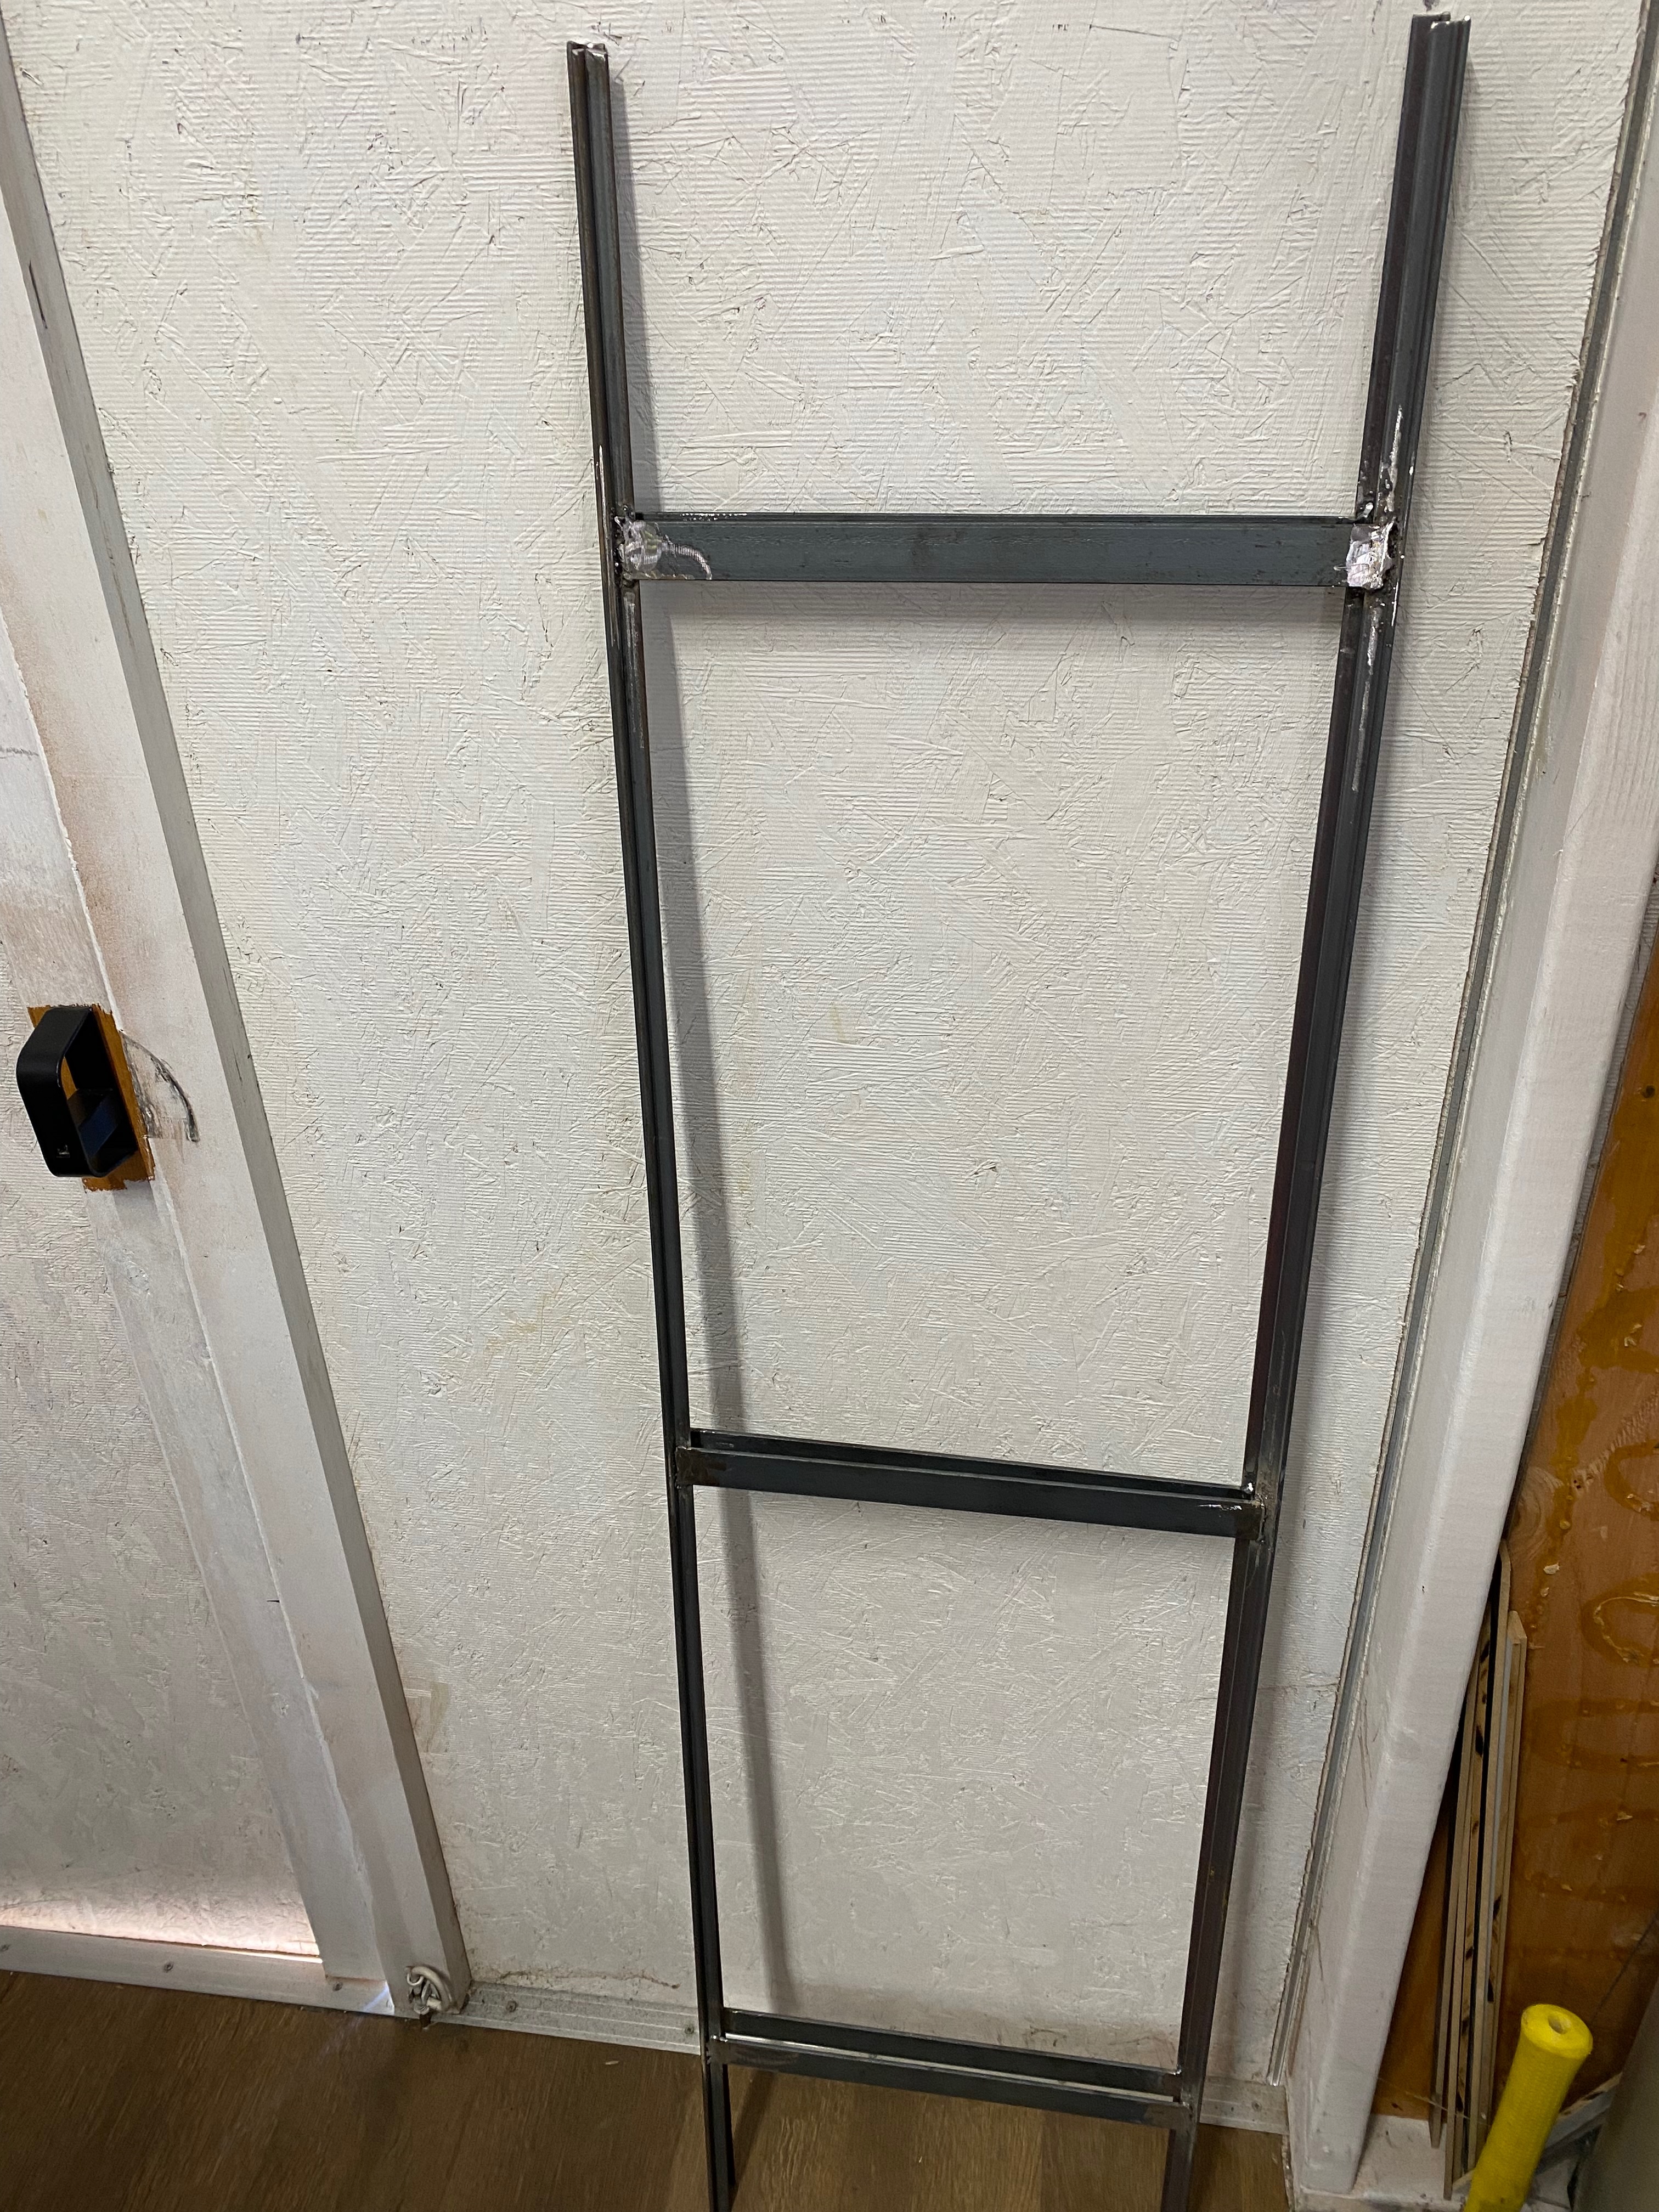
2. Flatten the Frame
Welding warps steel. Place the frame on a perfectly flat table. If it rocks, use a hammer to gently tap it flat before continuing.
3. Prep the Metal
Use 80-grit sandpaper to heavily scuff the inside of the steel channel. Wipe it completely clean with acetone.
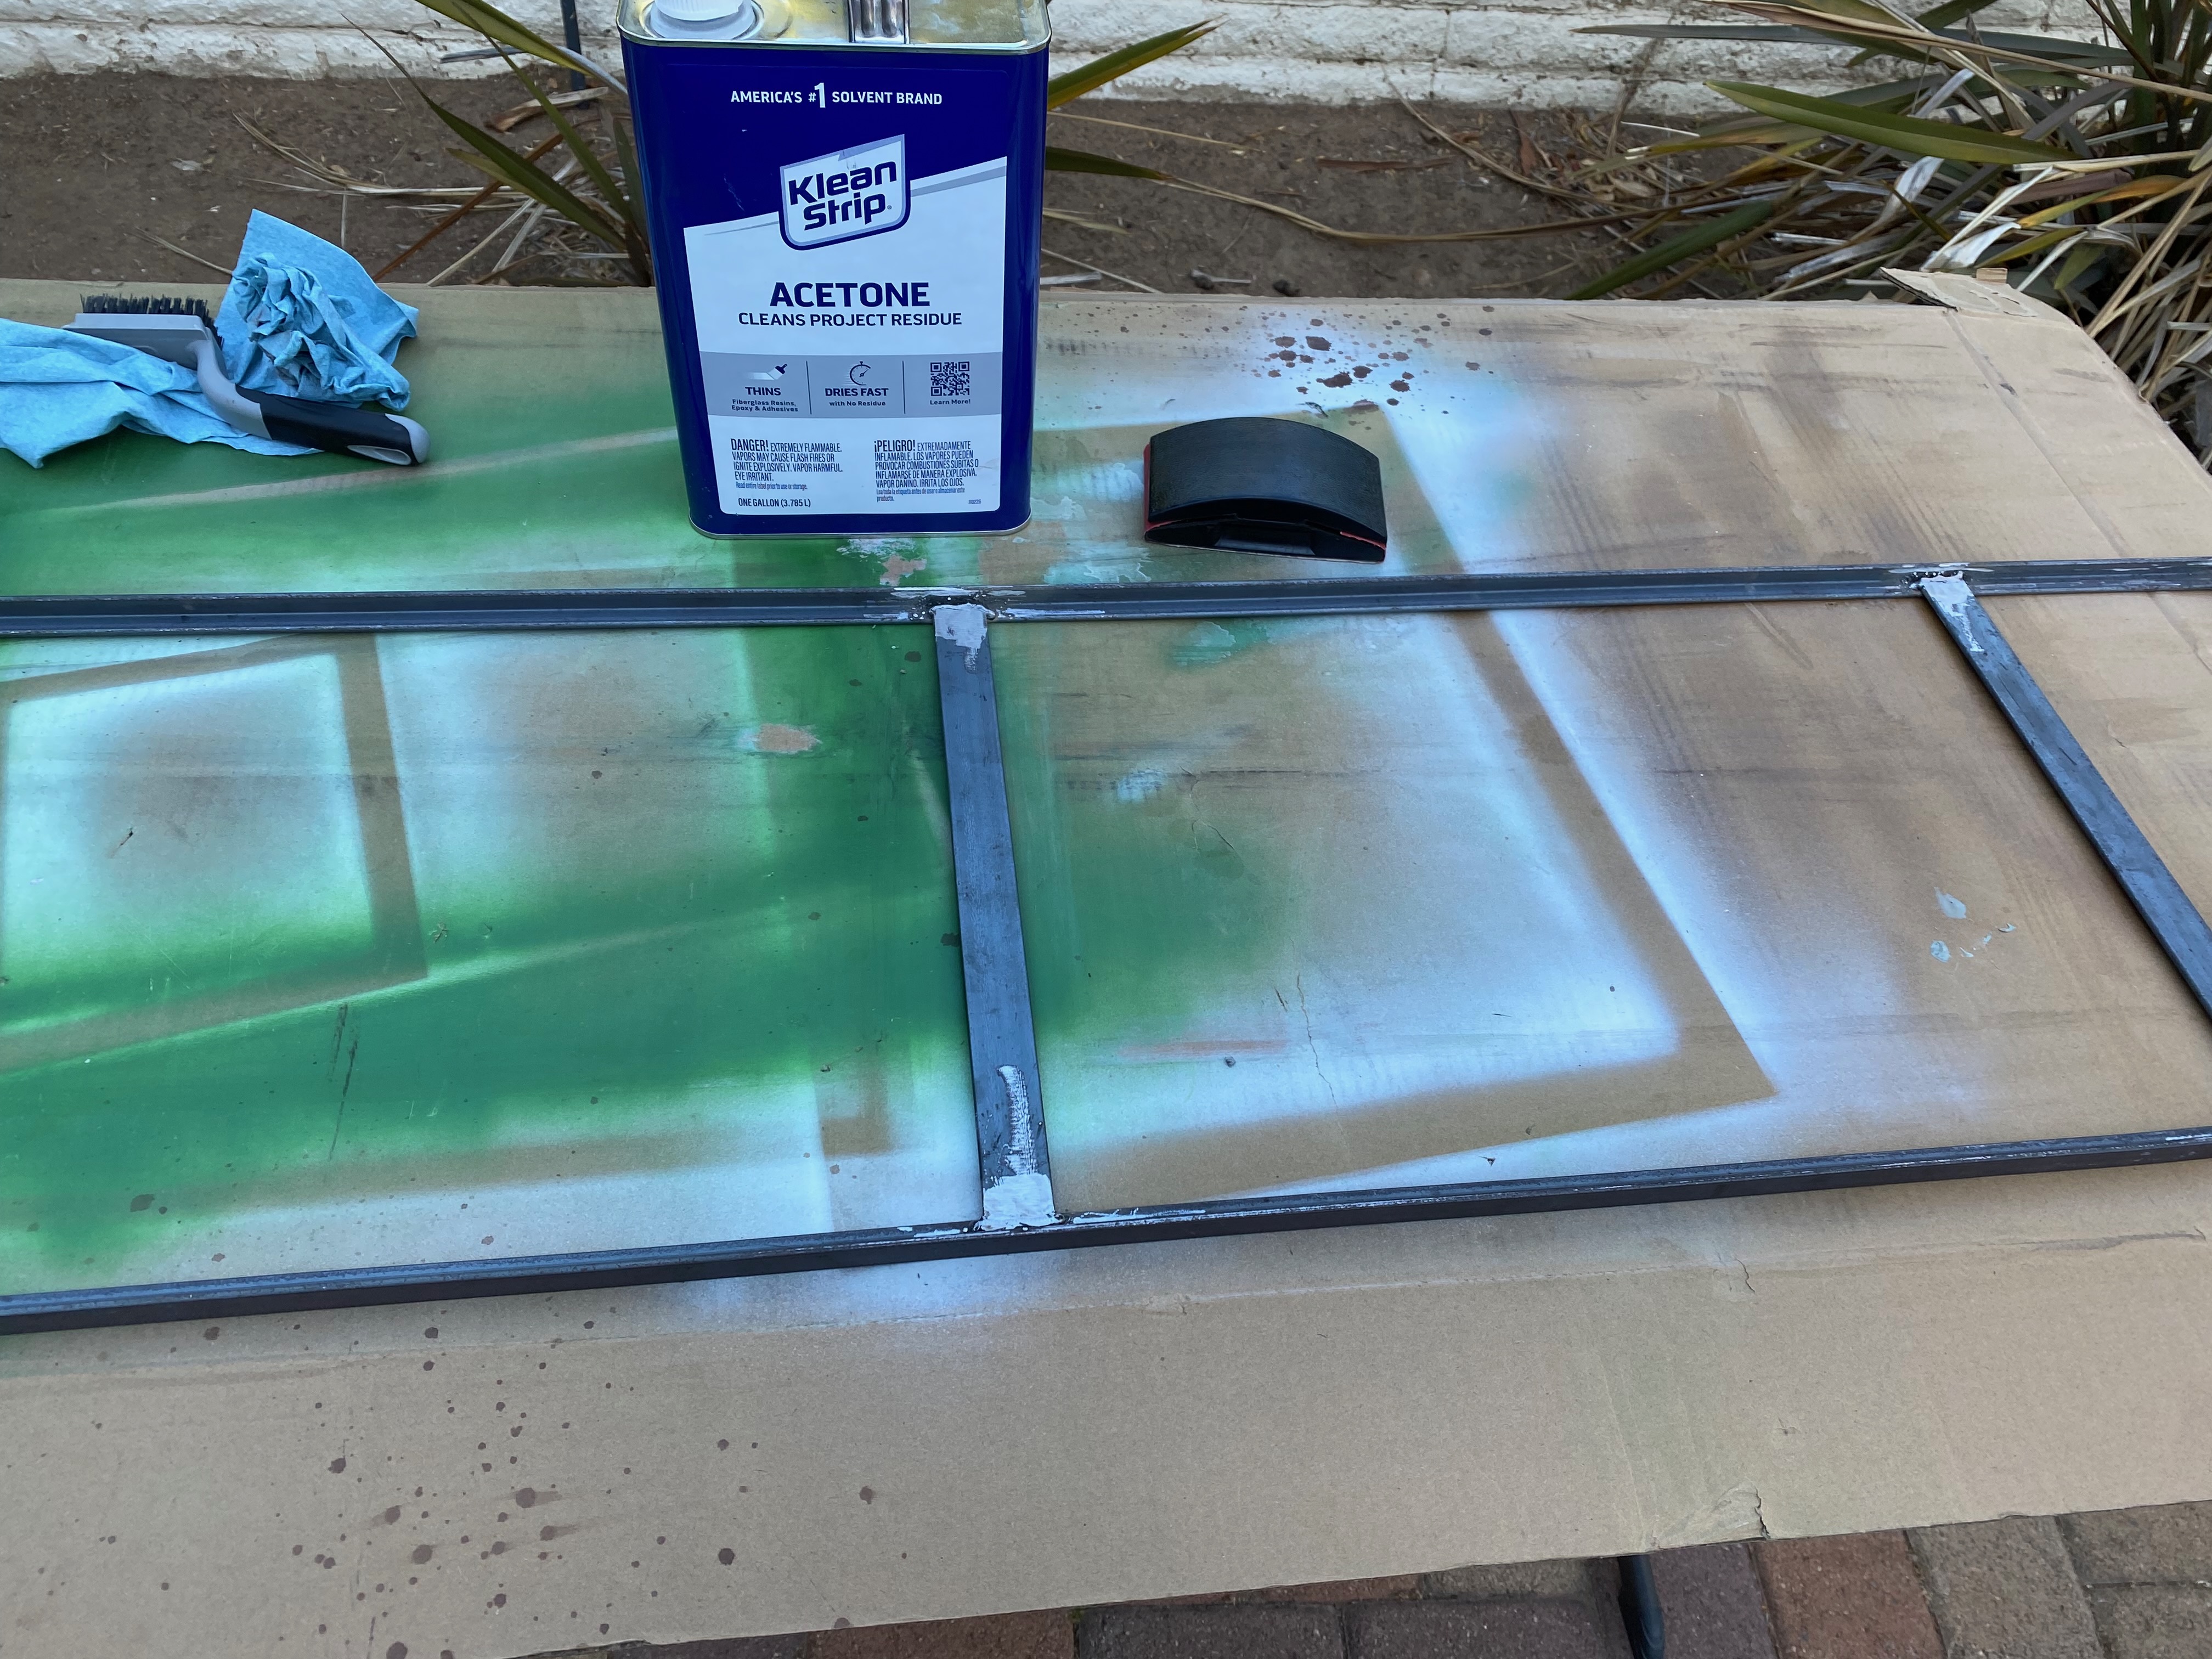
4. Prime the Metal
Spray the inside of the channel with epoxy metal primer. Let it cure fully (24 hours). Lightly scuff the primer with 120-grit sandpaper and wipe with acetone. This creates the perfect chemical bond for the Direct Bond method.
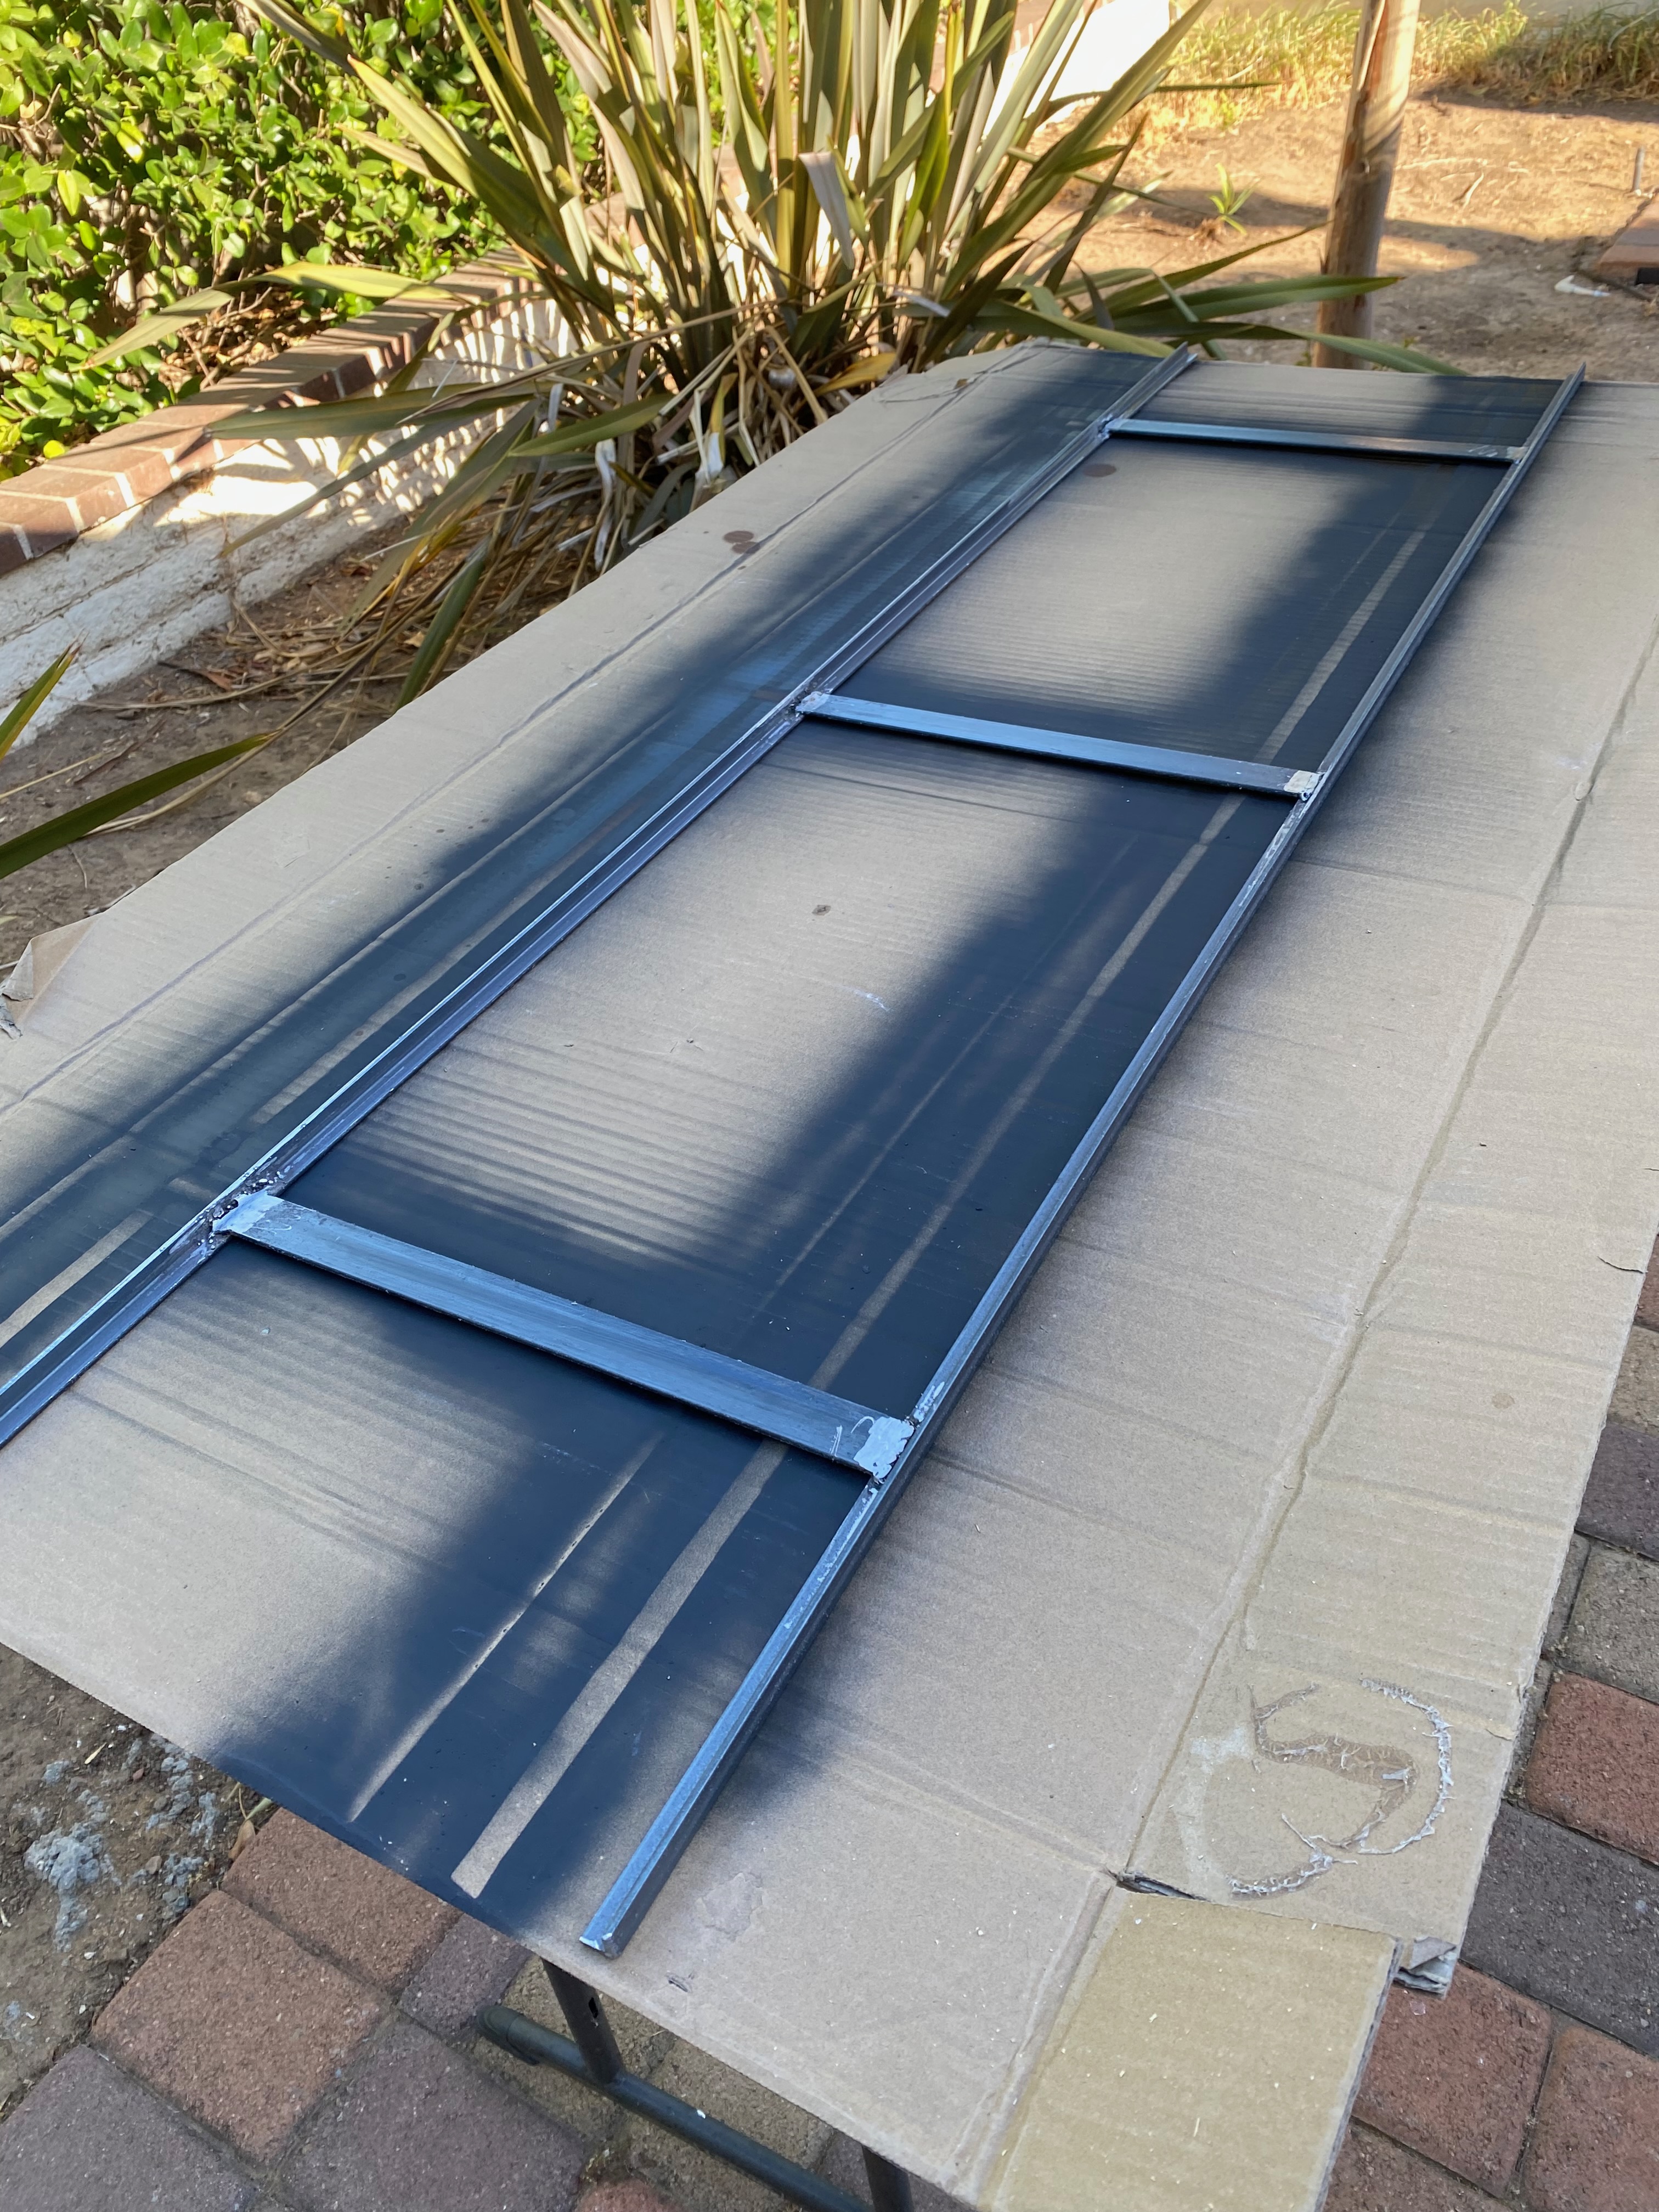
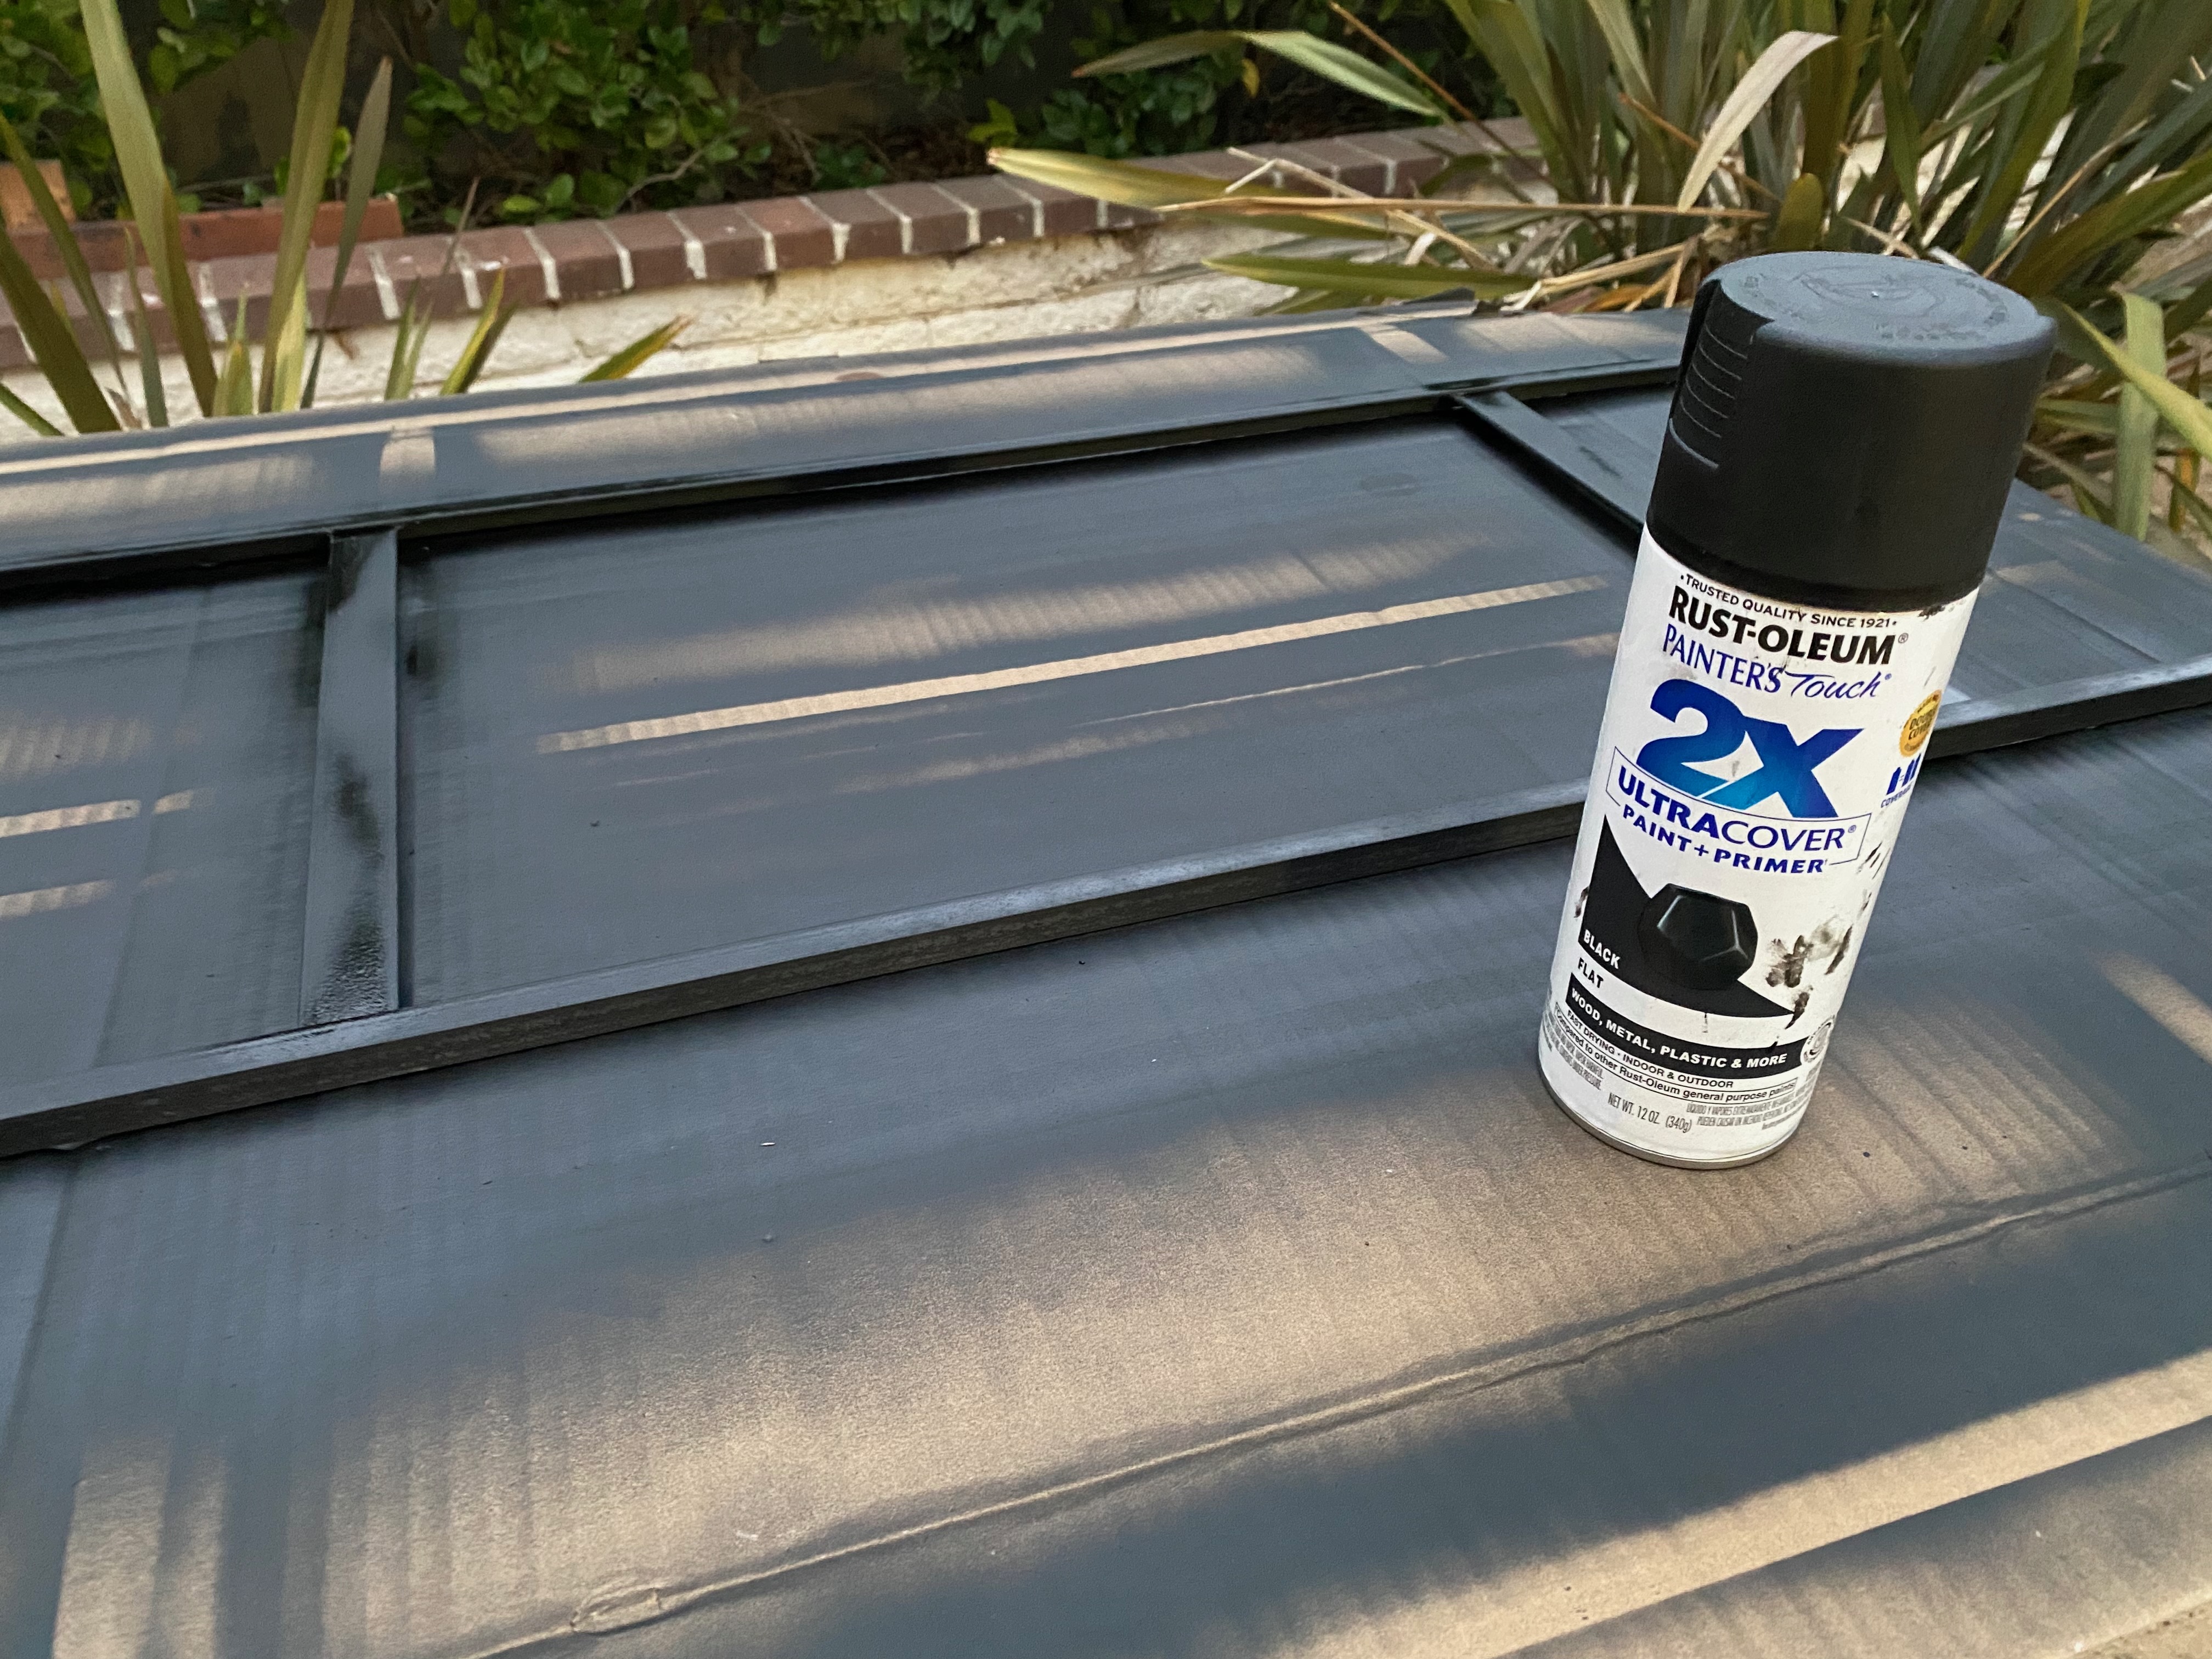
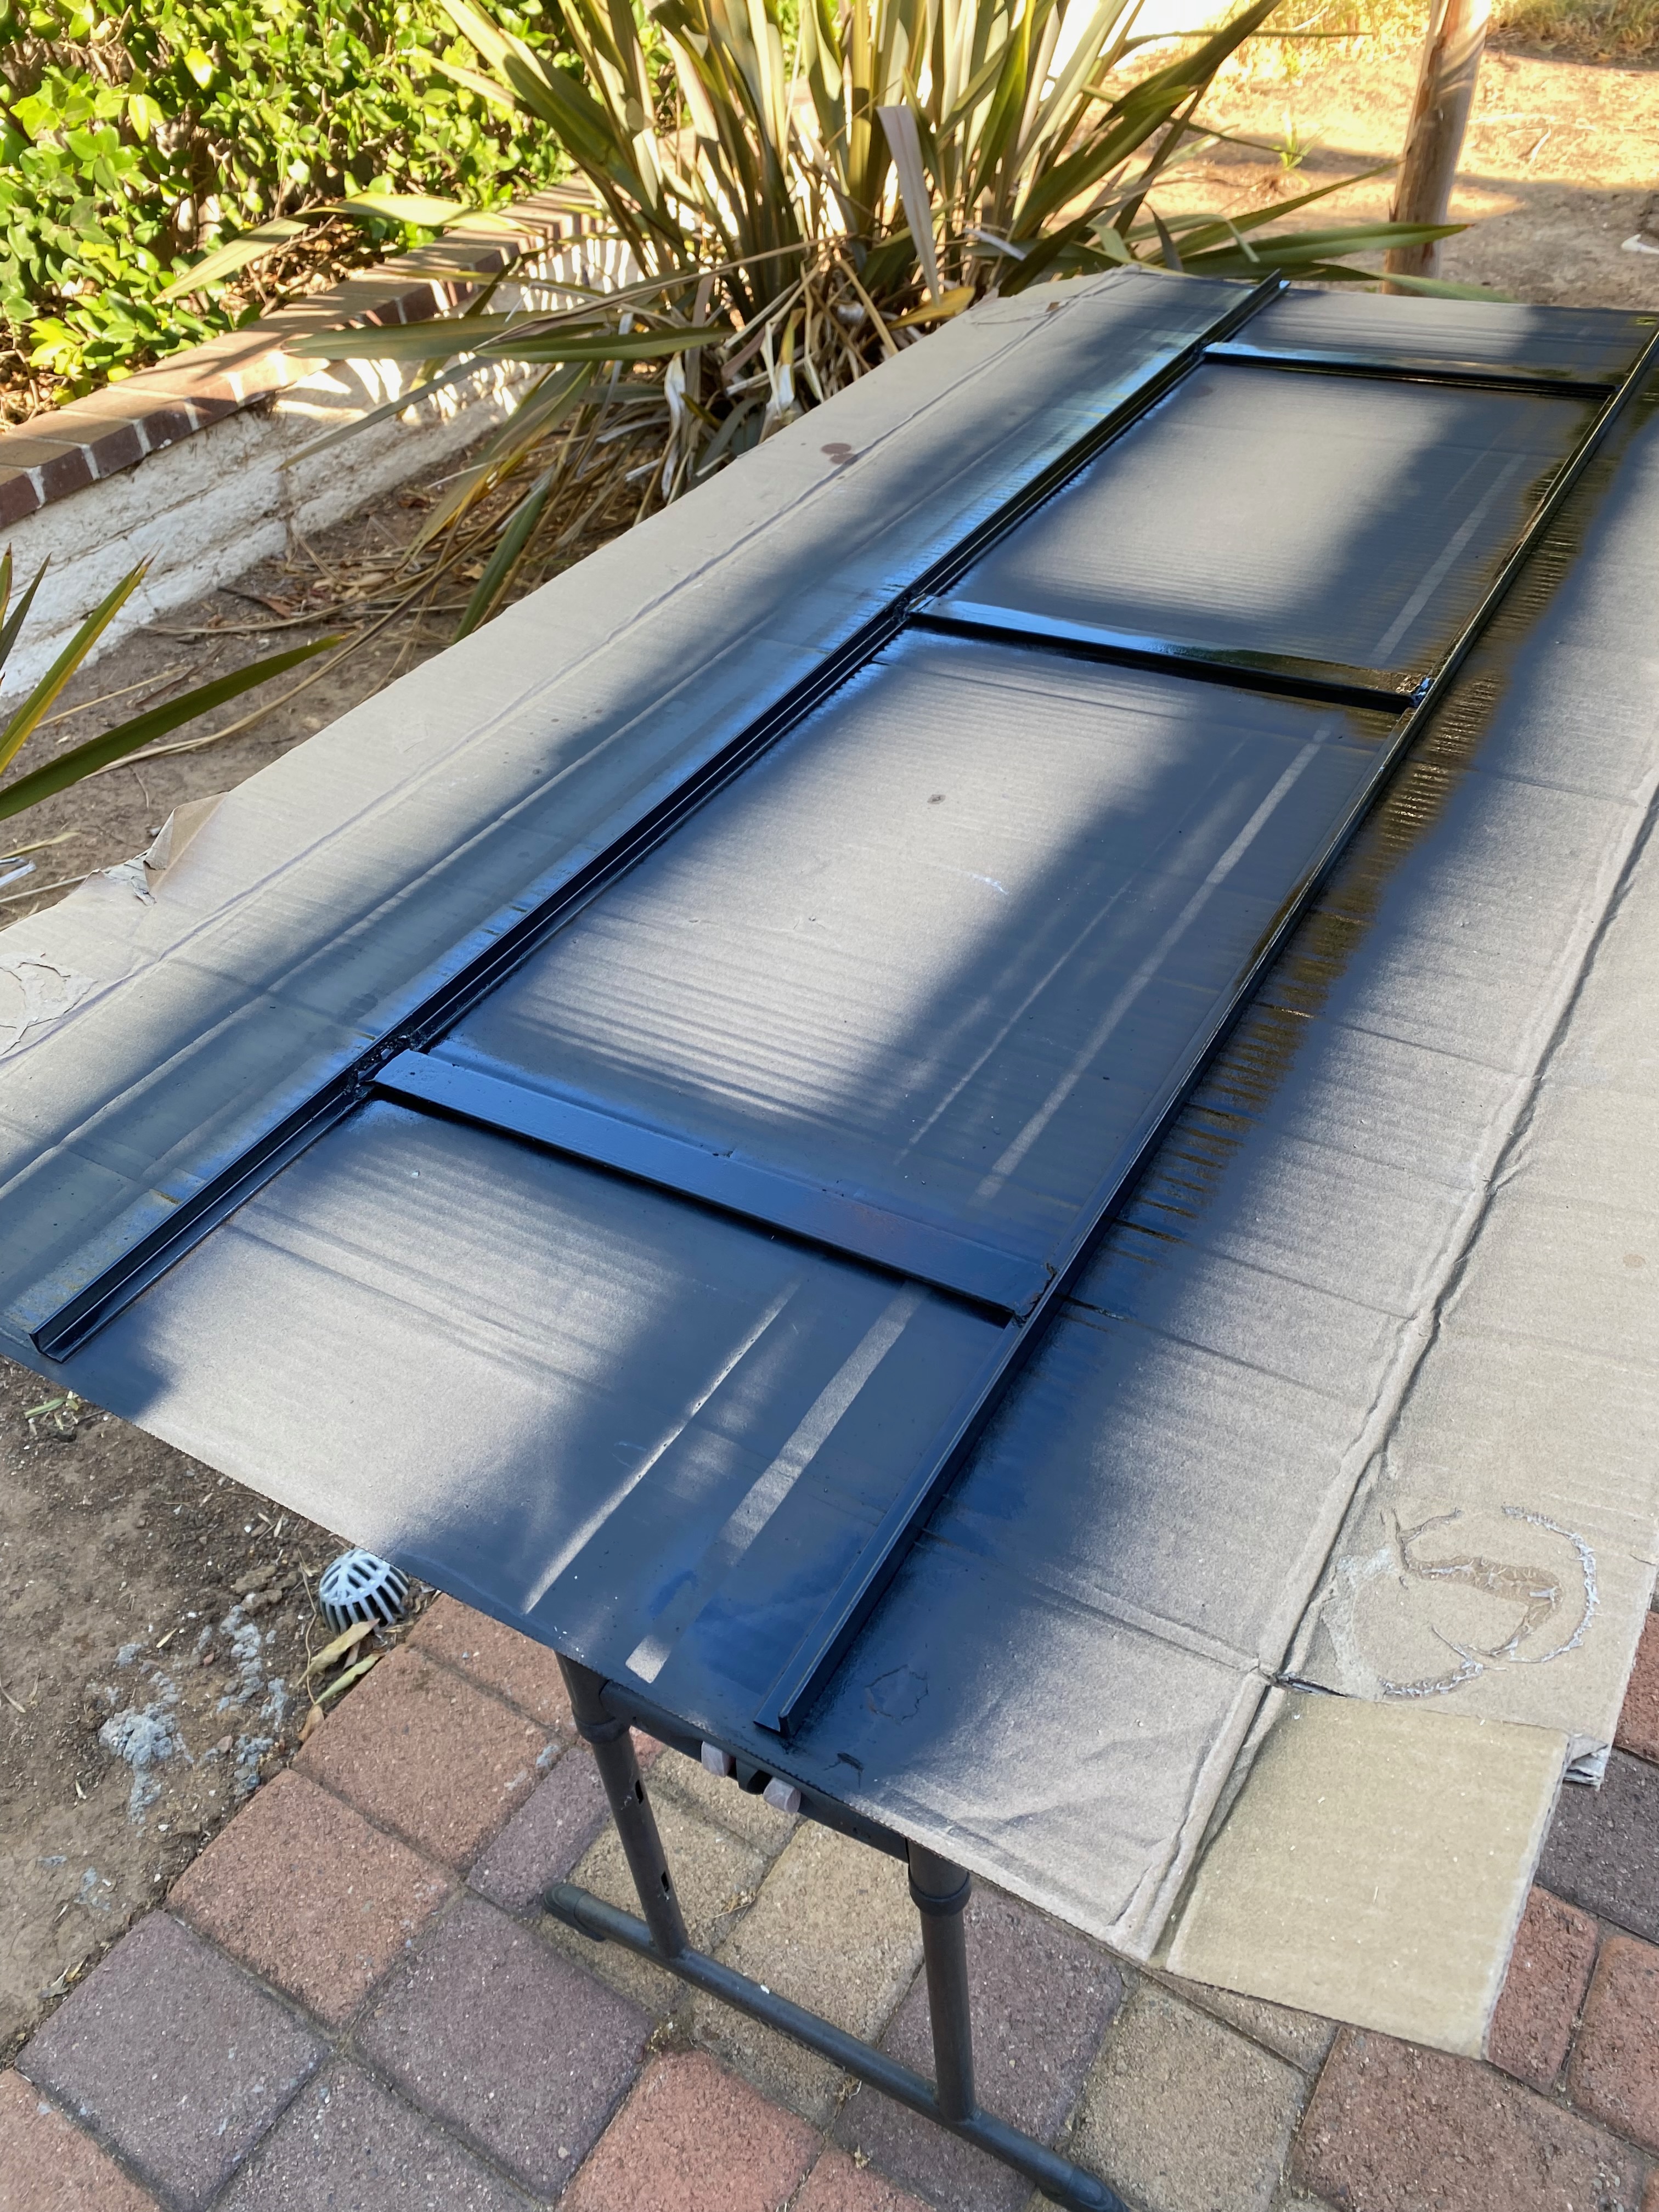
5. Test Fit
It is important to test the fit of the frame in the bed to make any additional corrections needed before casting in resin.
- First test fit showed that the back of the channel was about 1/16” narrower than the back.
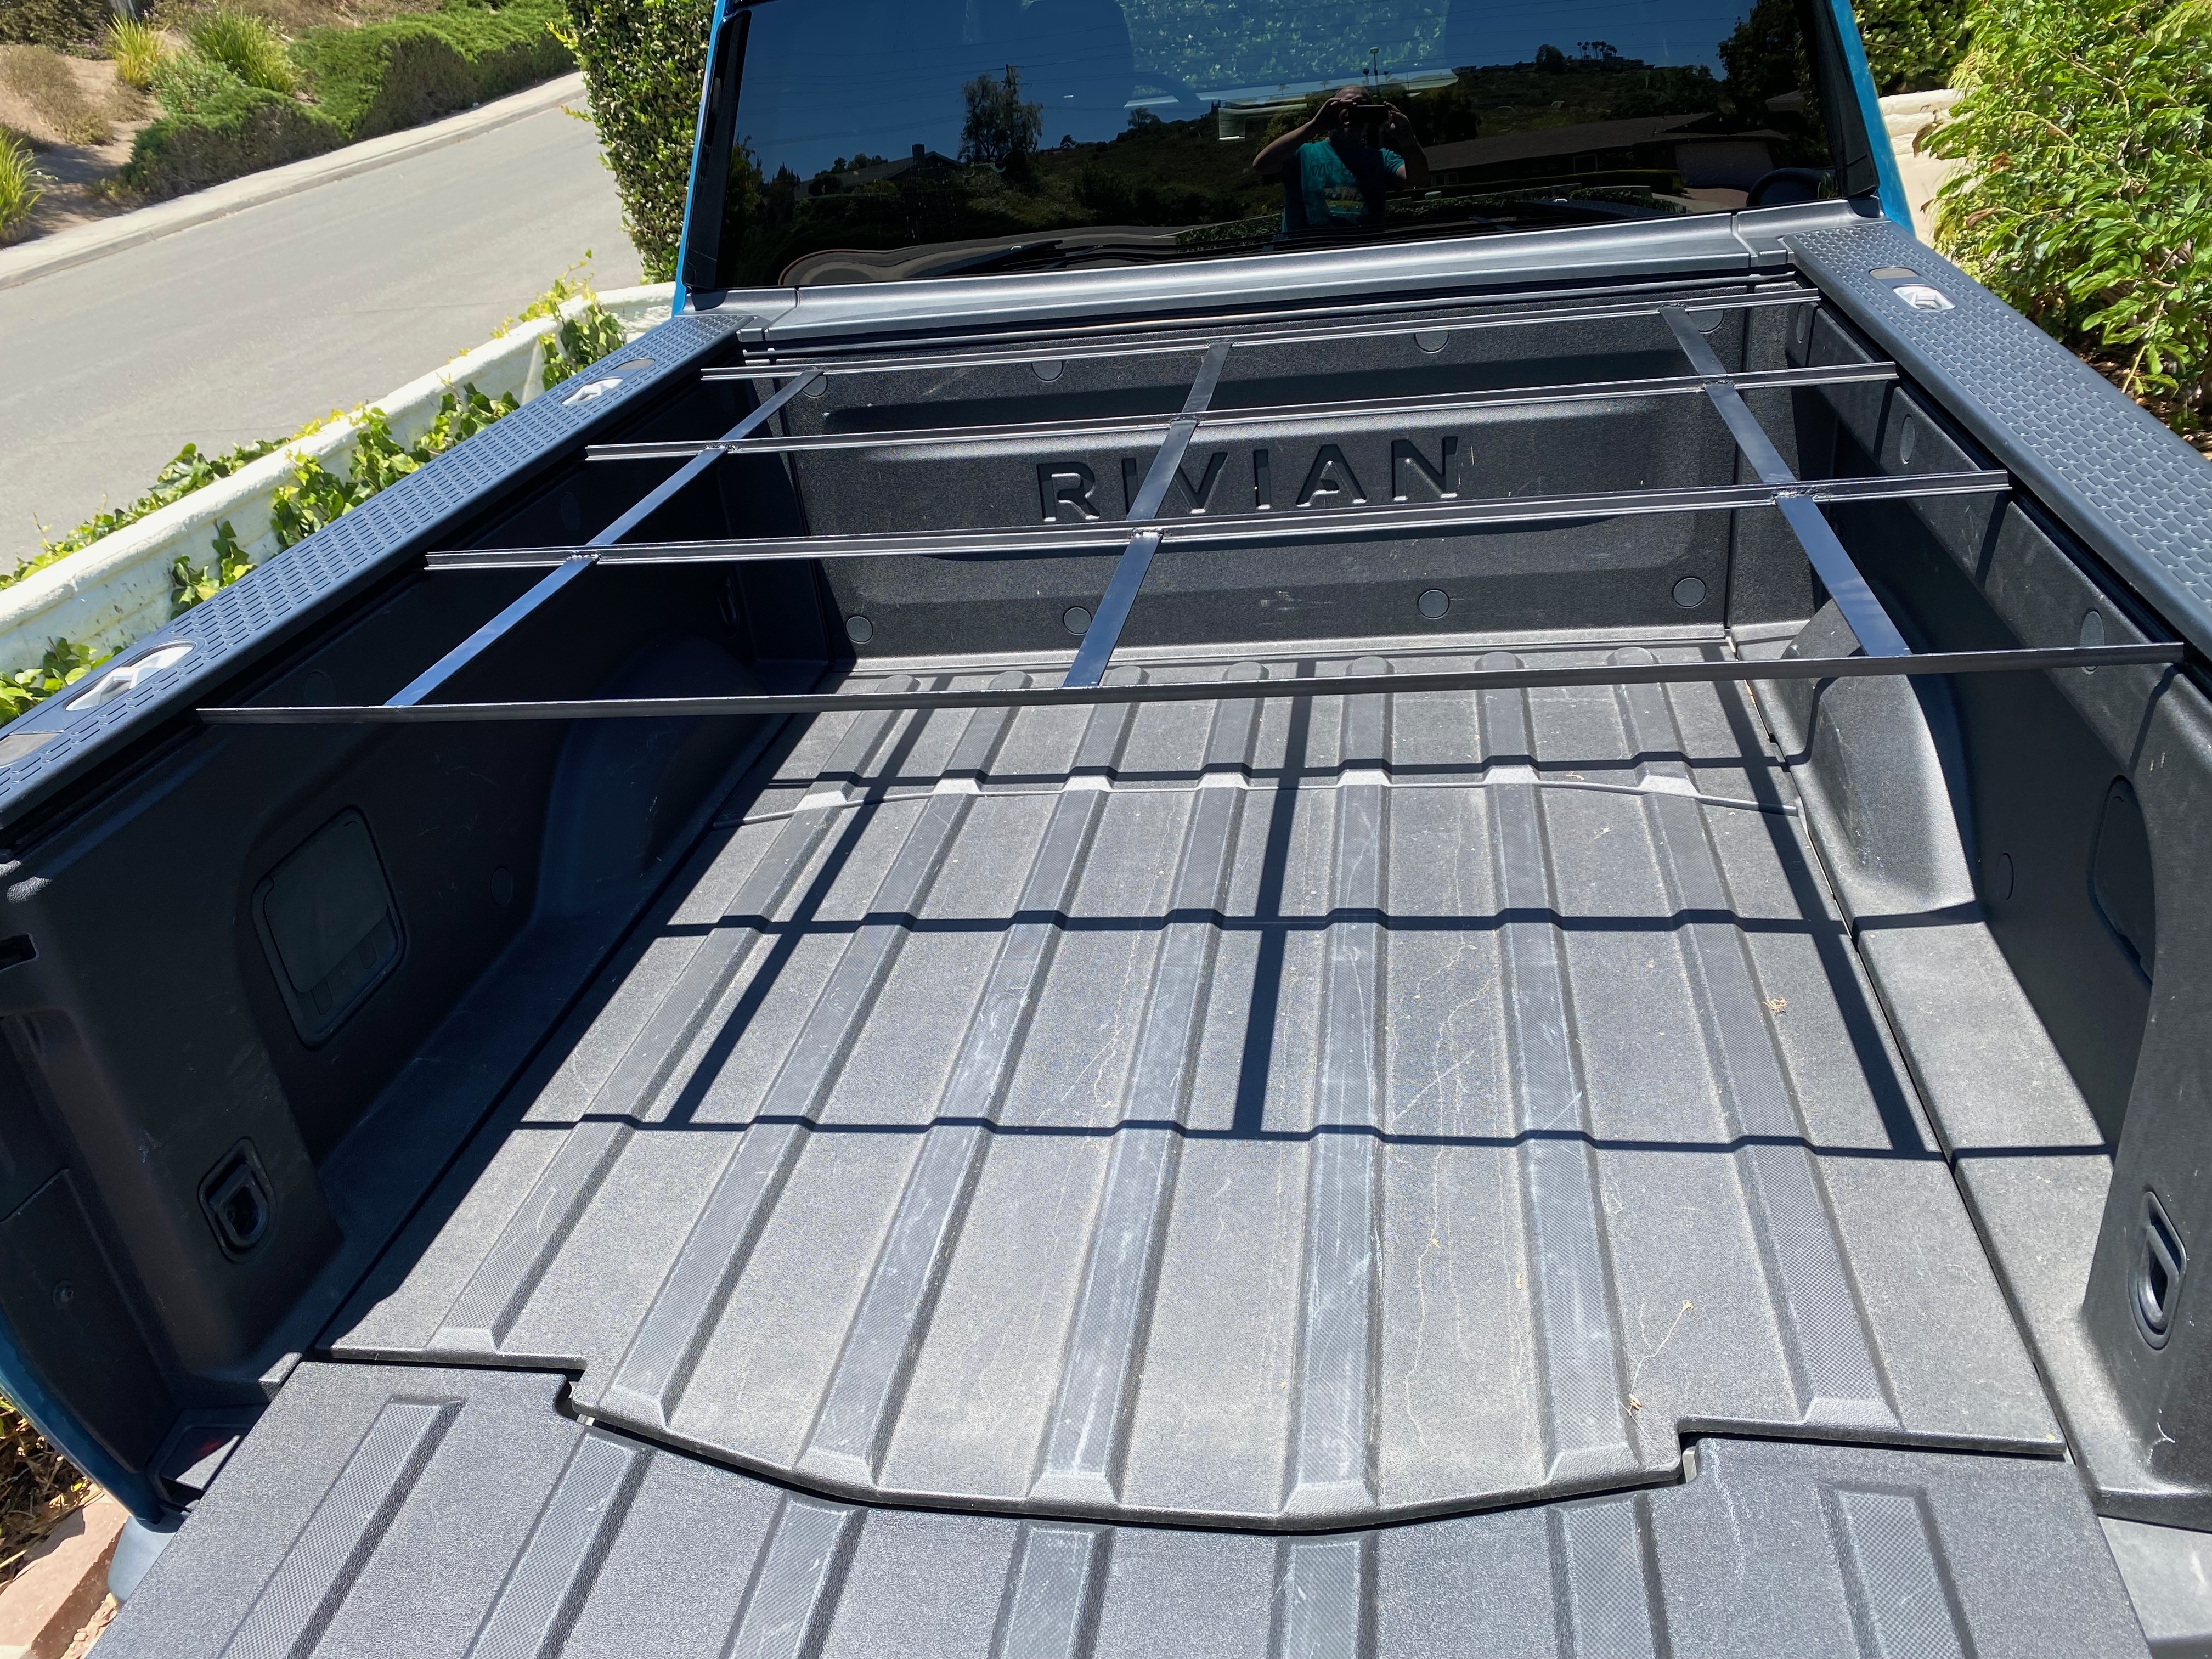
- Using a grinder, reduce panels from 54 15/16” to 54 7/8” and retest fit.
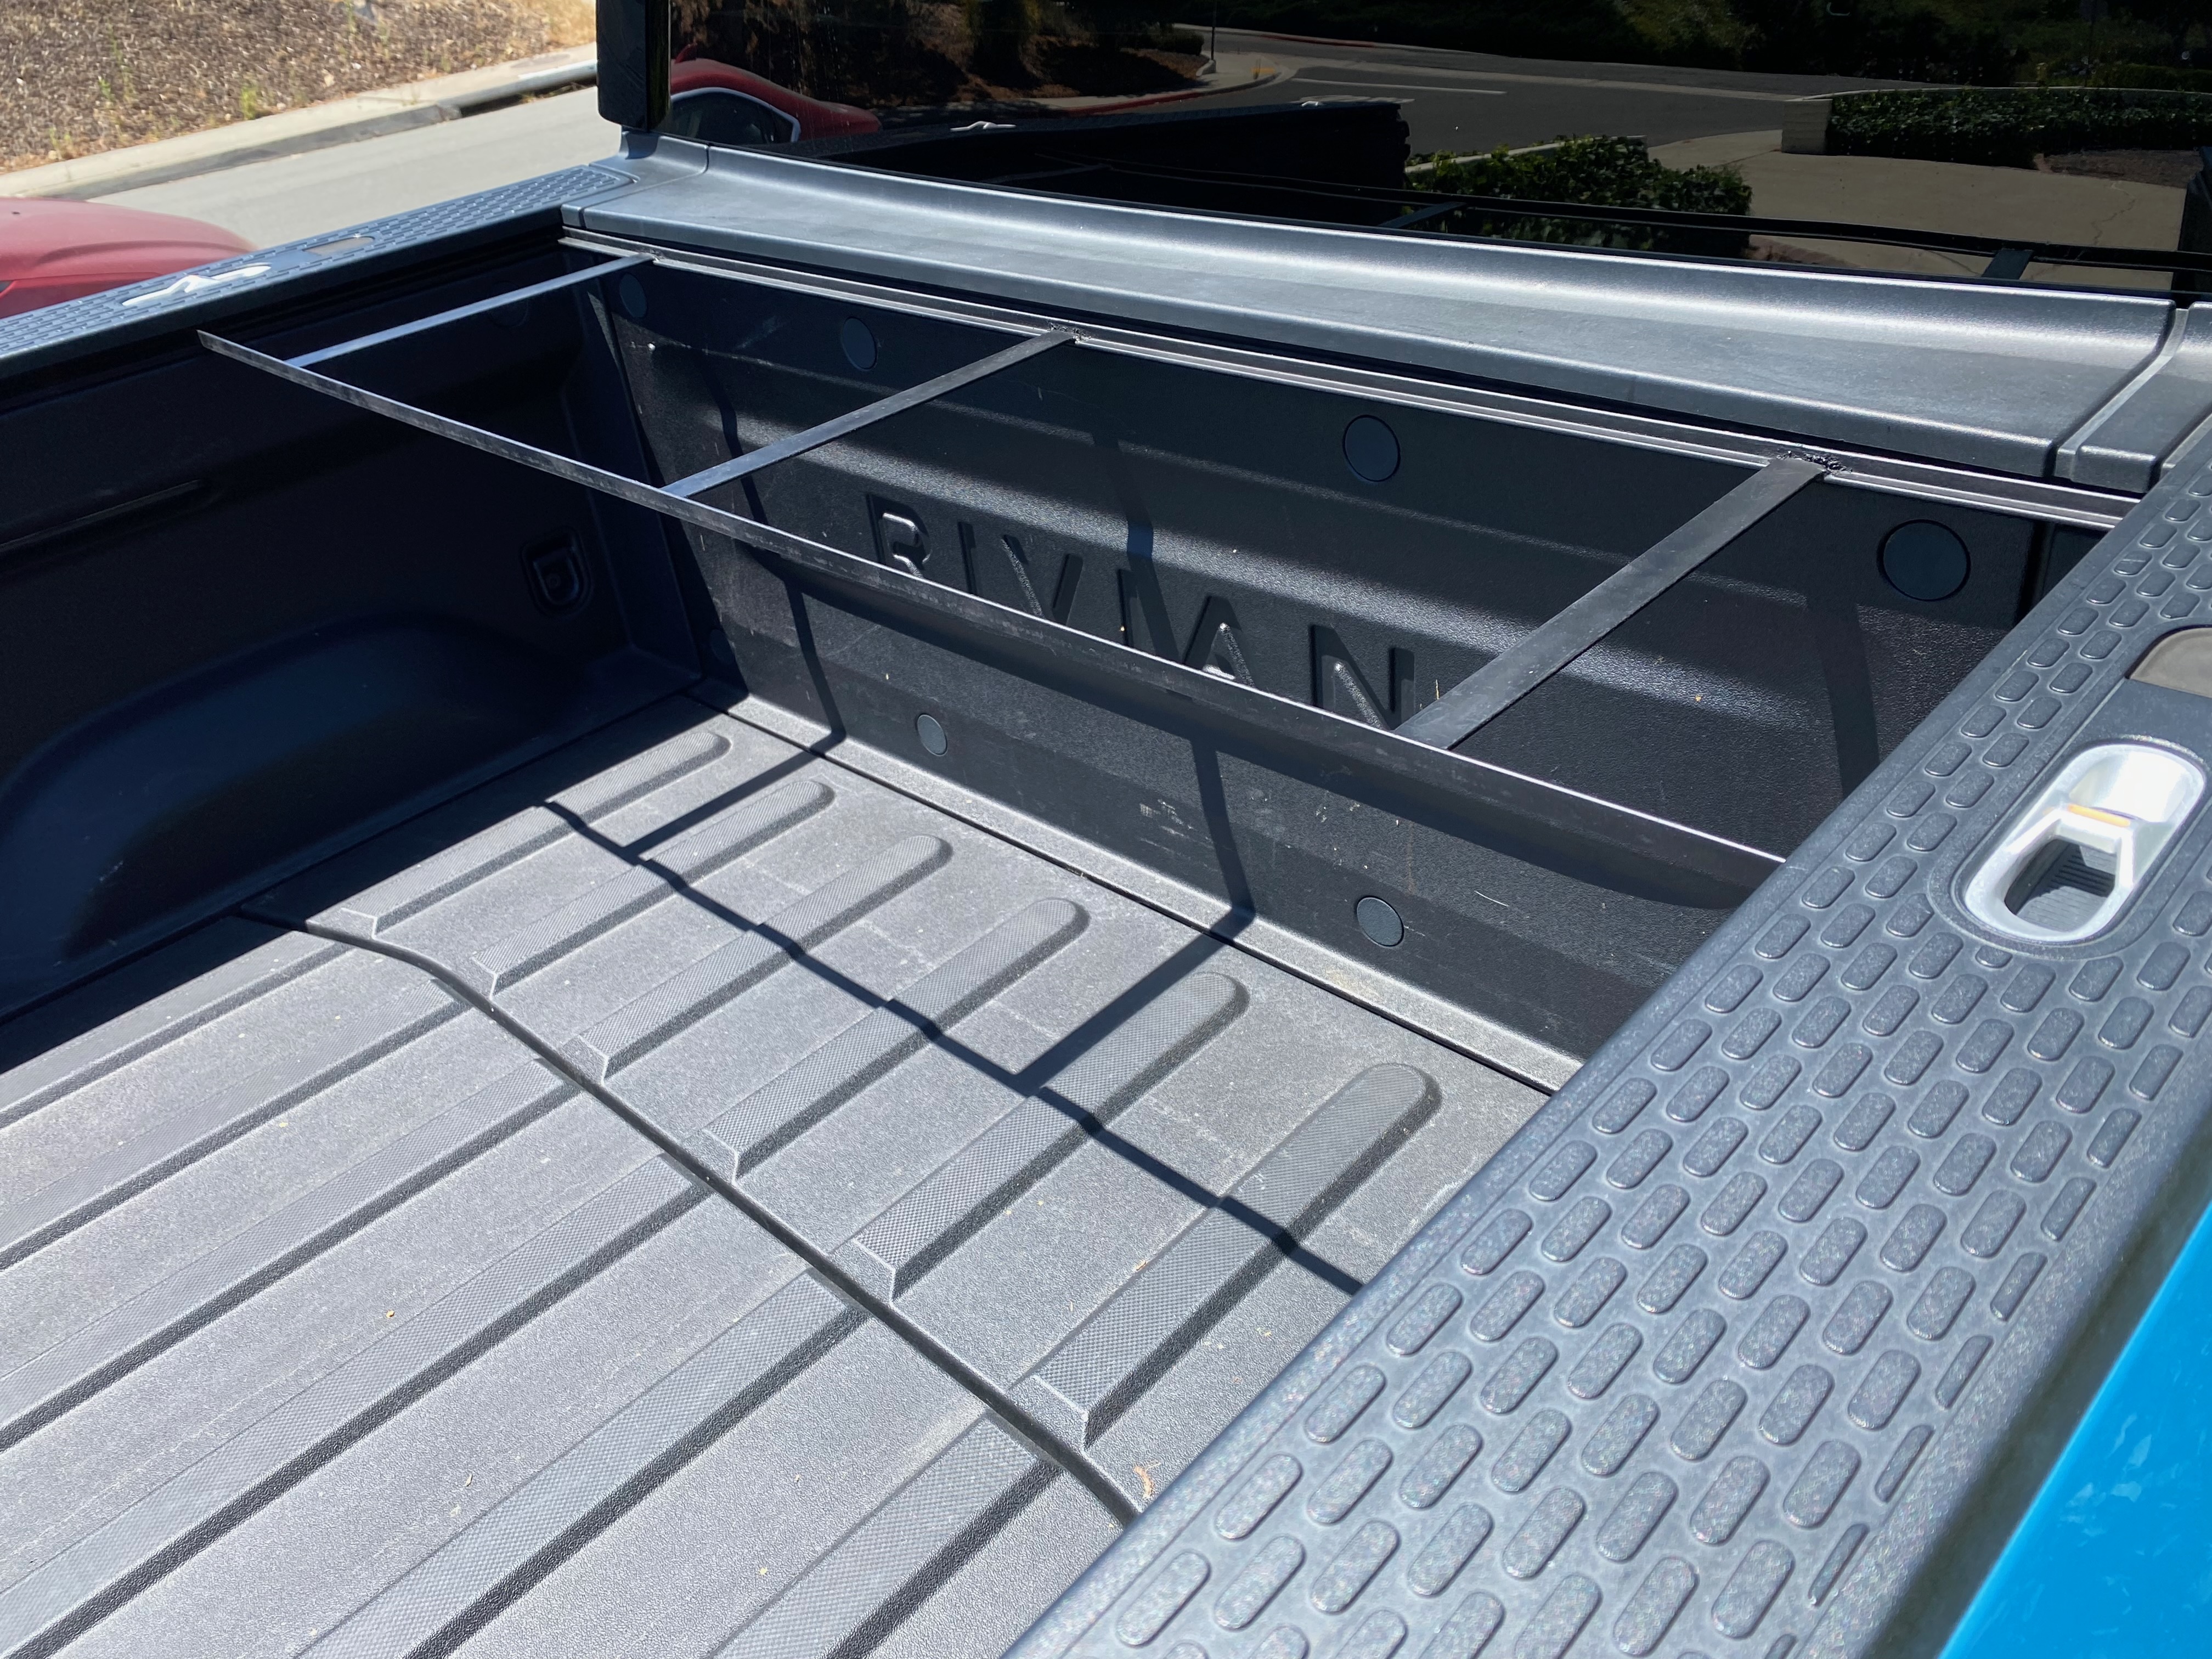
- Retest the full bed-length fit.
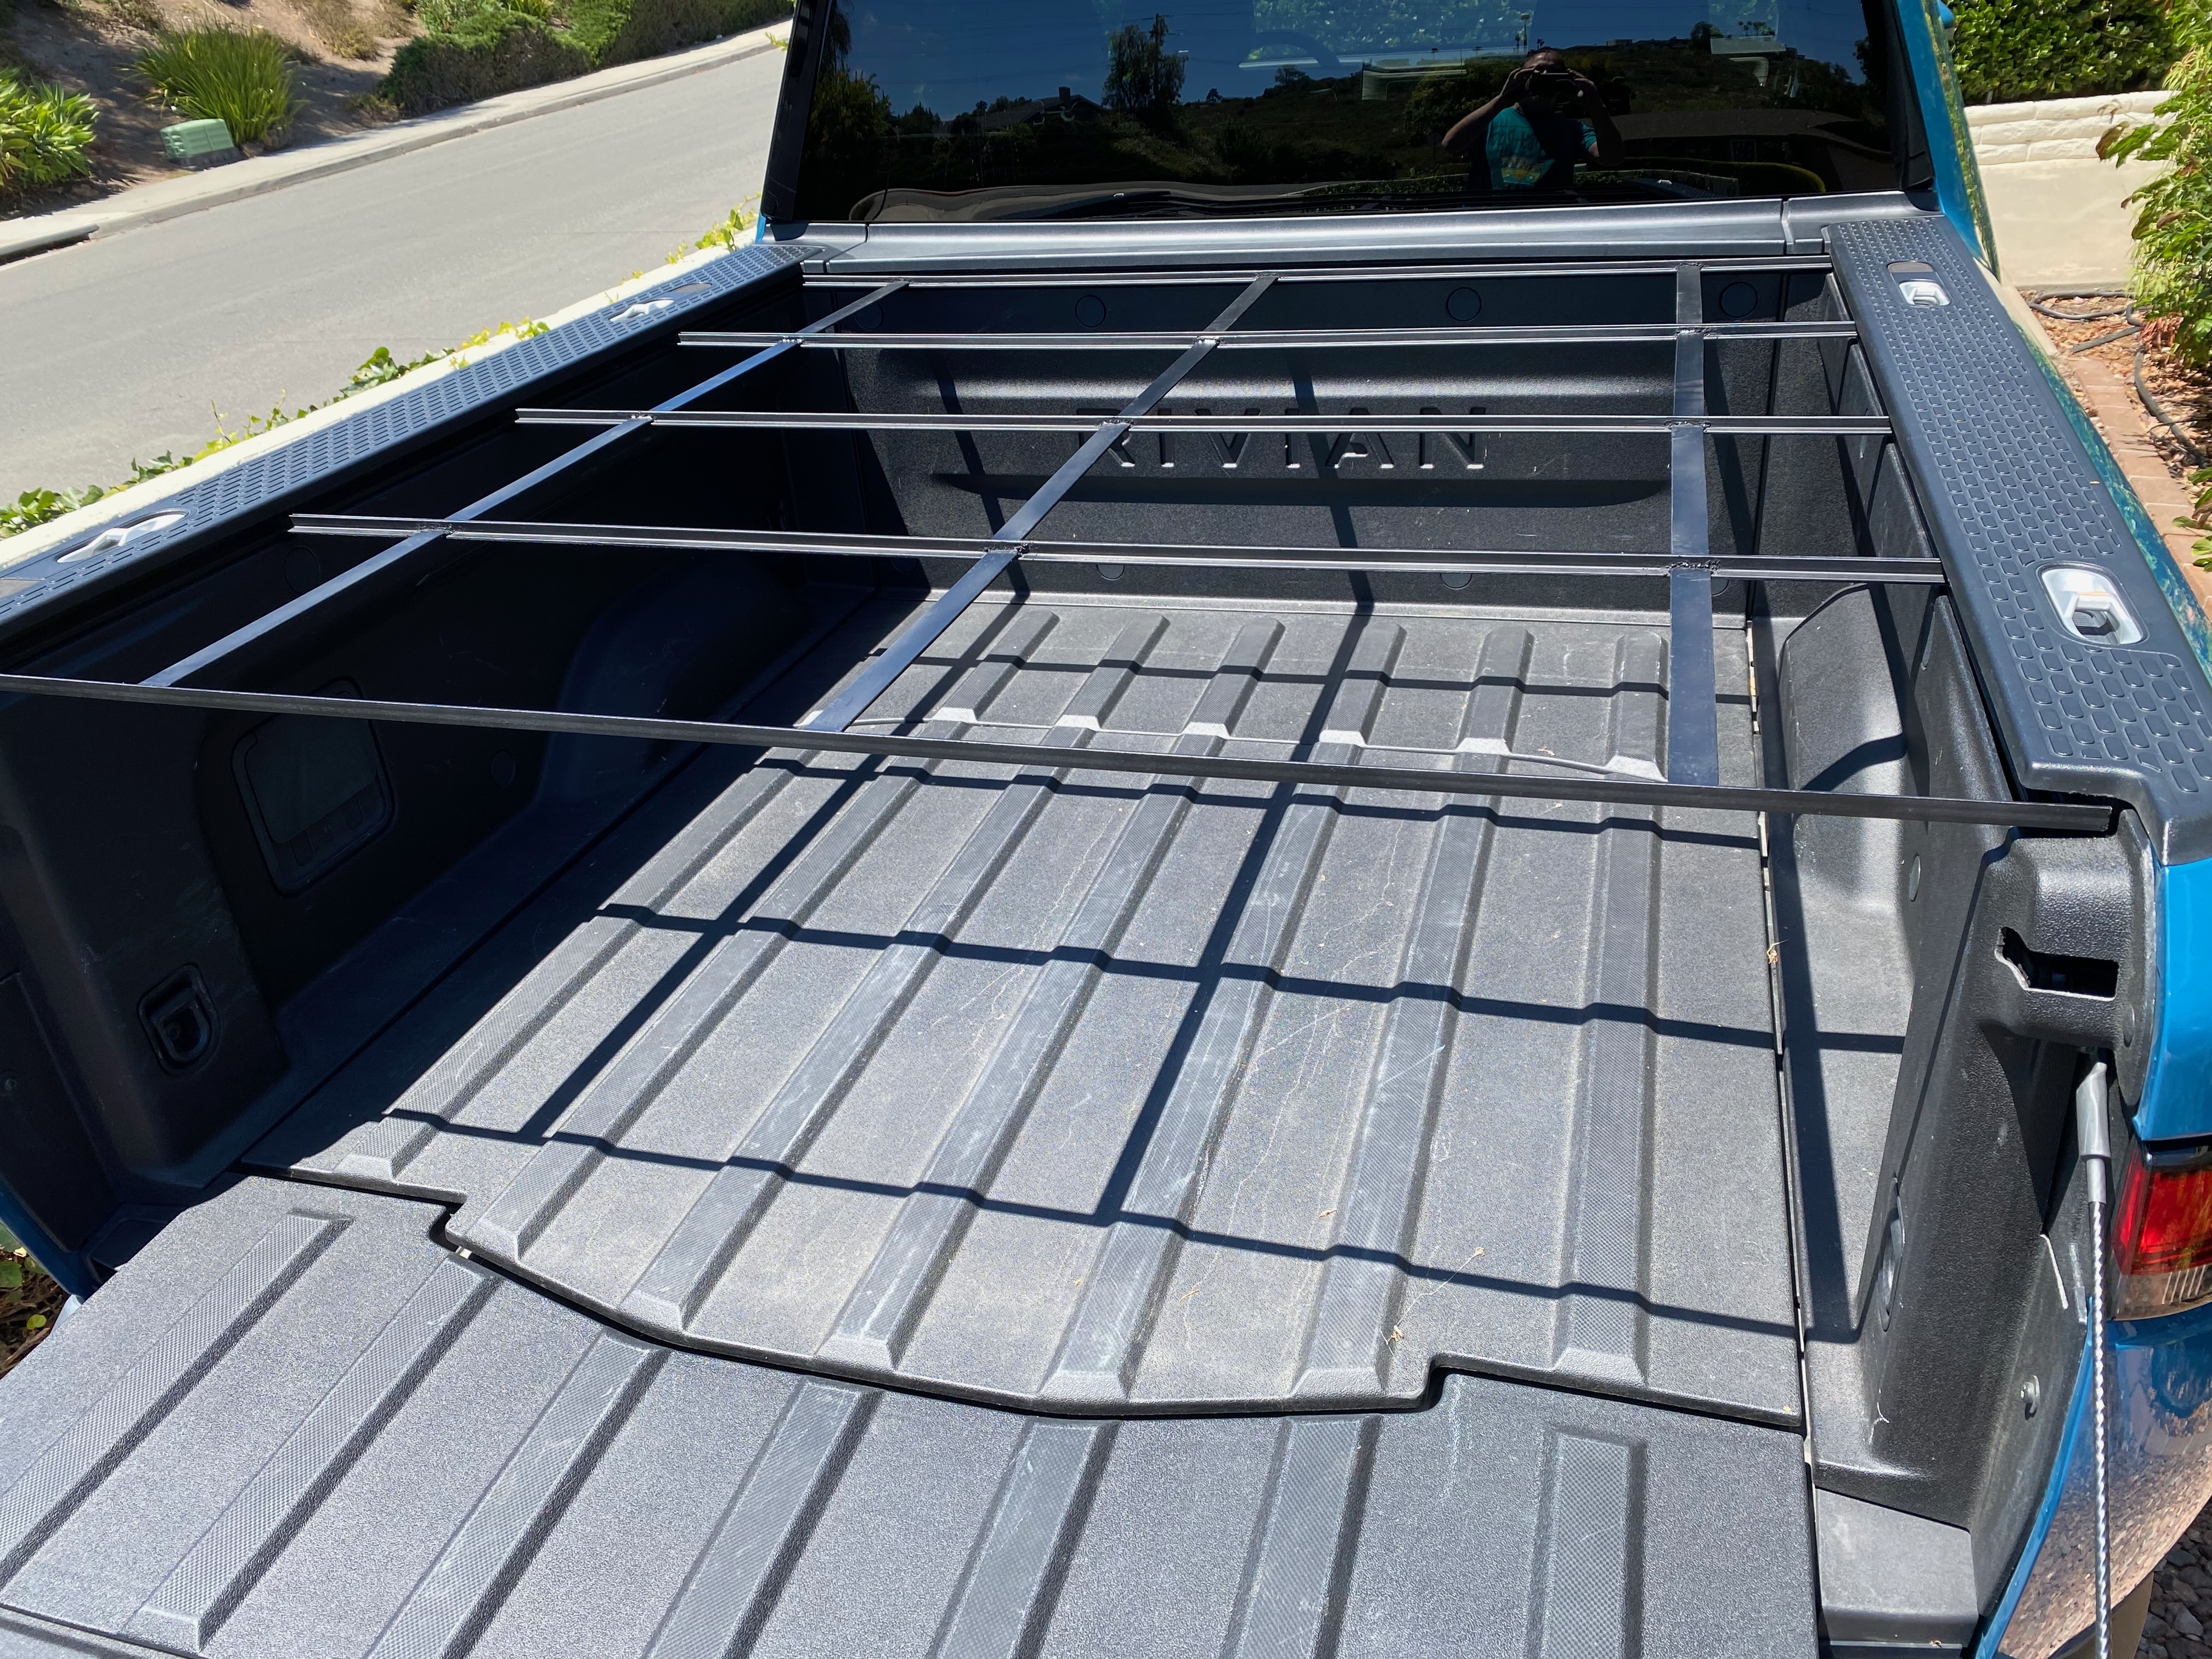
- It may appear that the length is too long, but there is a gap between the end of the channel and the tailgate.
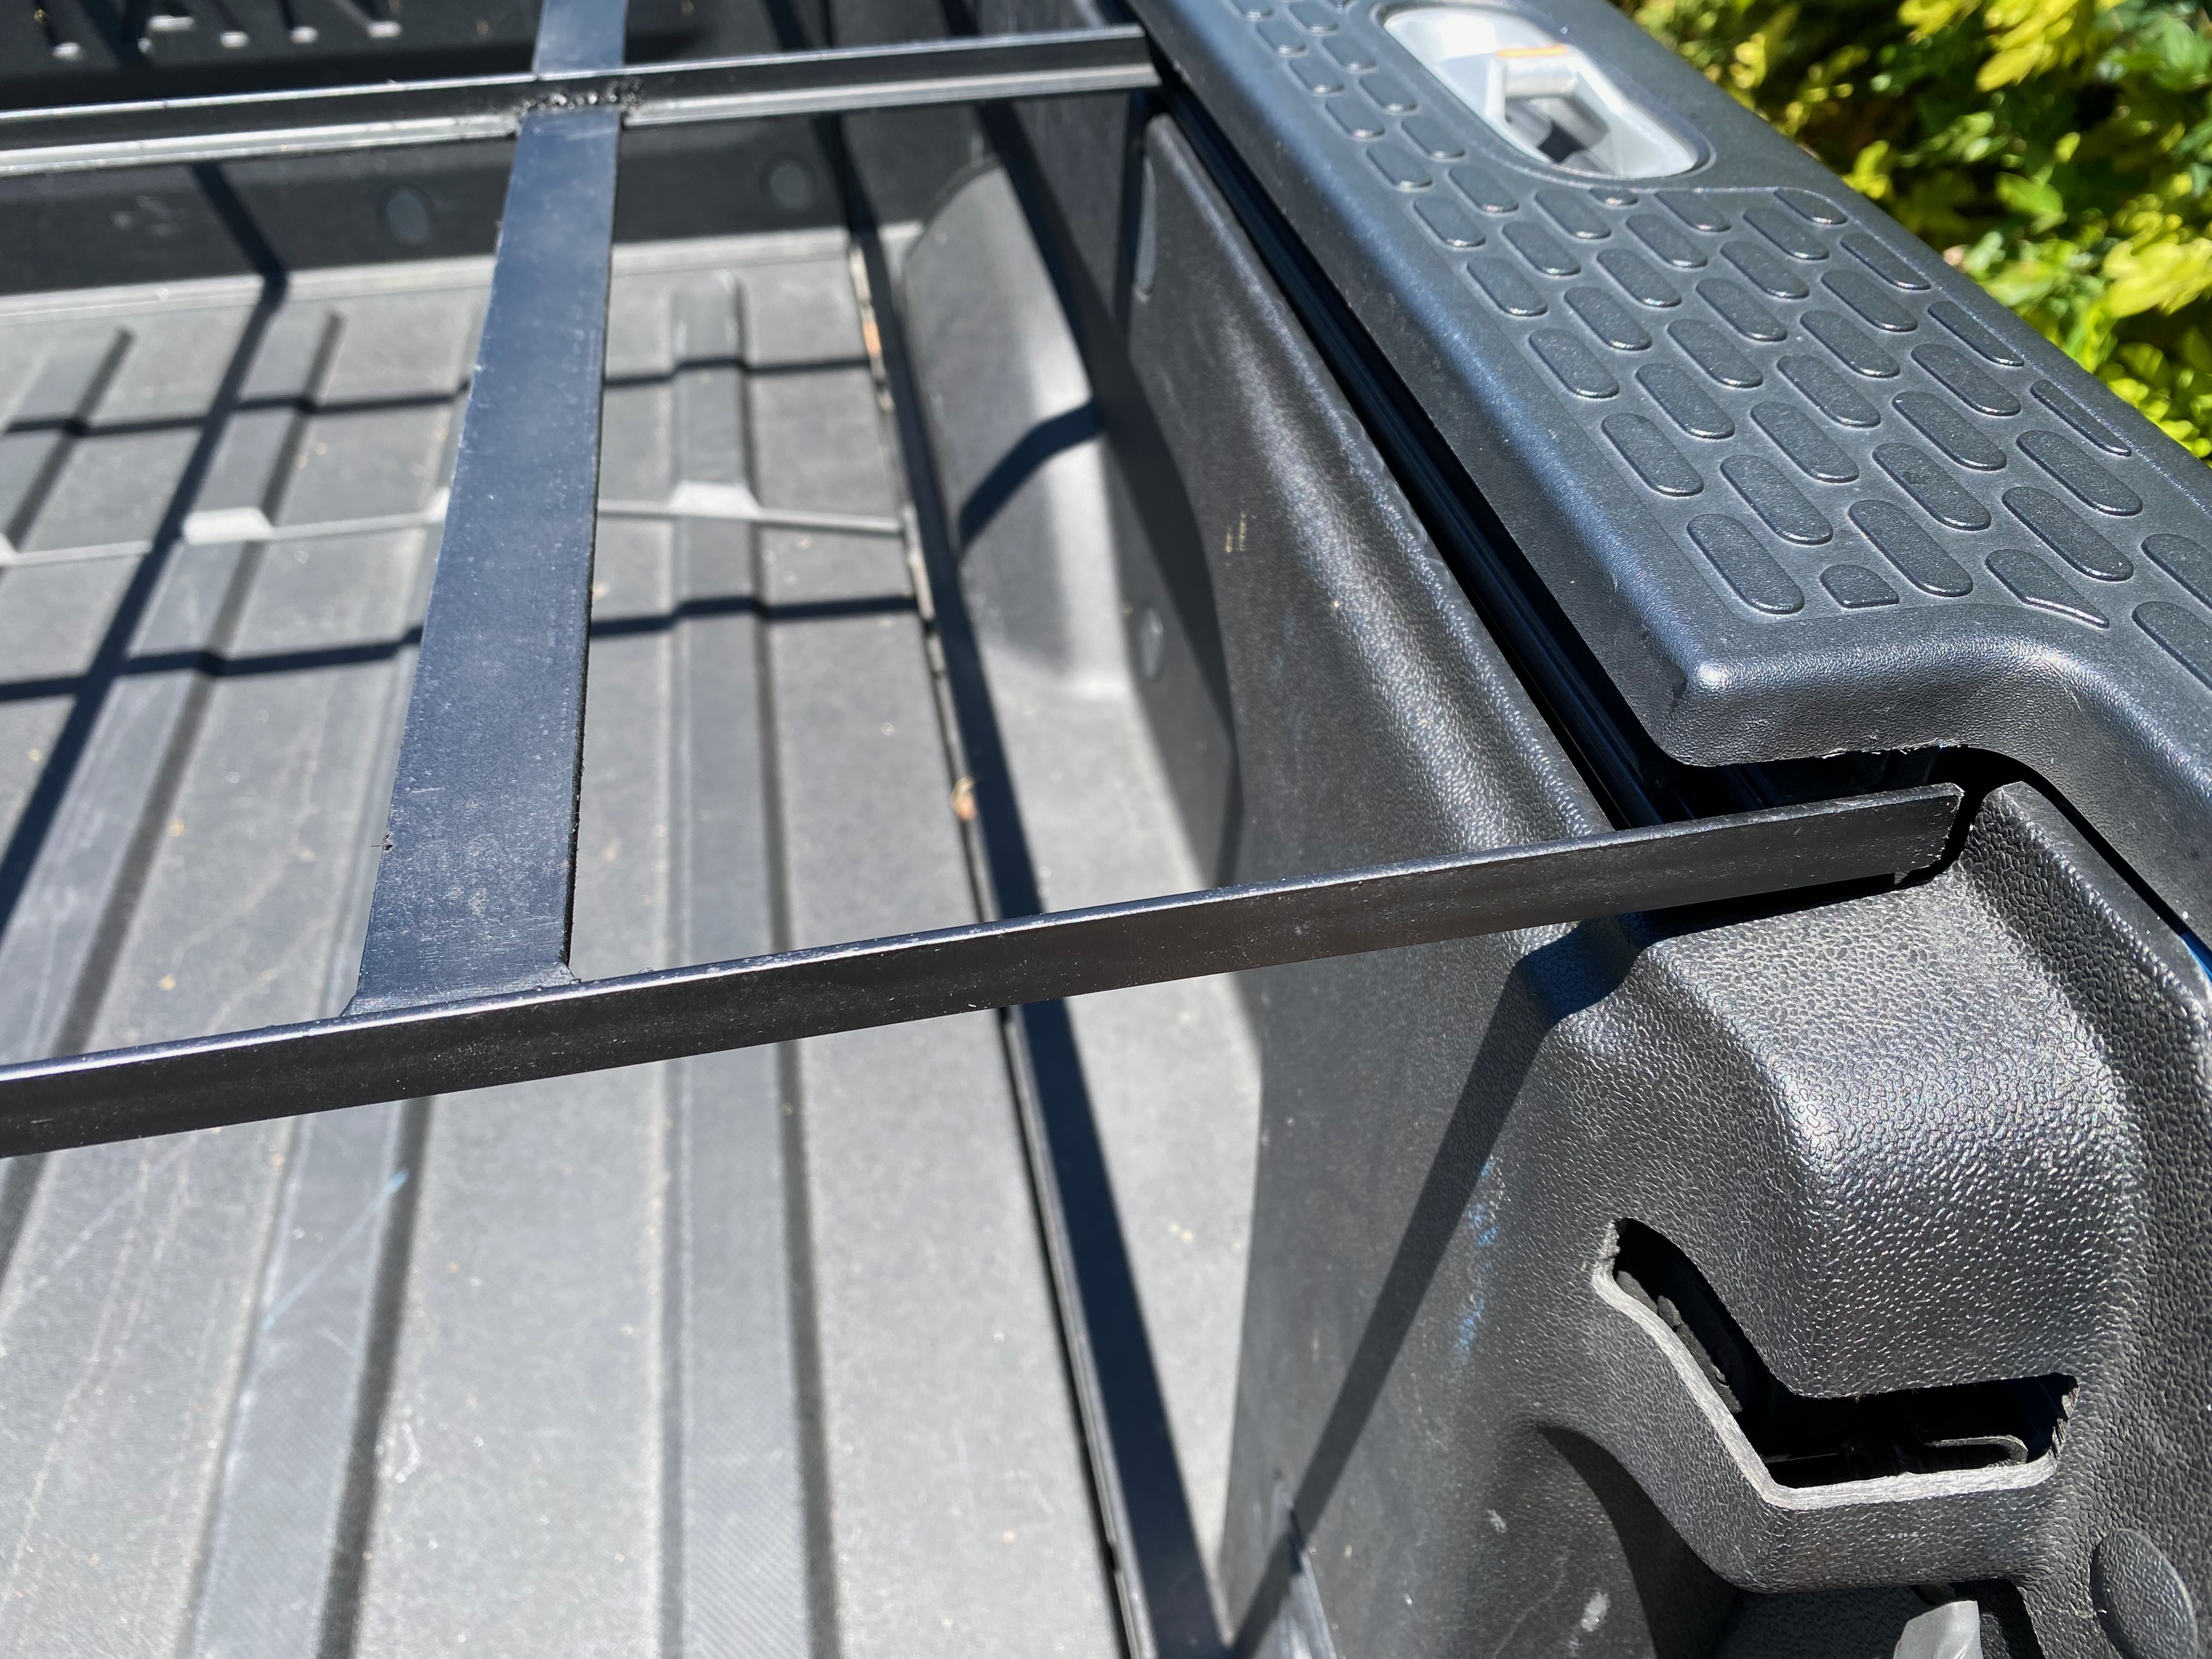
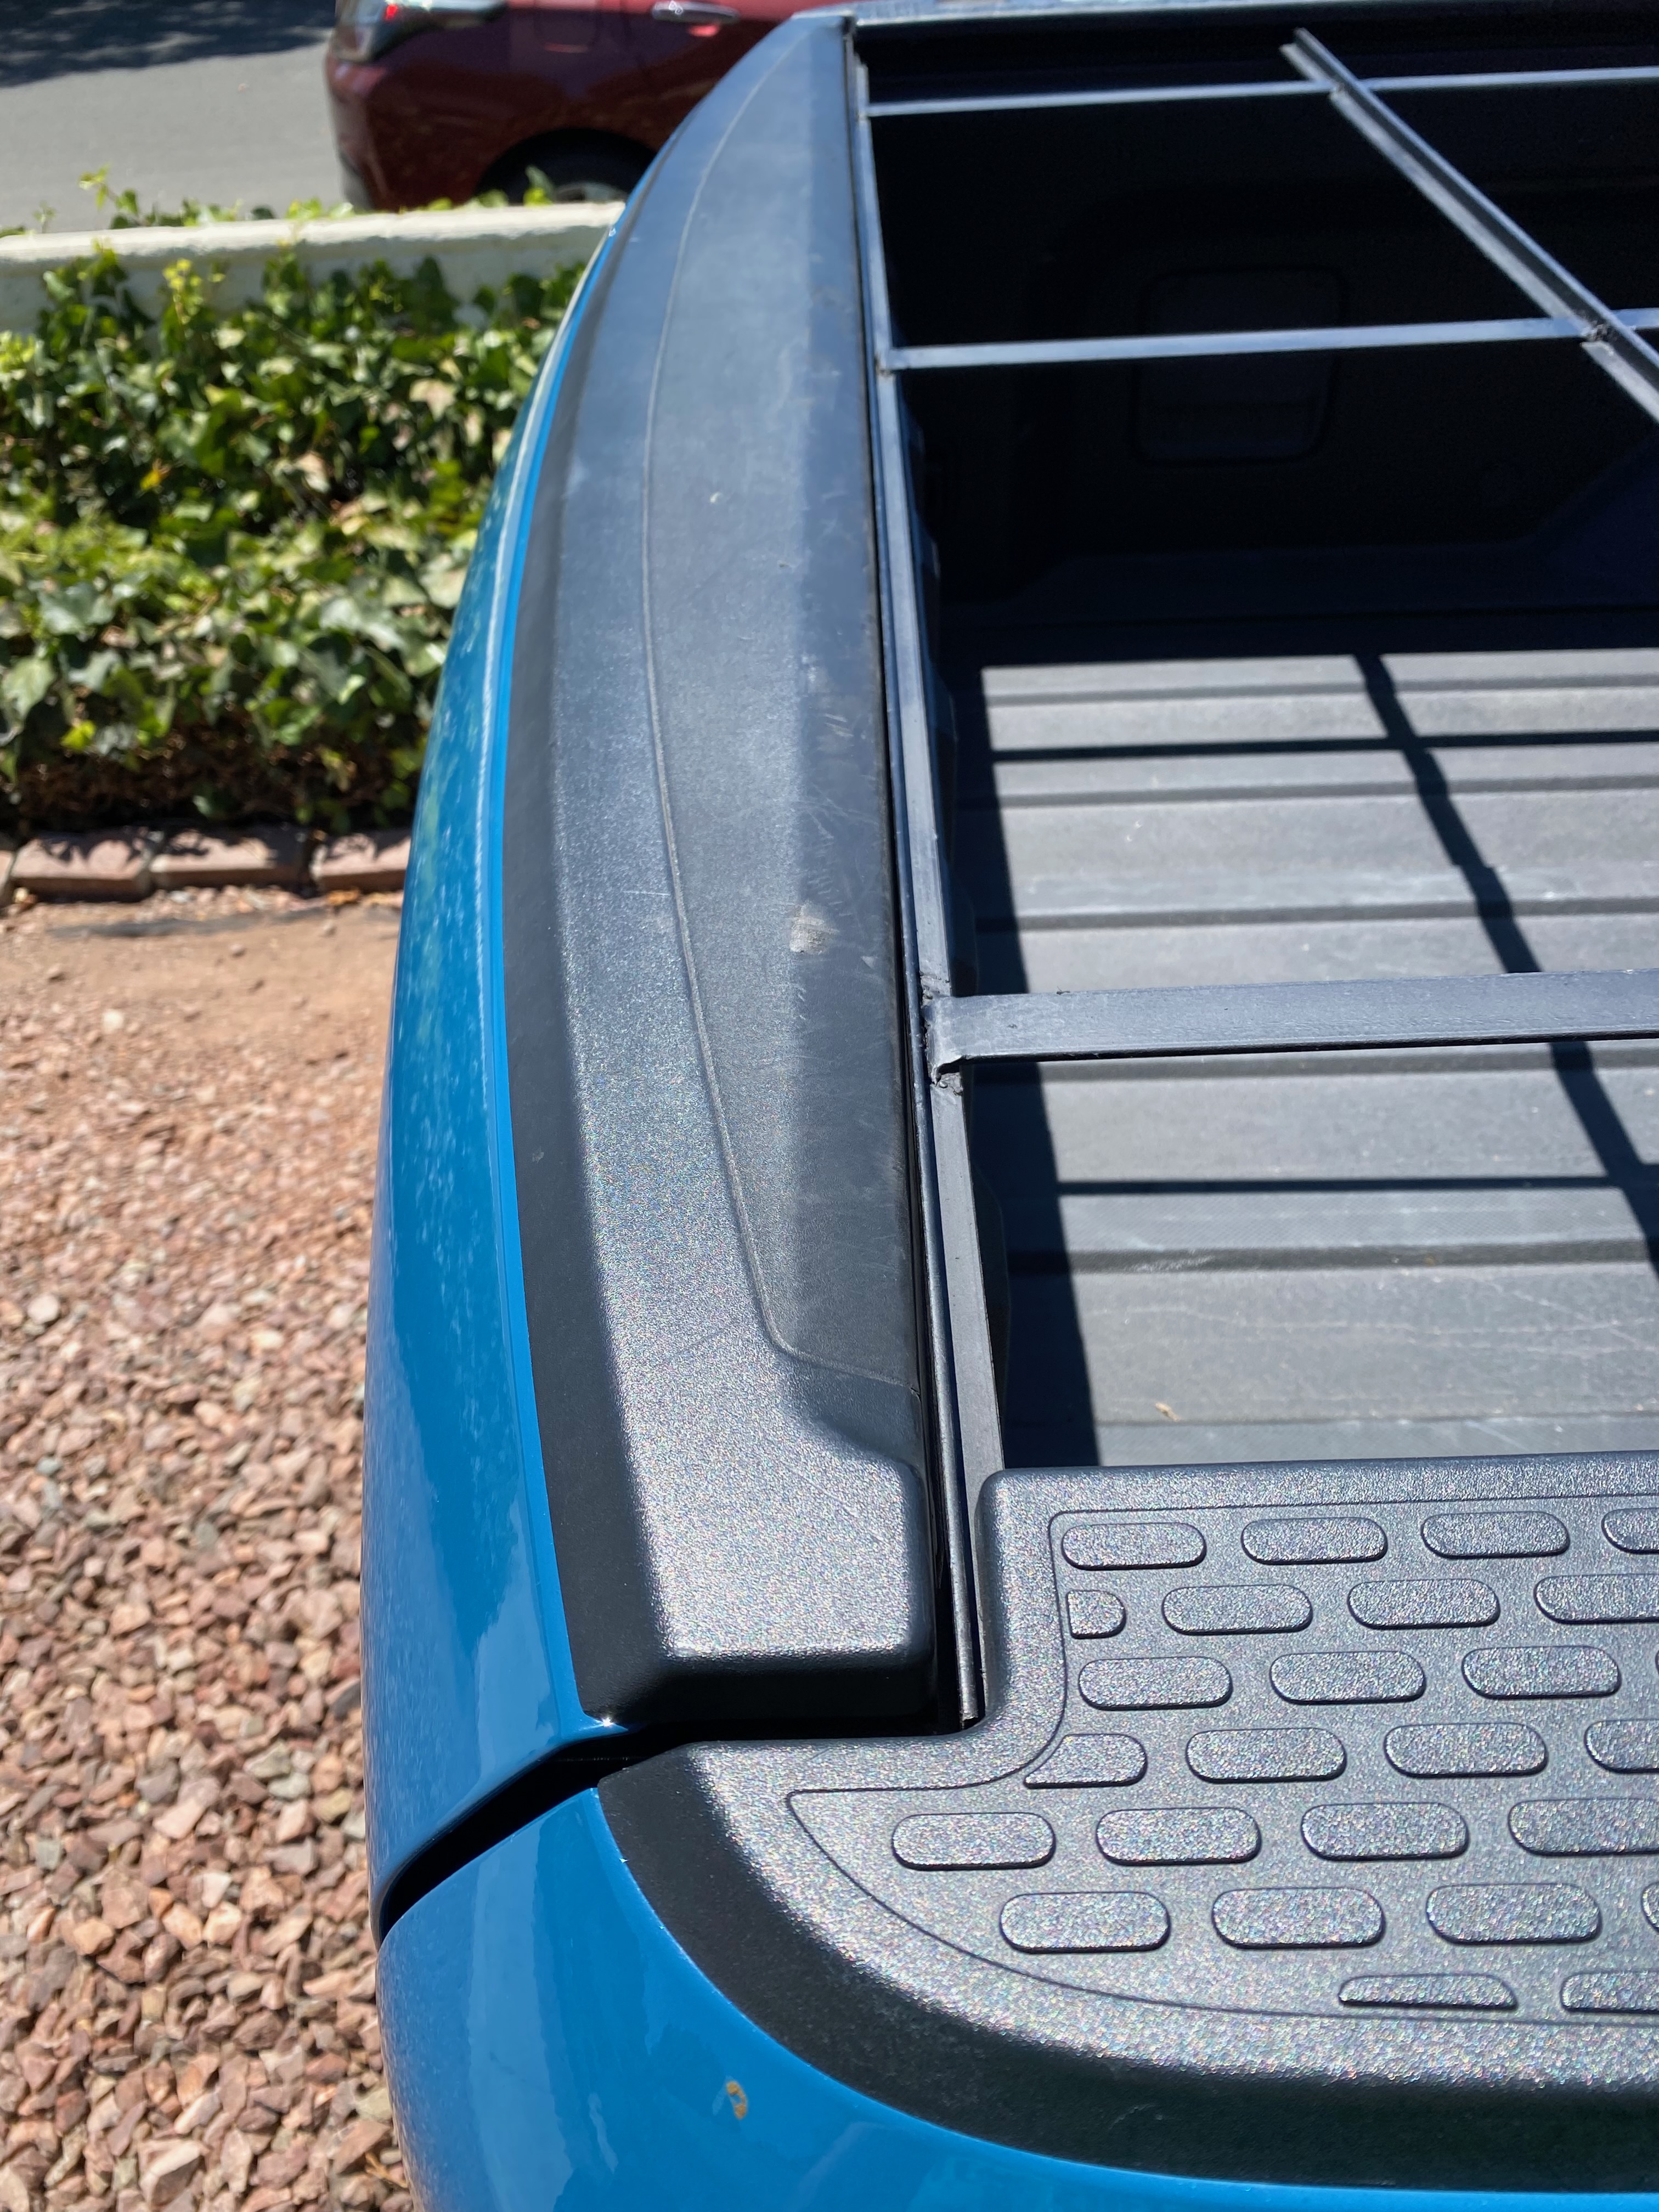
- Finishing off with a full inspection of panel alignment and fit.
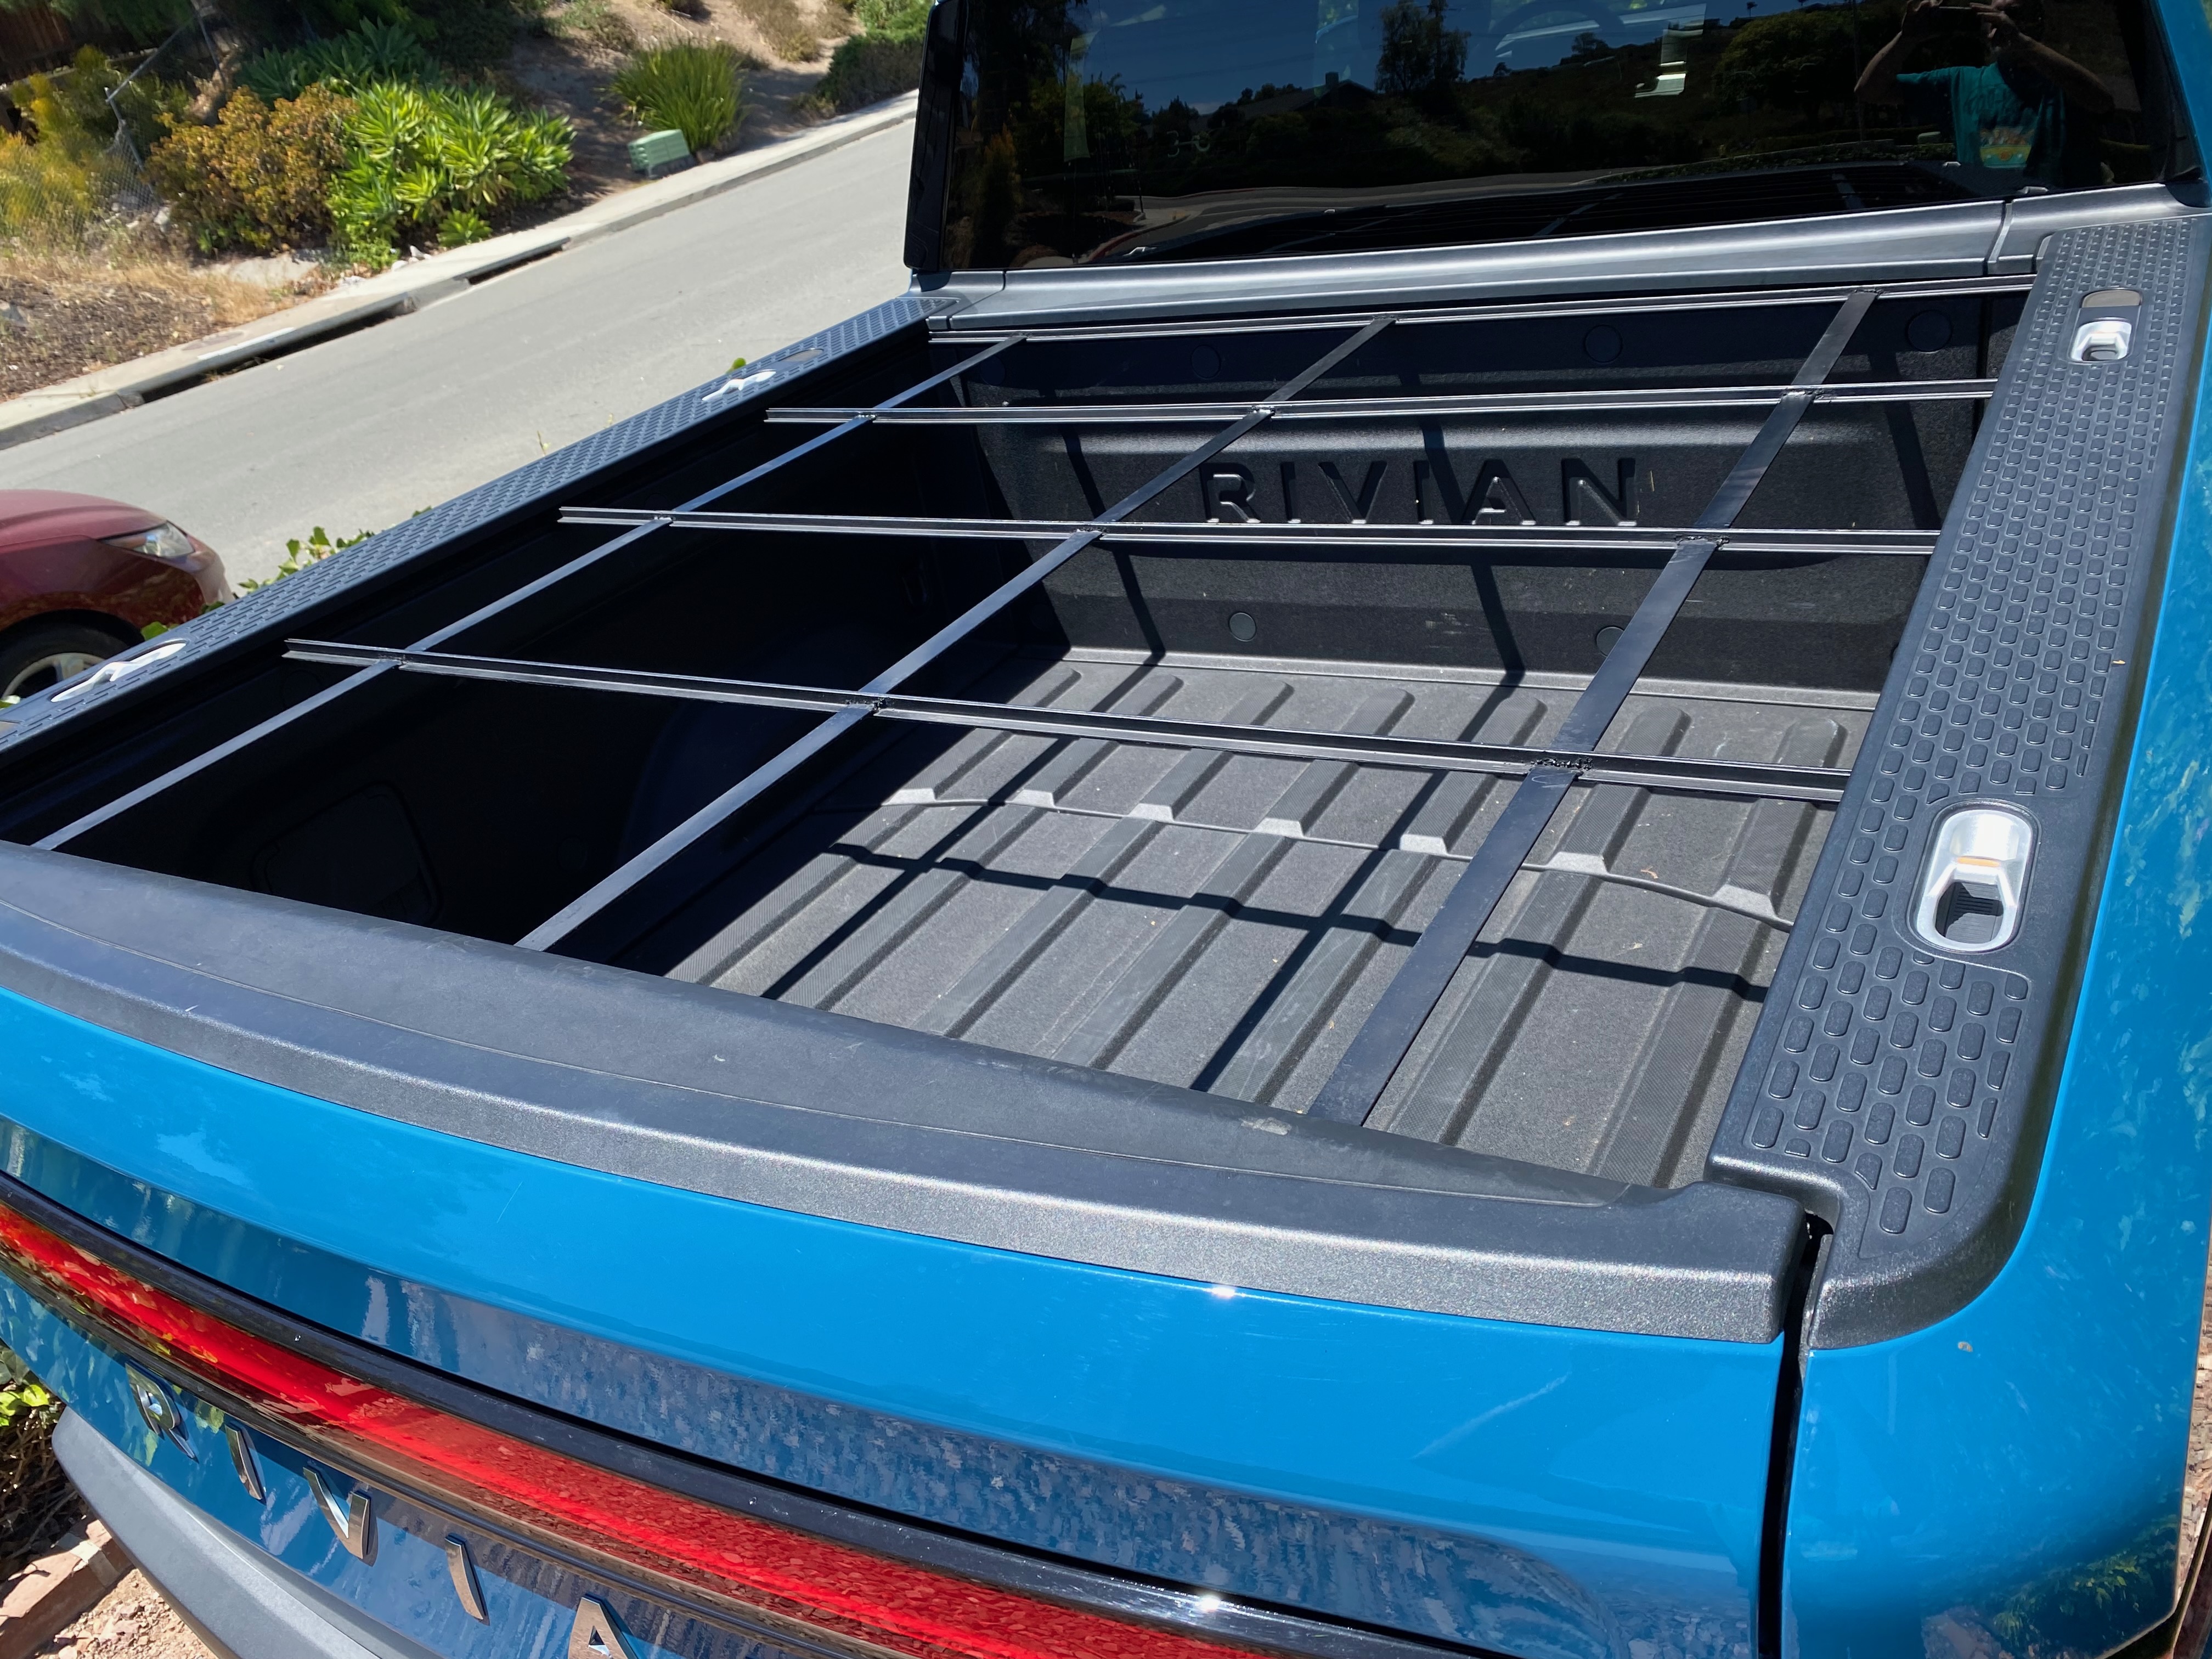
Next: Phase 2 — Bottom-Up Layup & Hole Drilling (in progress — progressing slowly, may not be complete until August 2026; may change based on actual experience).