Phase 2 — Bottom-Up Layup & Hole Drilling
Phase 2: Bottom-Up Layup & Hole Drilling
Status: In progress — may change based on actual experience. Work is underway but progressing slowly and may not be complete until August 2026. Steps are being revised as the work progresses.
1. Prep the Mold
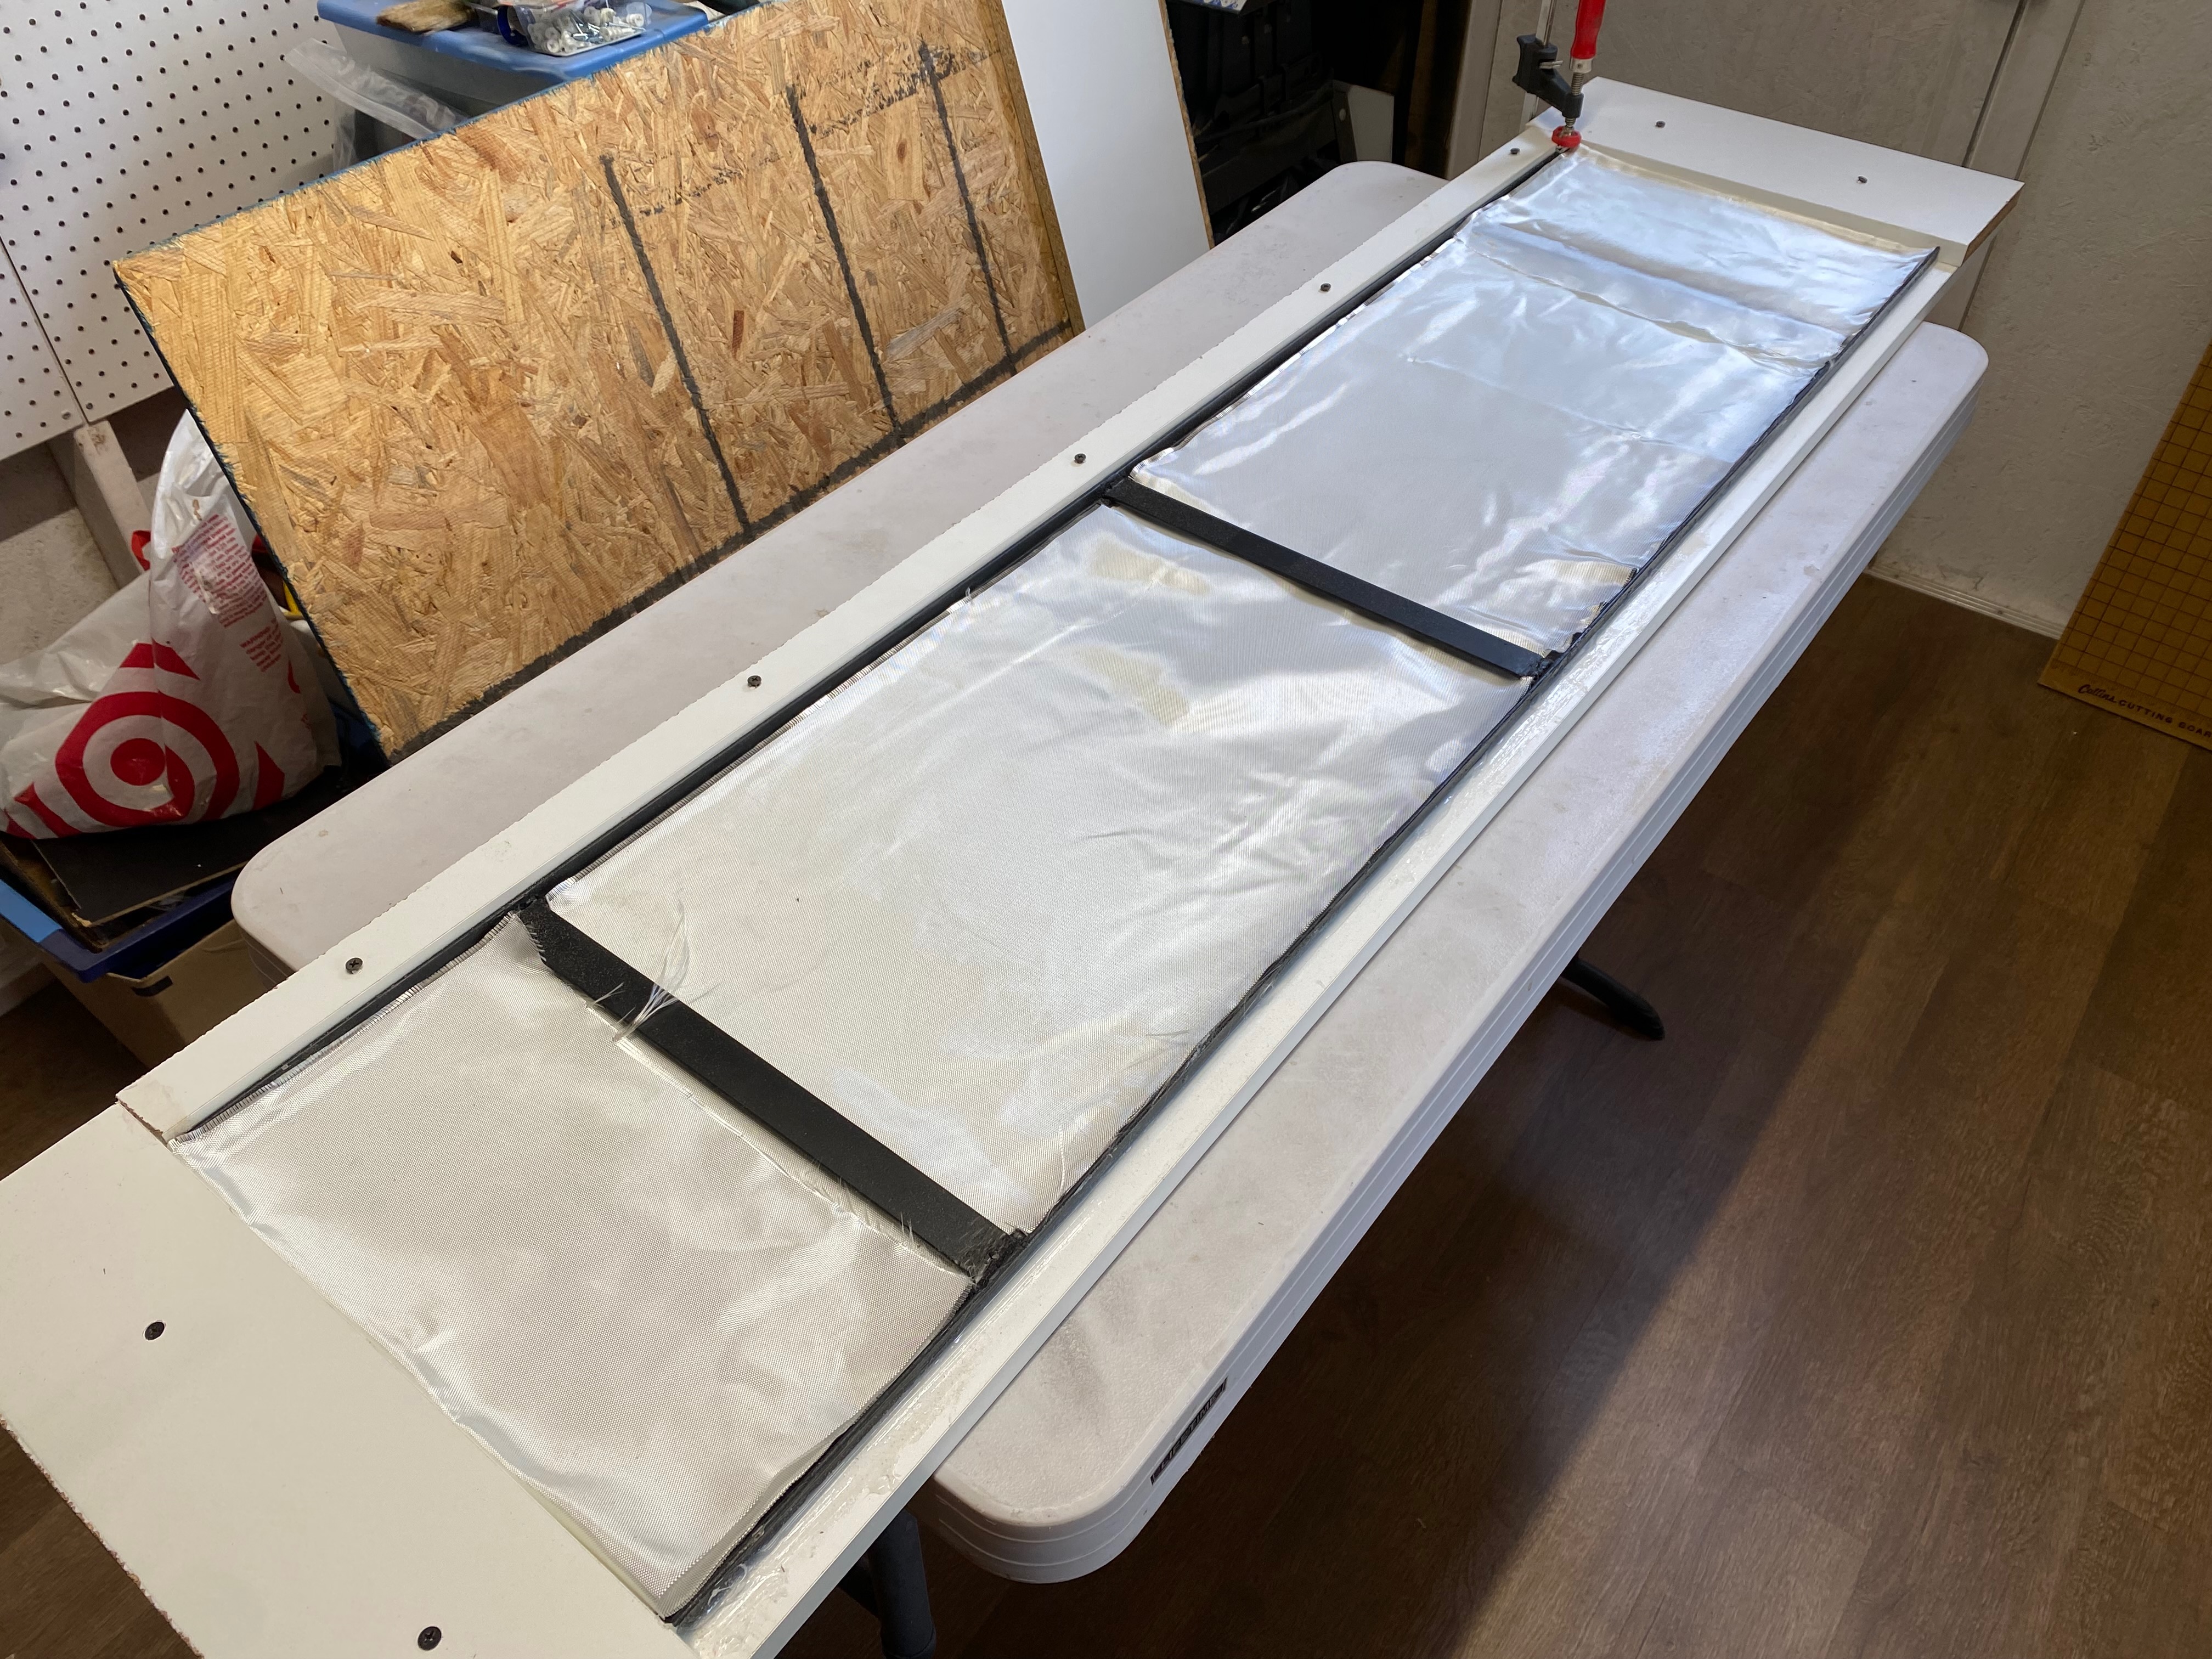
- Cut a 65” x 16” melamine board for the base. Screw a second melamine layer on top with silicone caulking between the layers to form a 55” x 13½” mould, and fill all corners with silicone caulking.
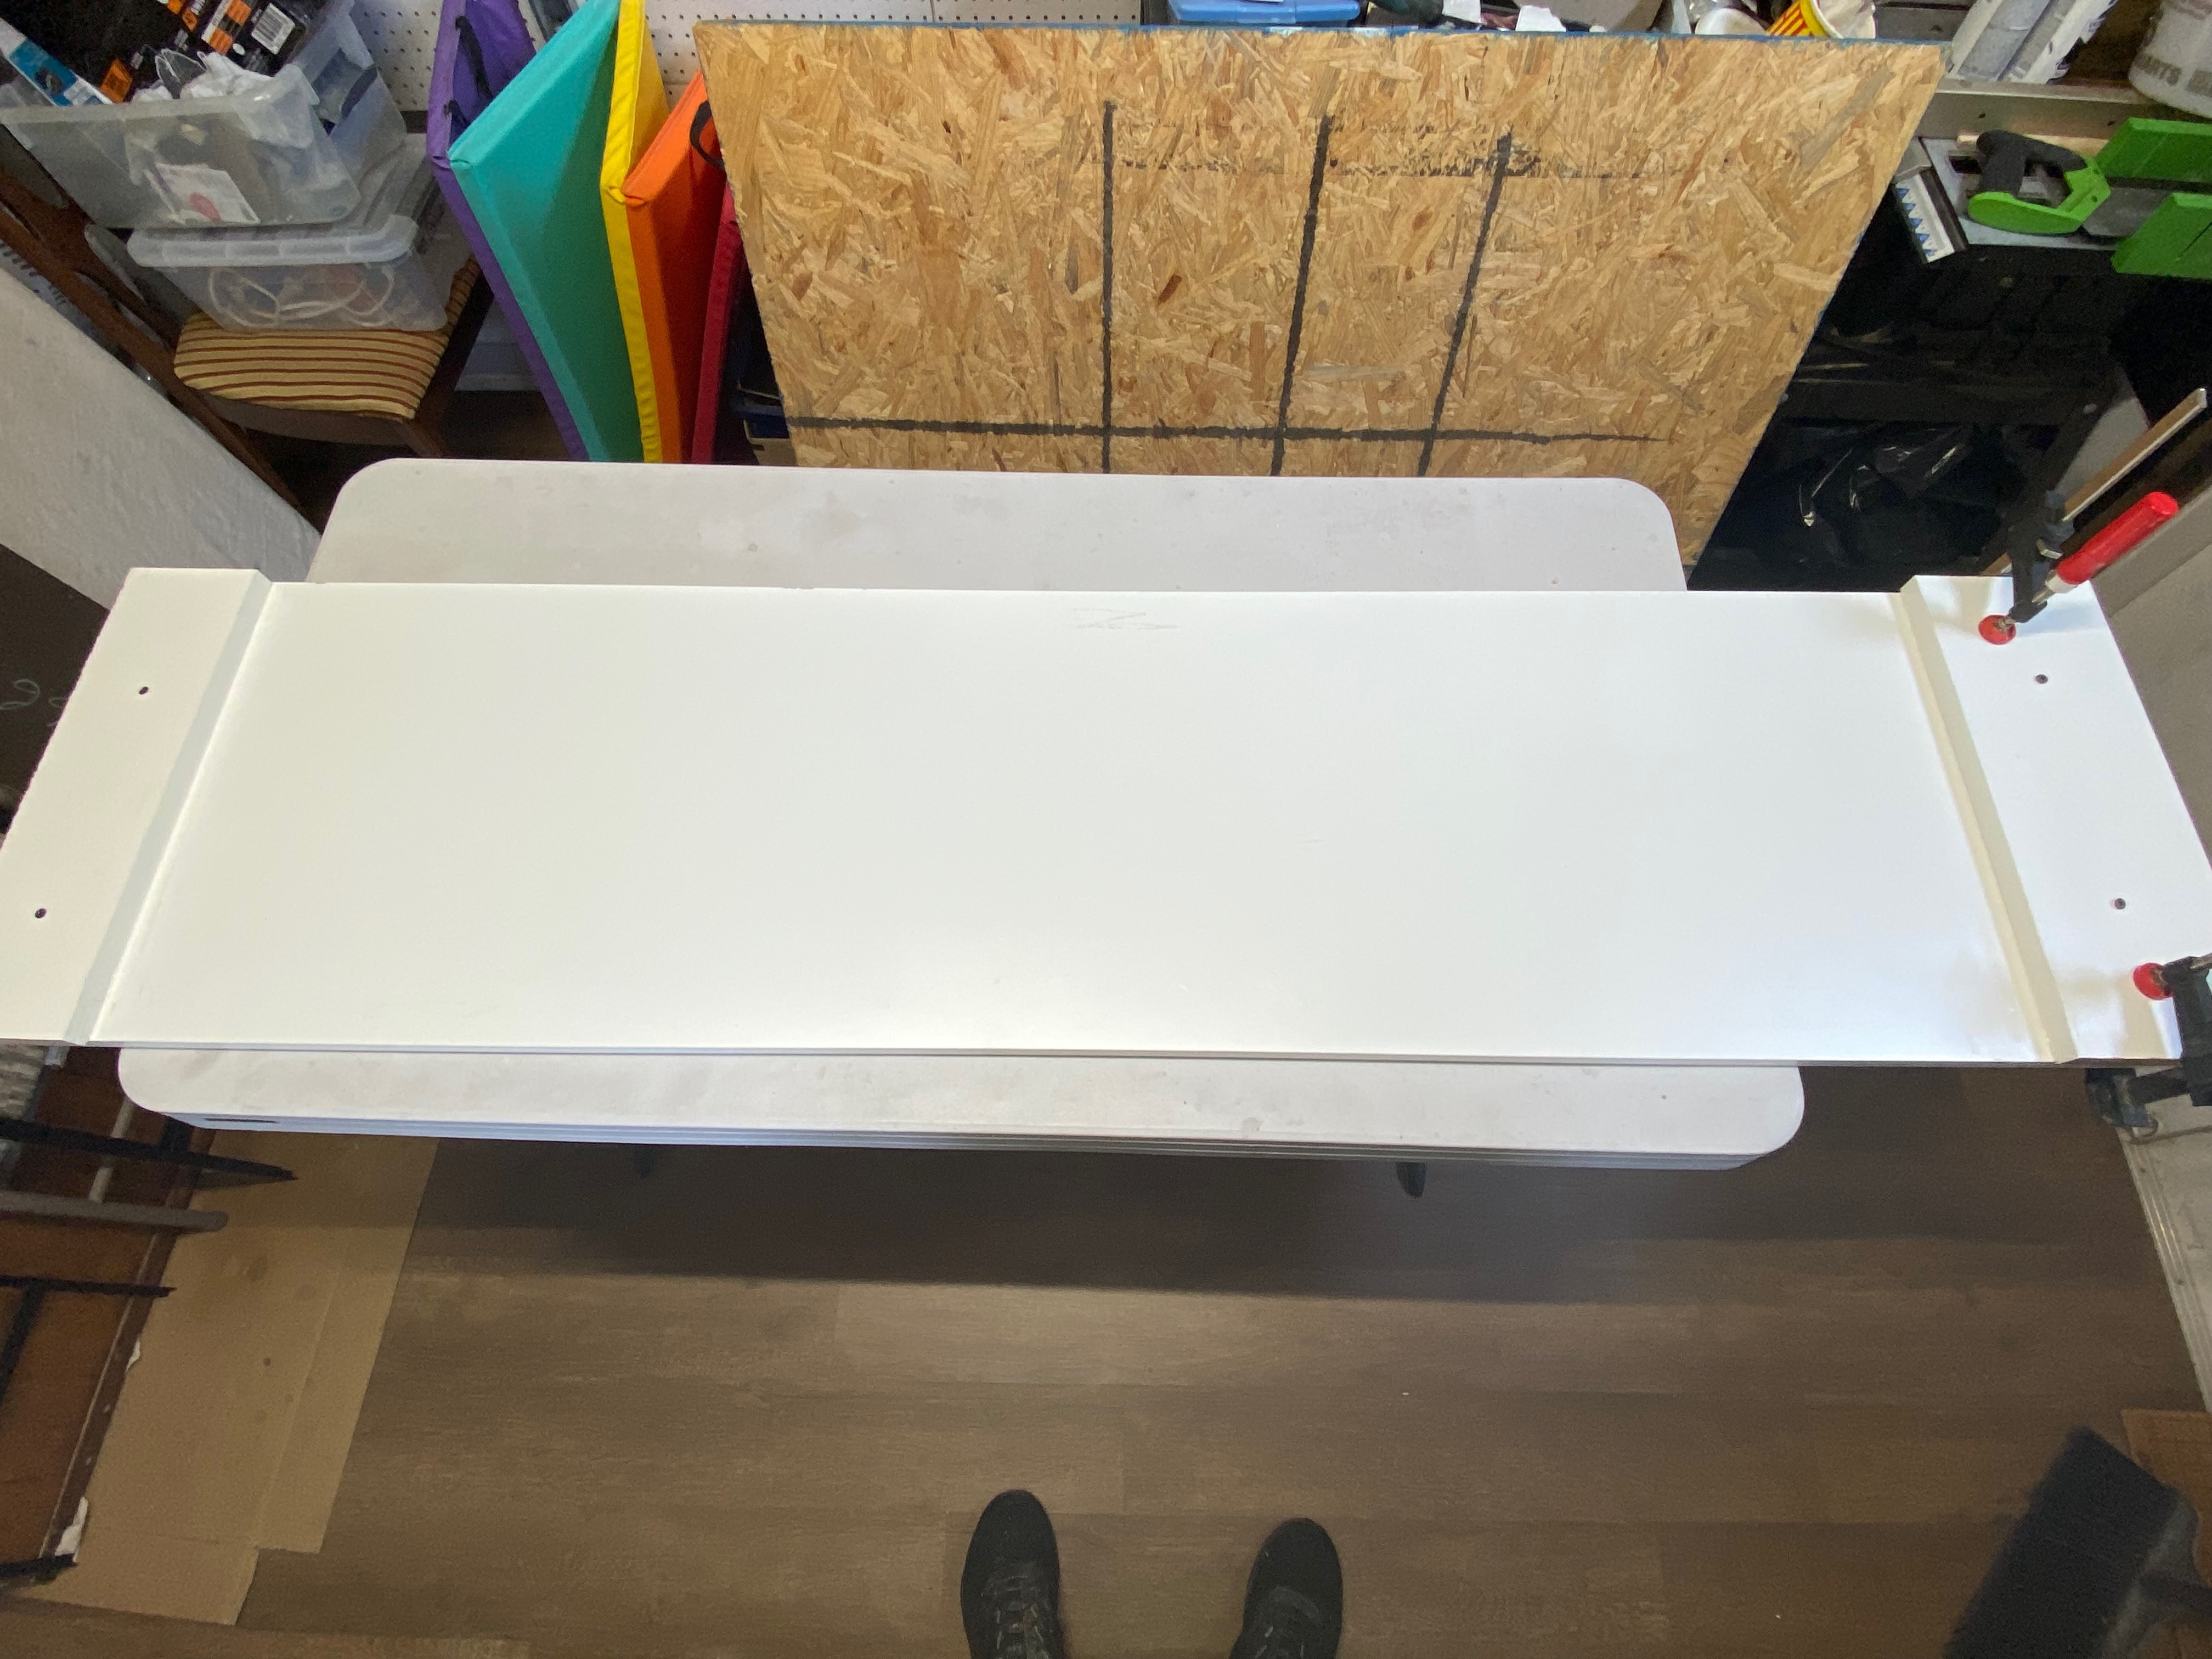
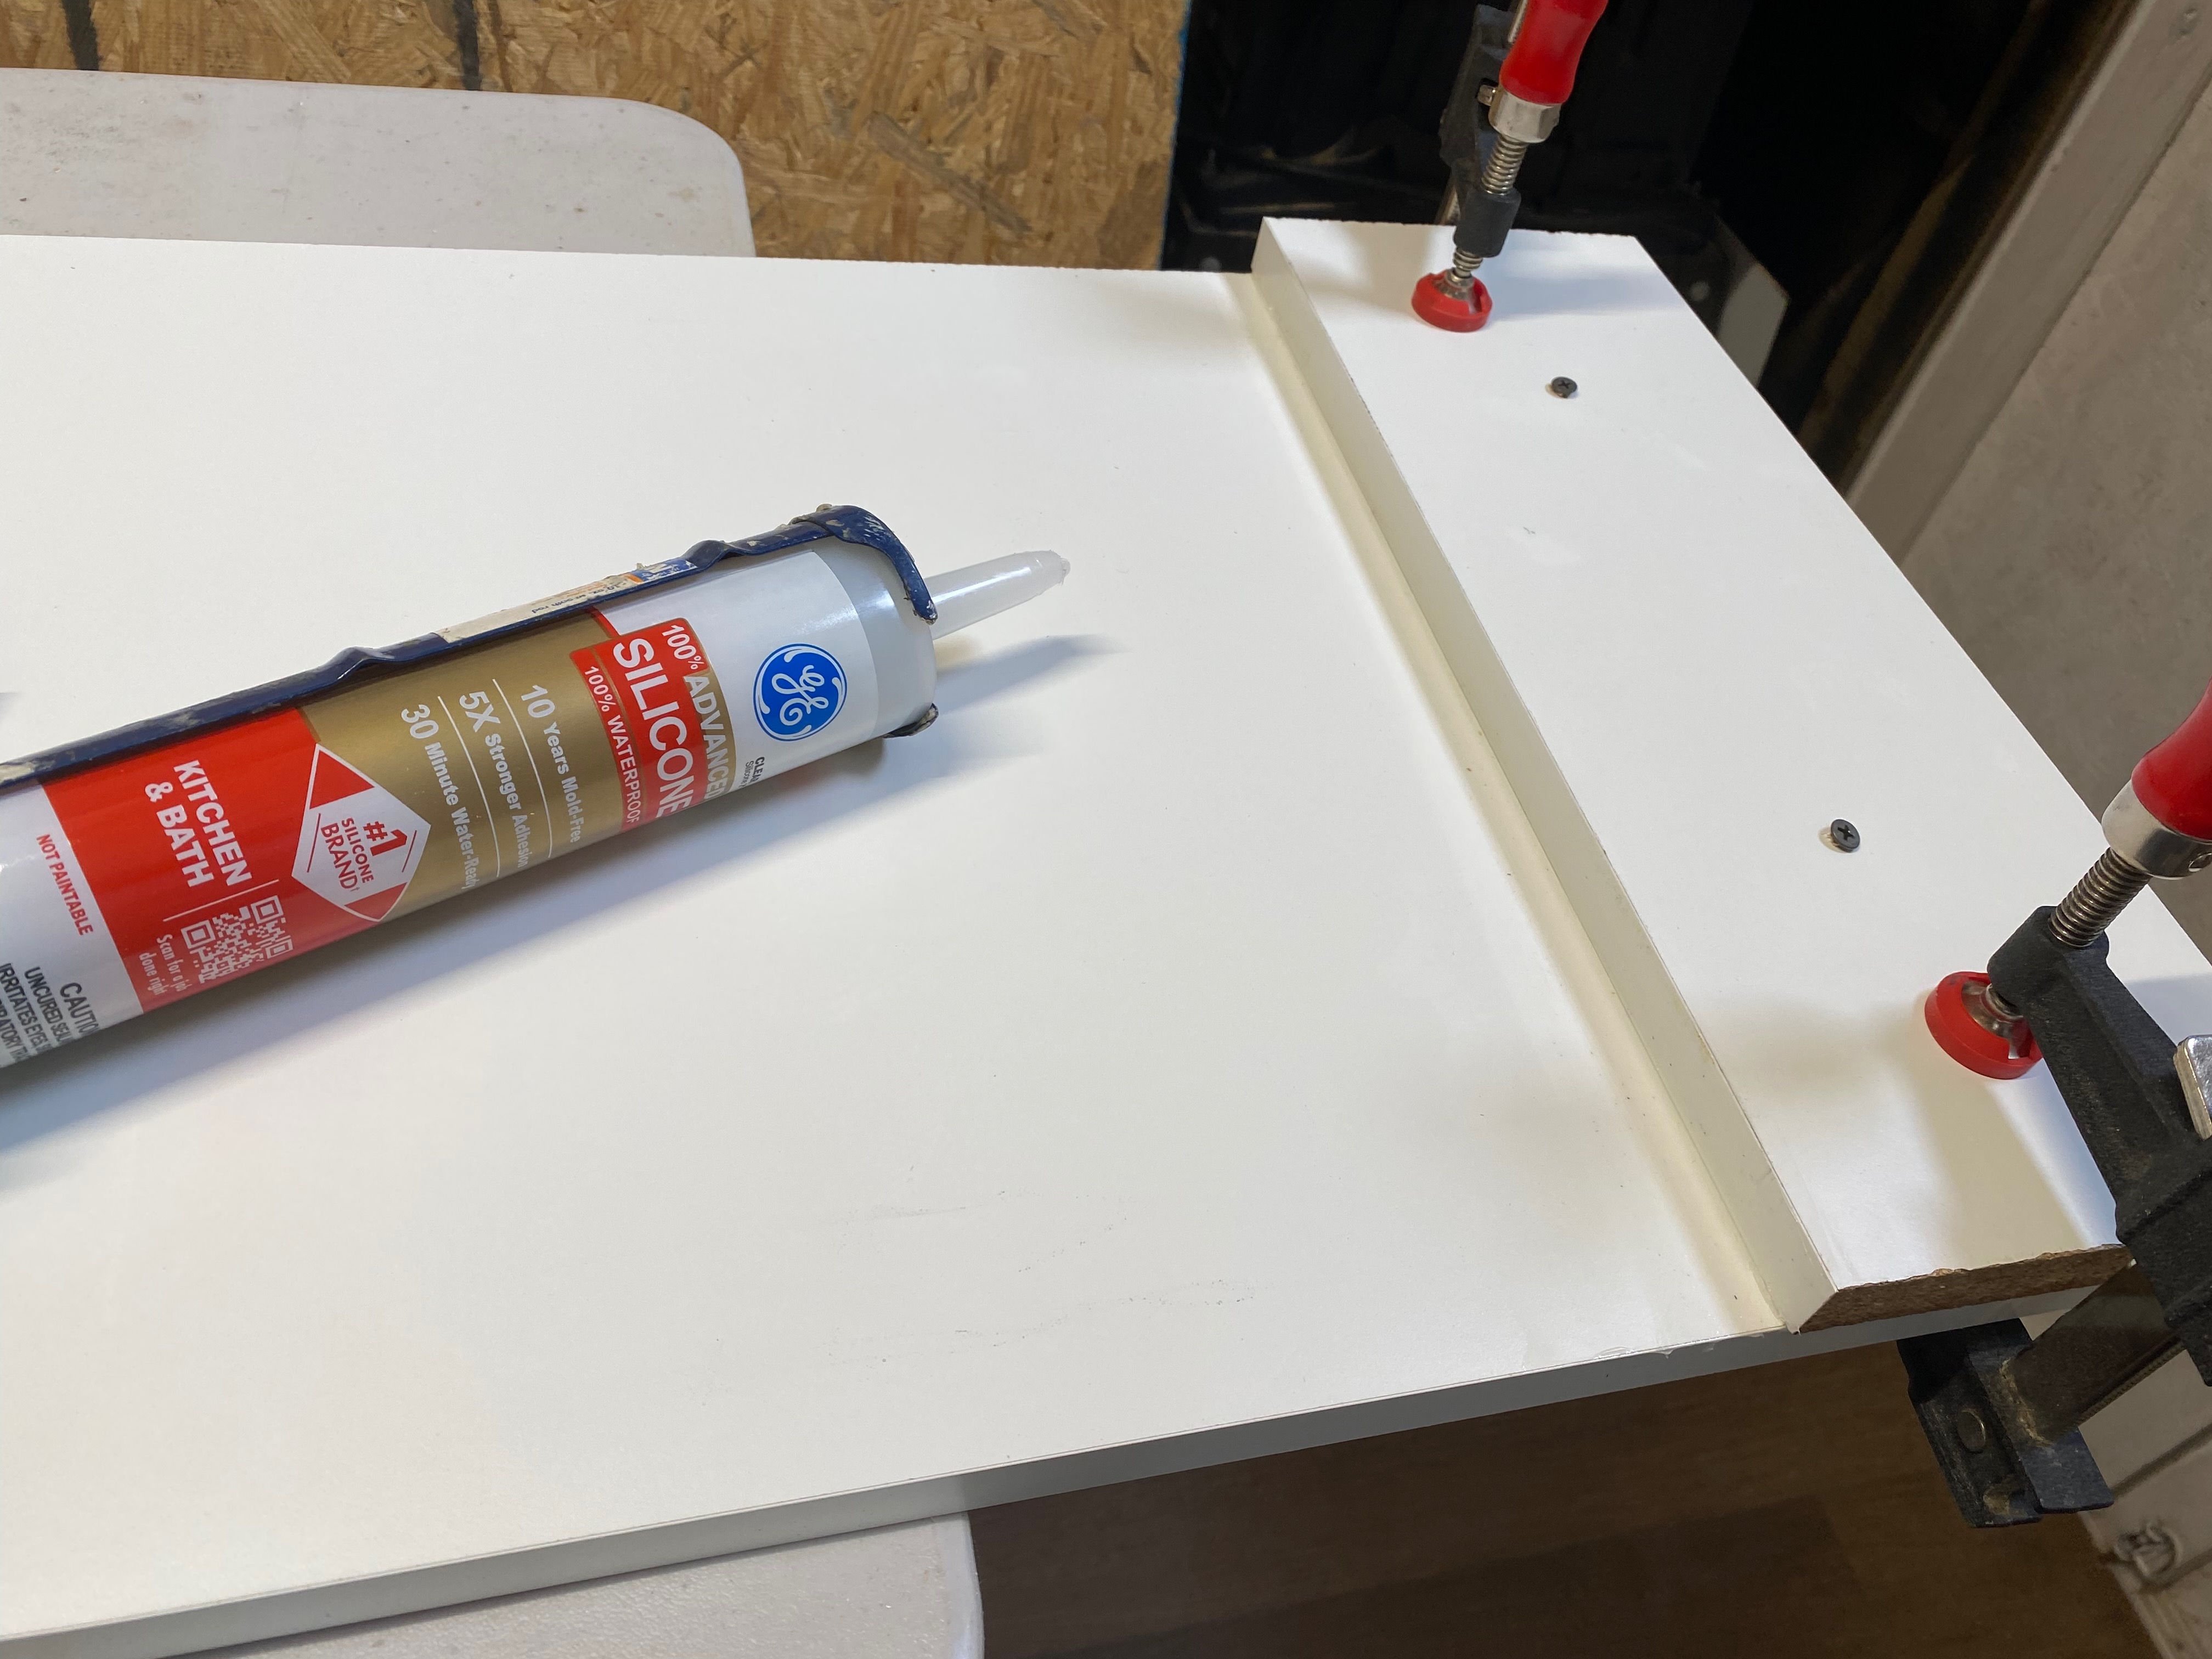
- Verify the mould is square before the silicone sets.
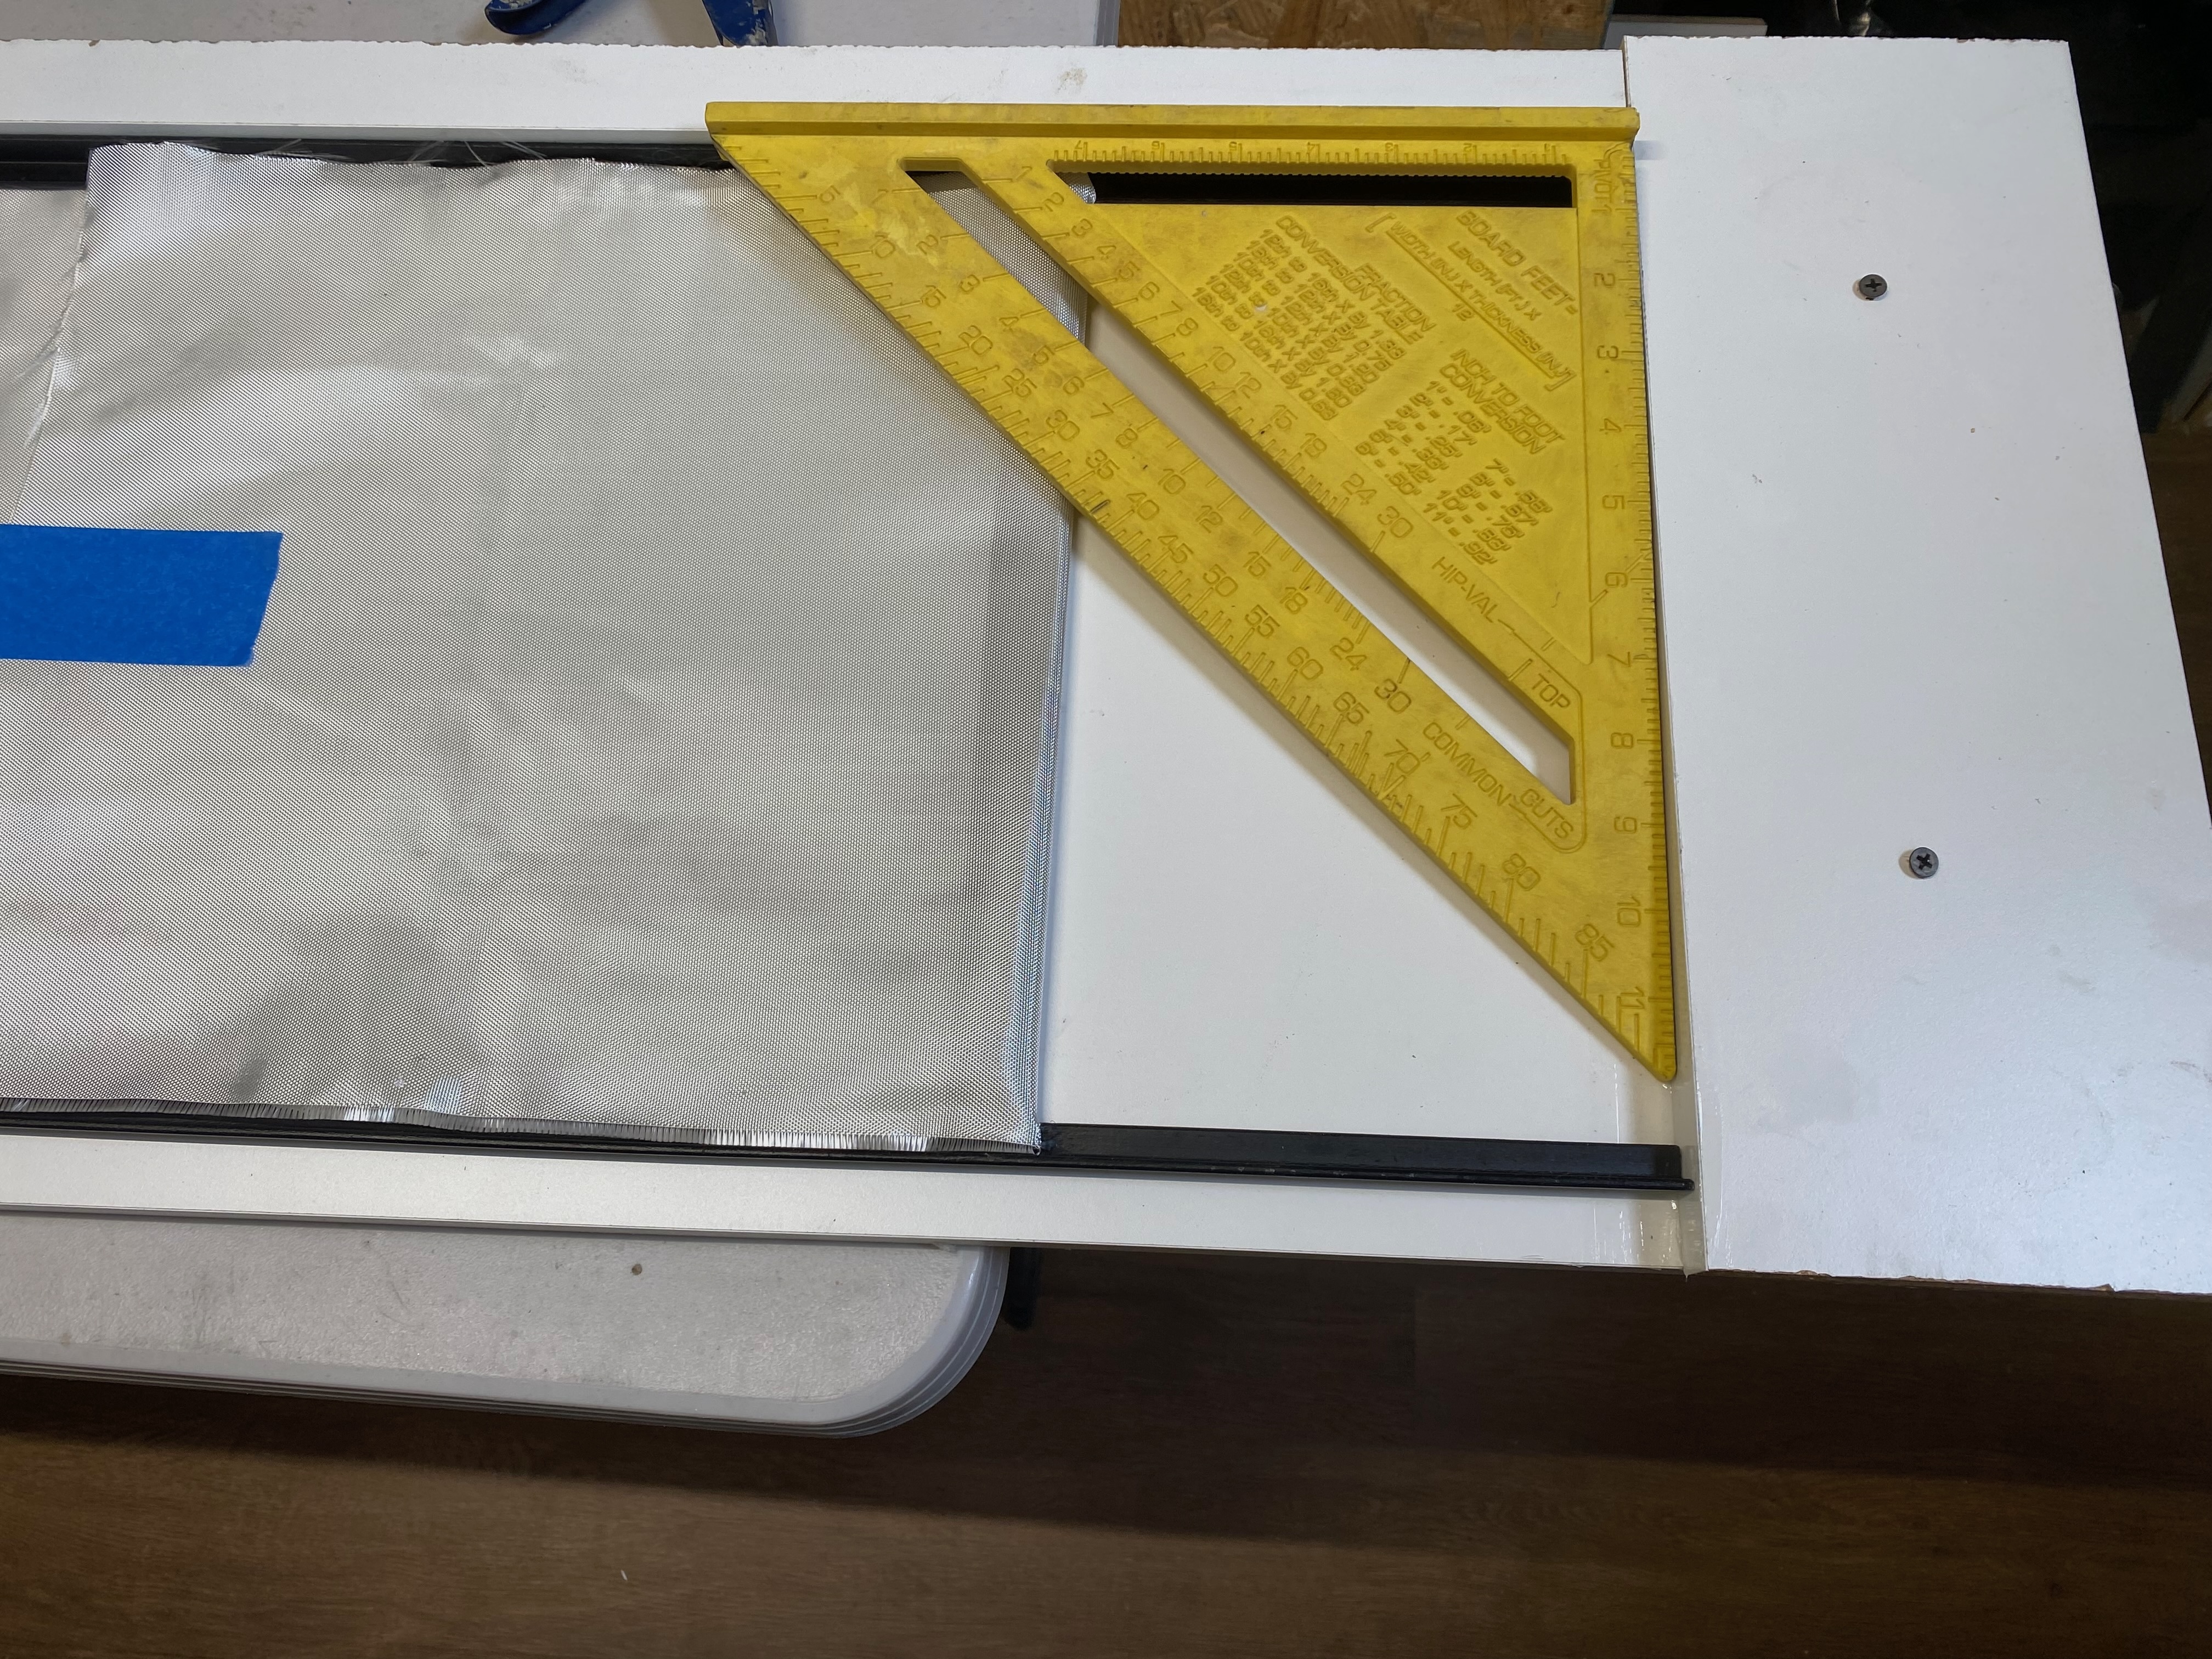
-
Leave the mould open on three sides — the metal frames are not perfectly straight, so the open long side lets you clamp the panel true.
-
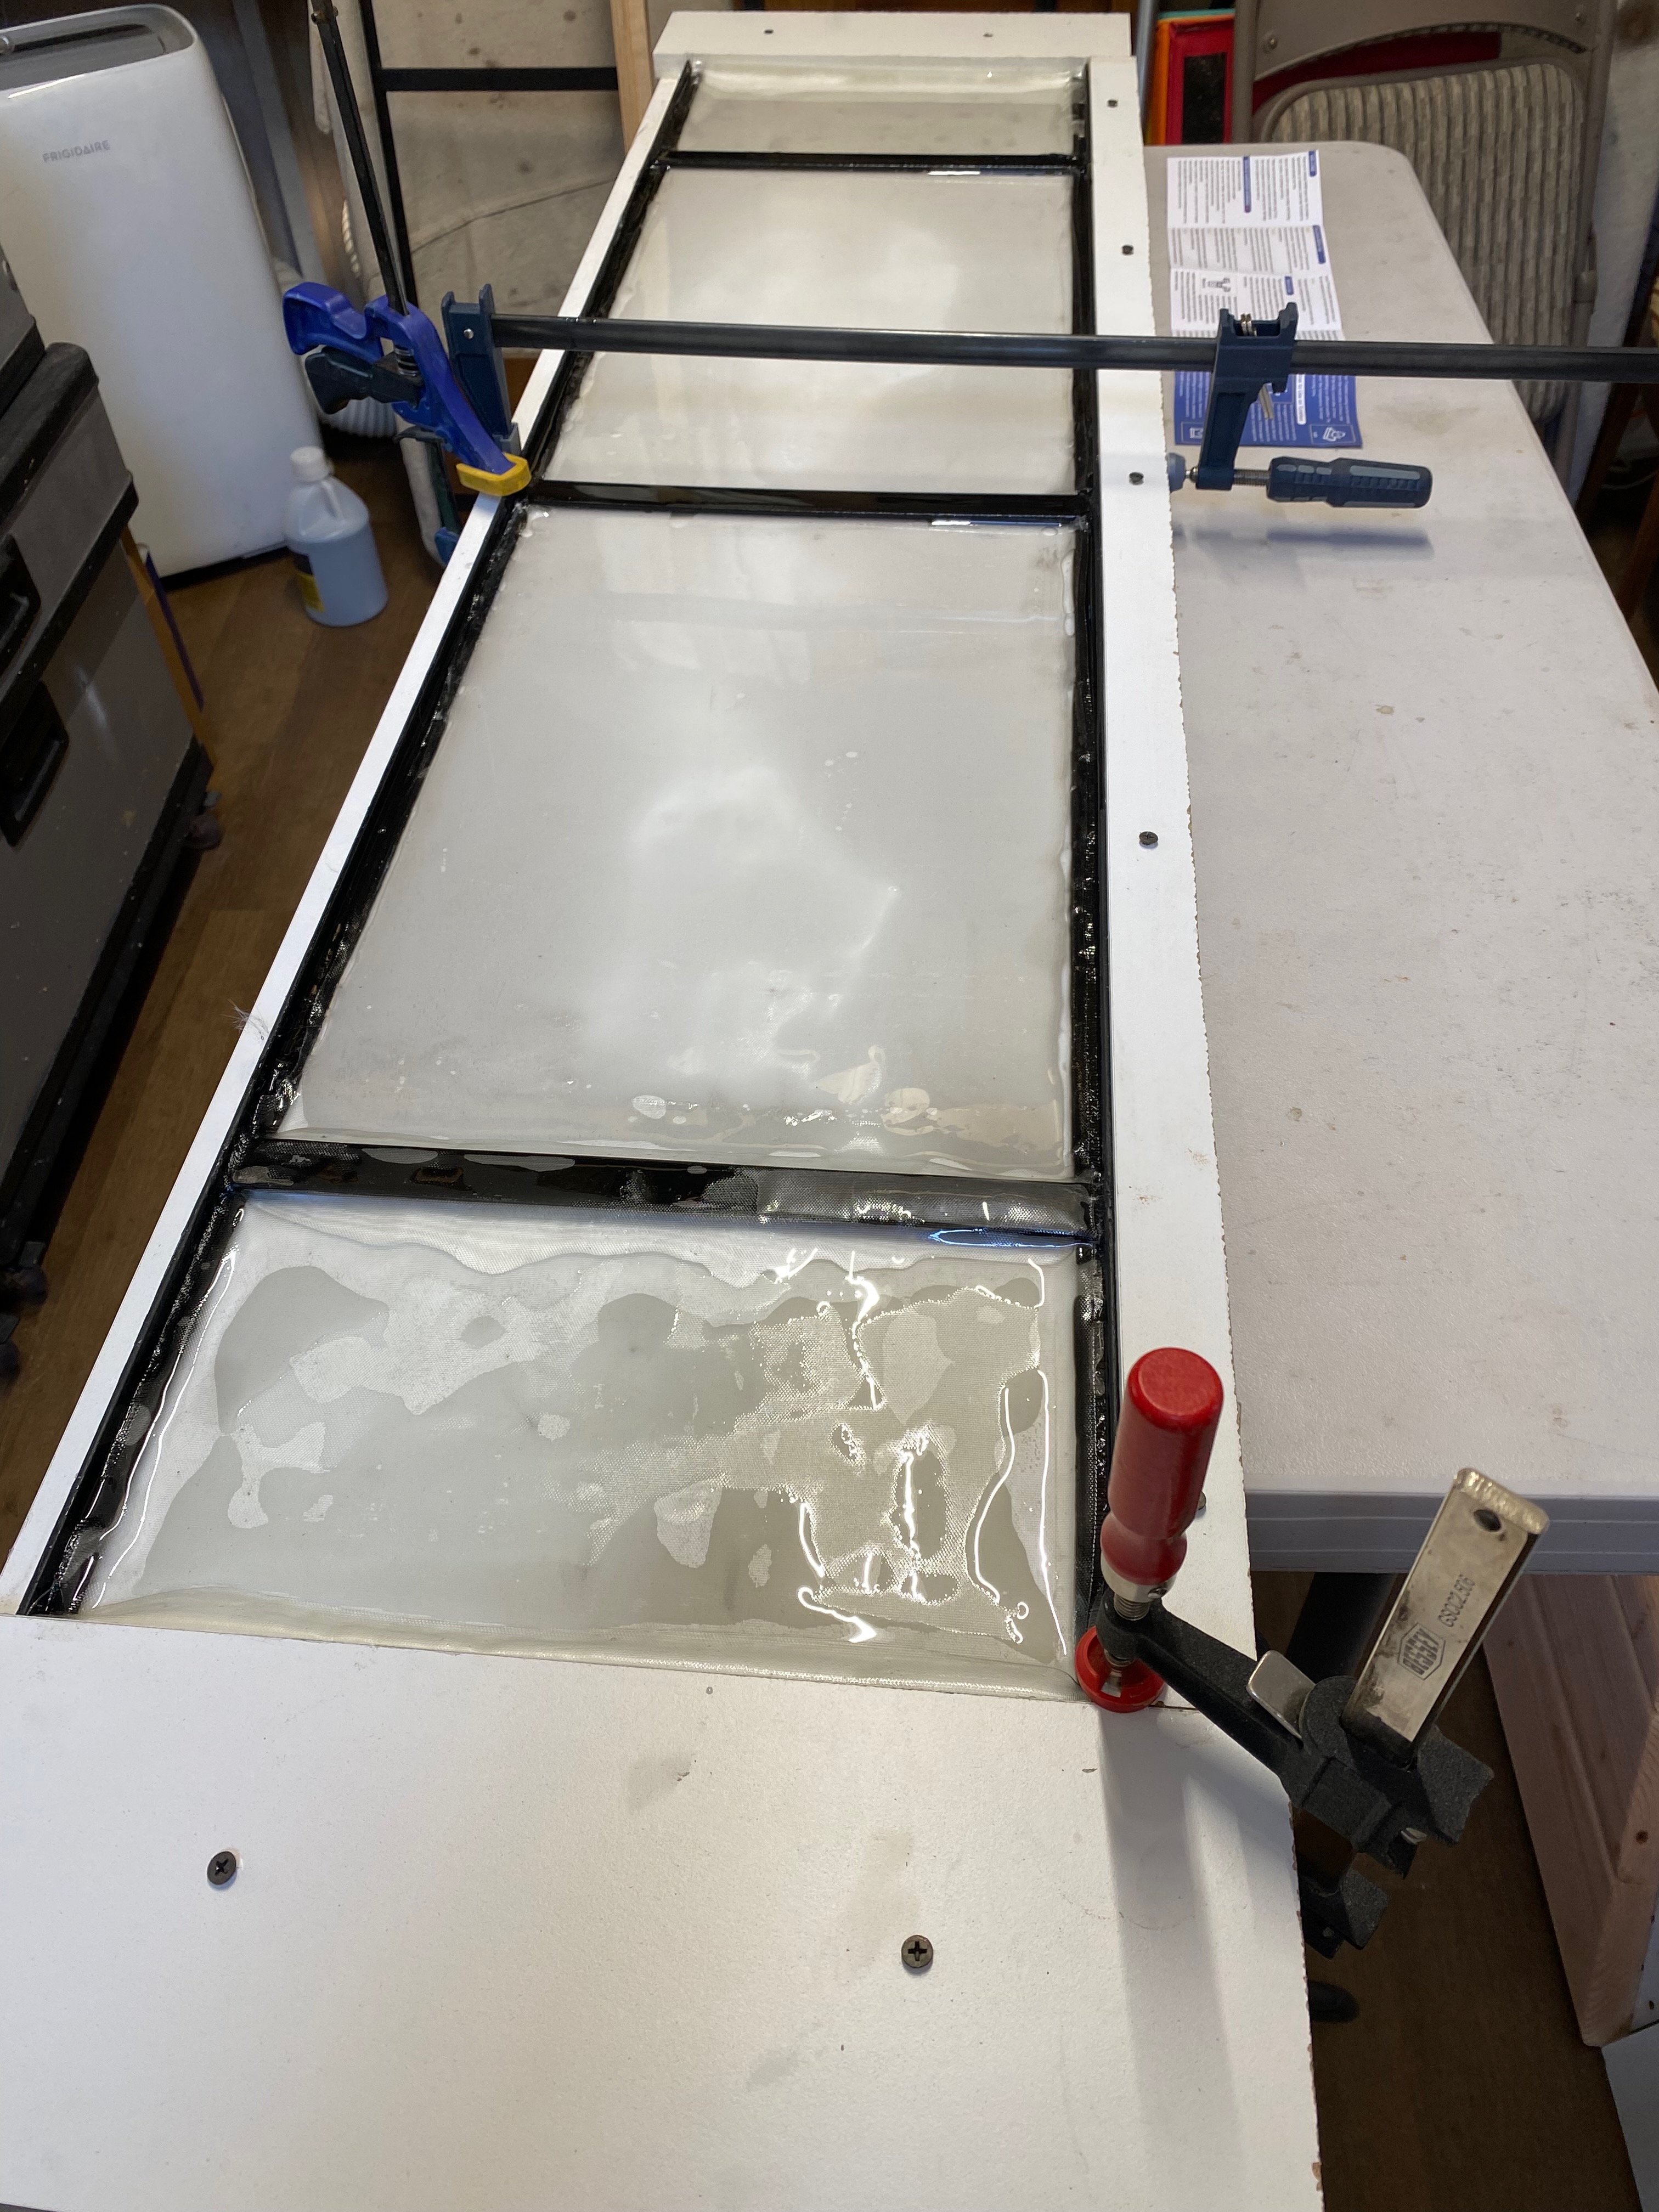
Once the silicone is dry, place the first panel in the mould and clamp the long sides straight. Run a bead of silicone caulking along the outside of the bottom and both ends of the panel frame to seal the resin inside while still allowing the long edges to be straightened and the panel to de-mould cleanly.
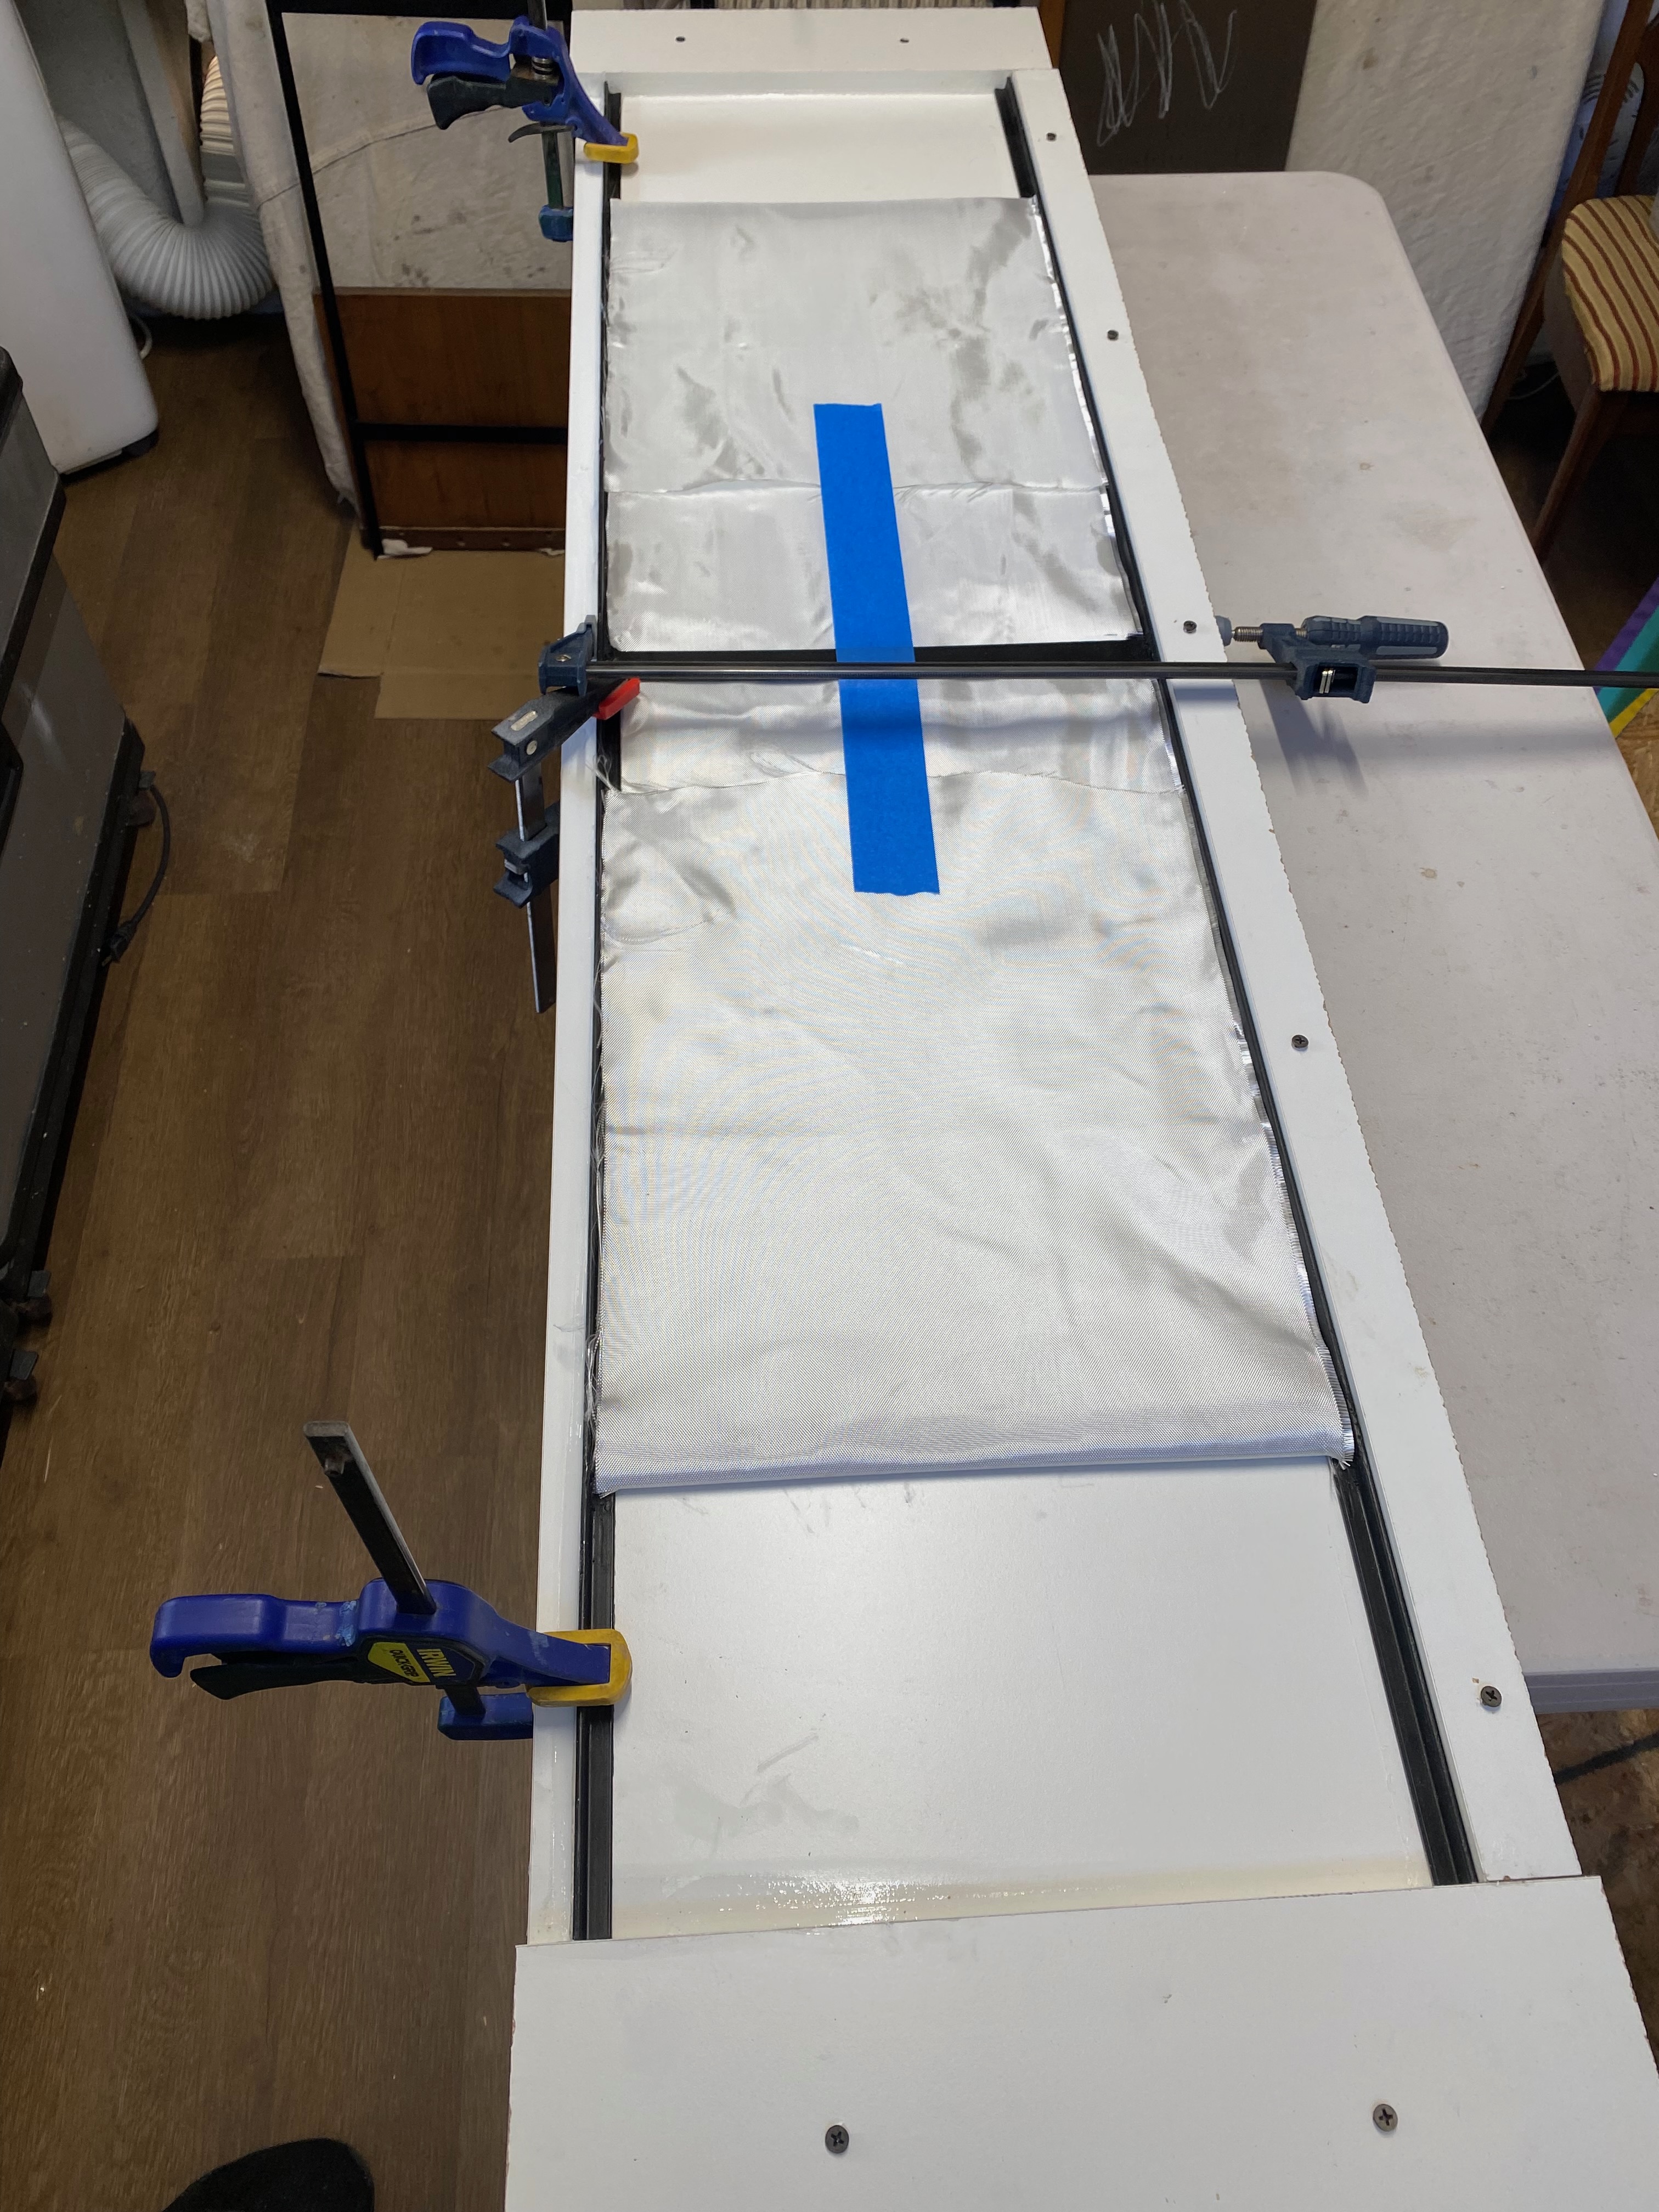
Note: It might be easier to install and remove one of the long sides instead of using silicone on each panel.
2. Wet Out the Fiberglass
- Measure out 16 oz of resin. Warm the two resin parts in a hot-water bath to improve mixing and flow.
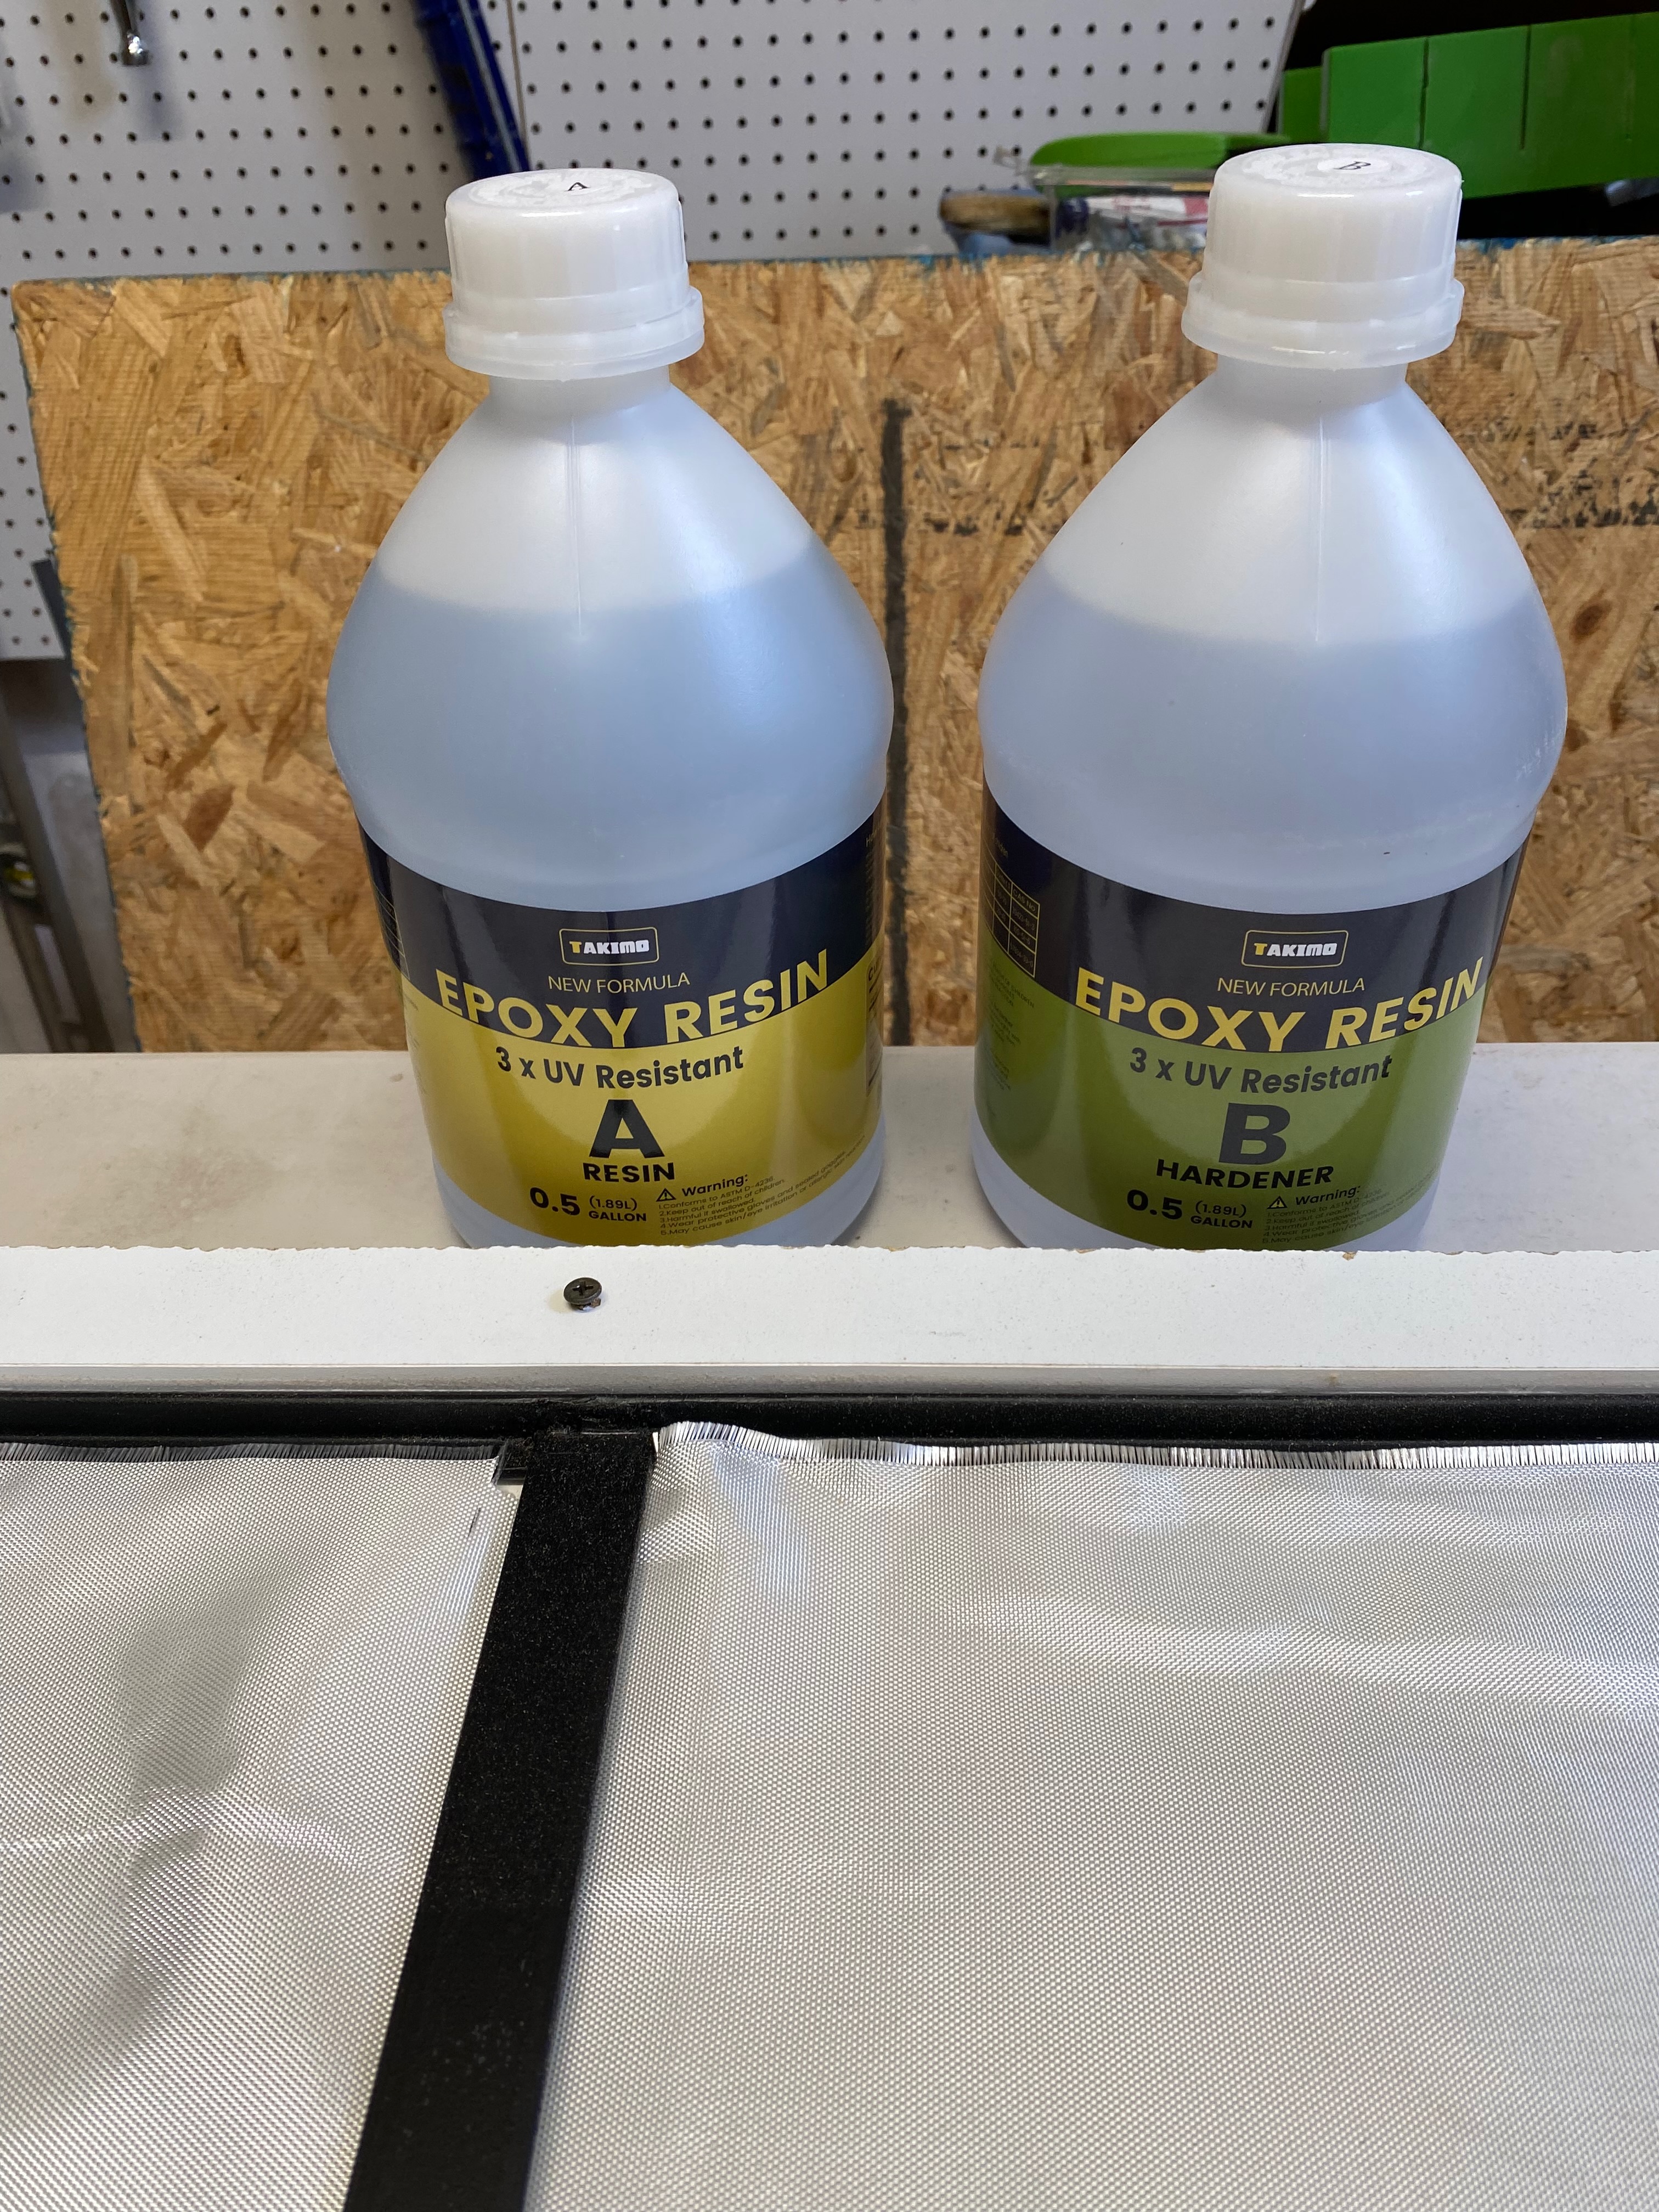
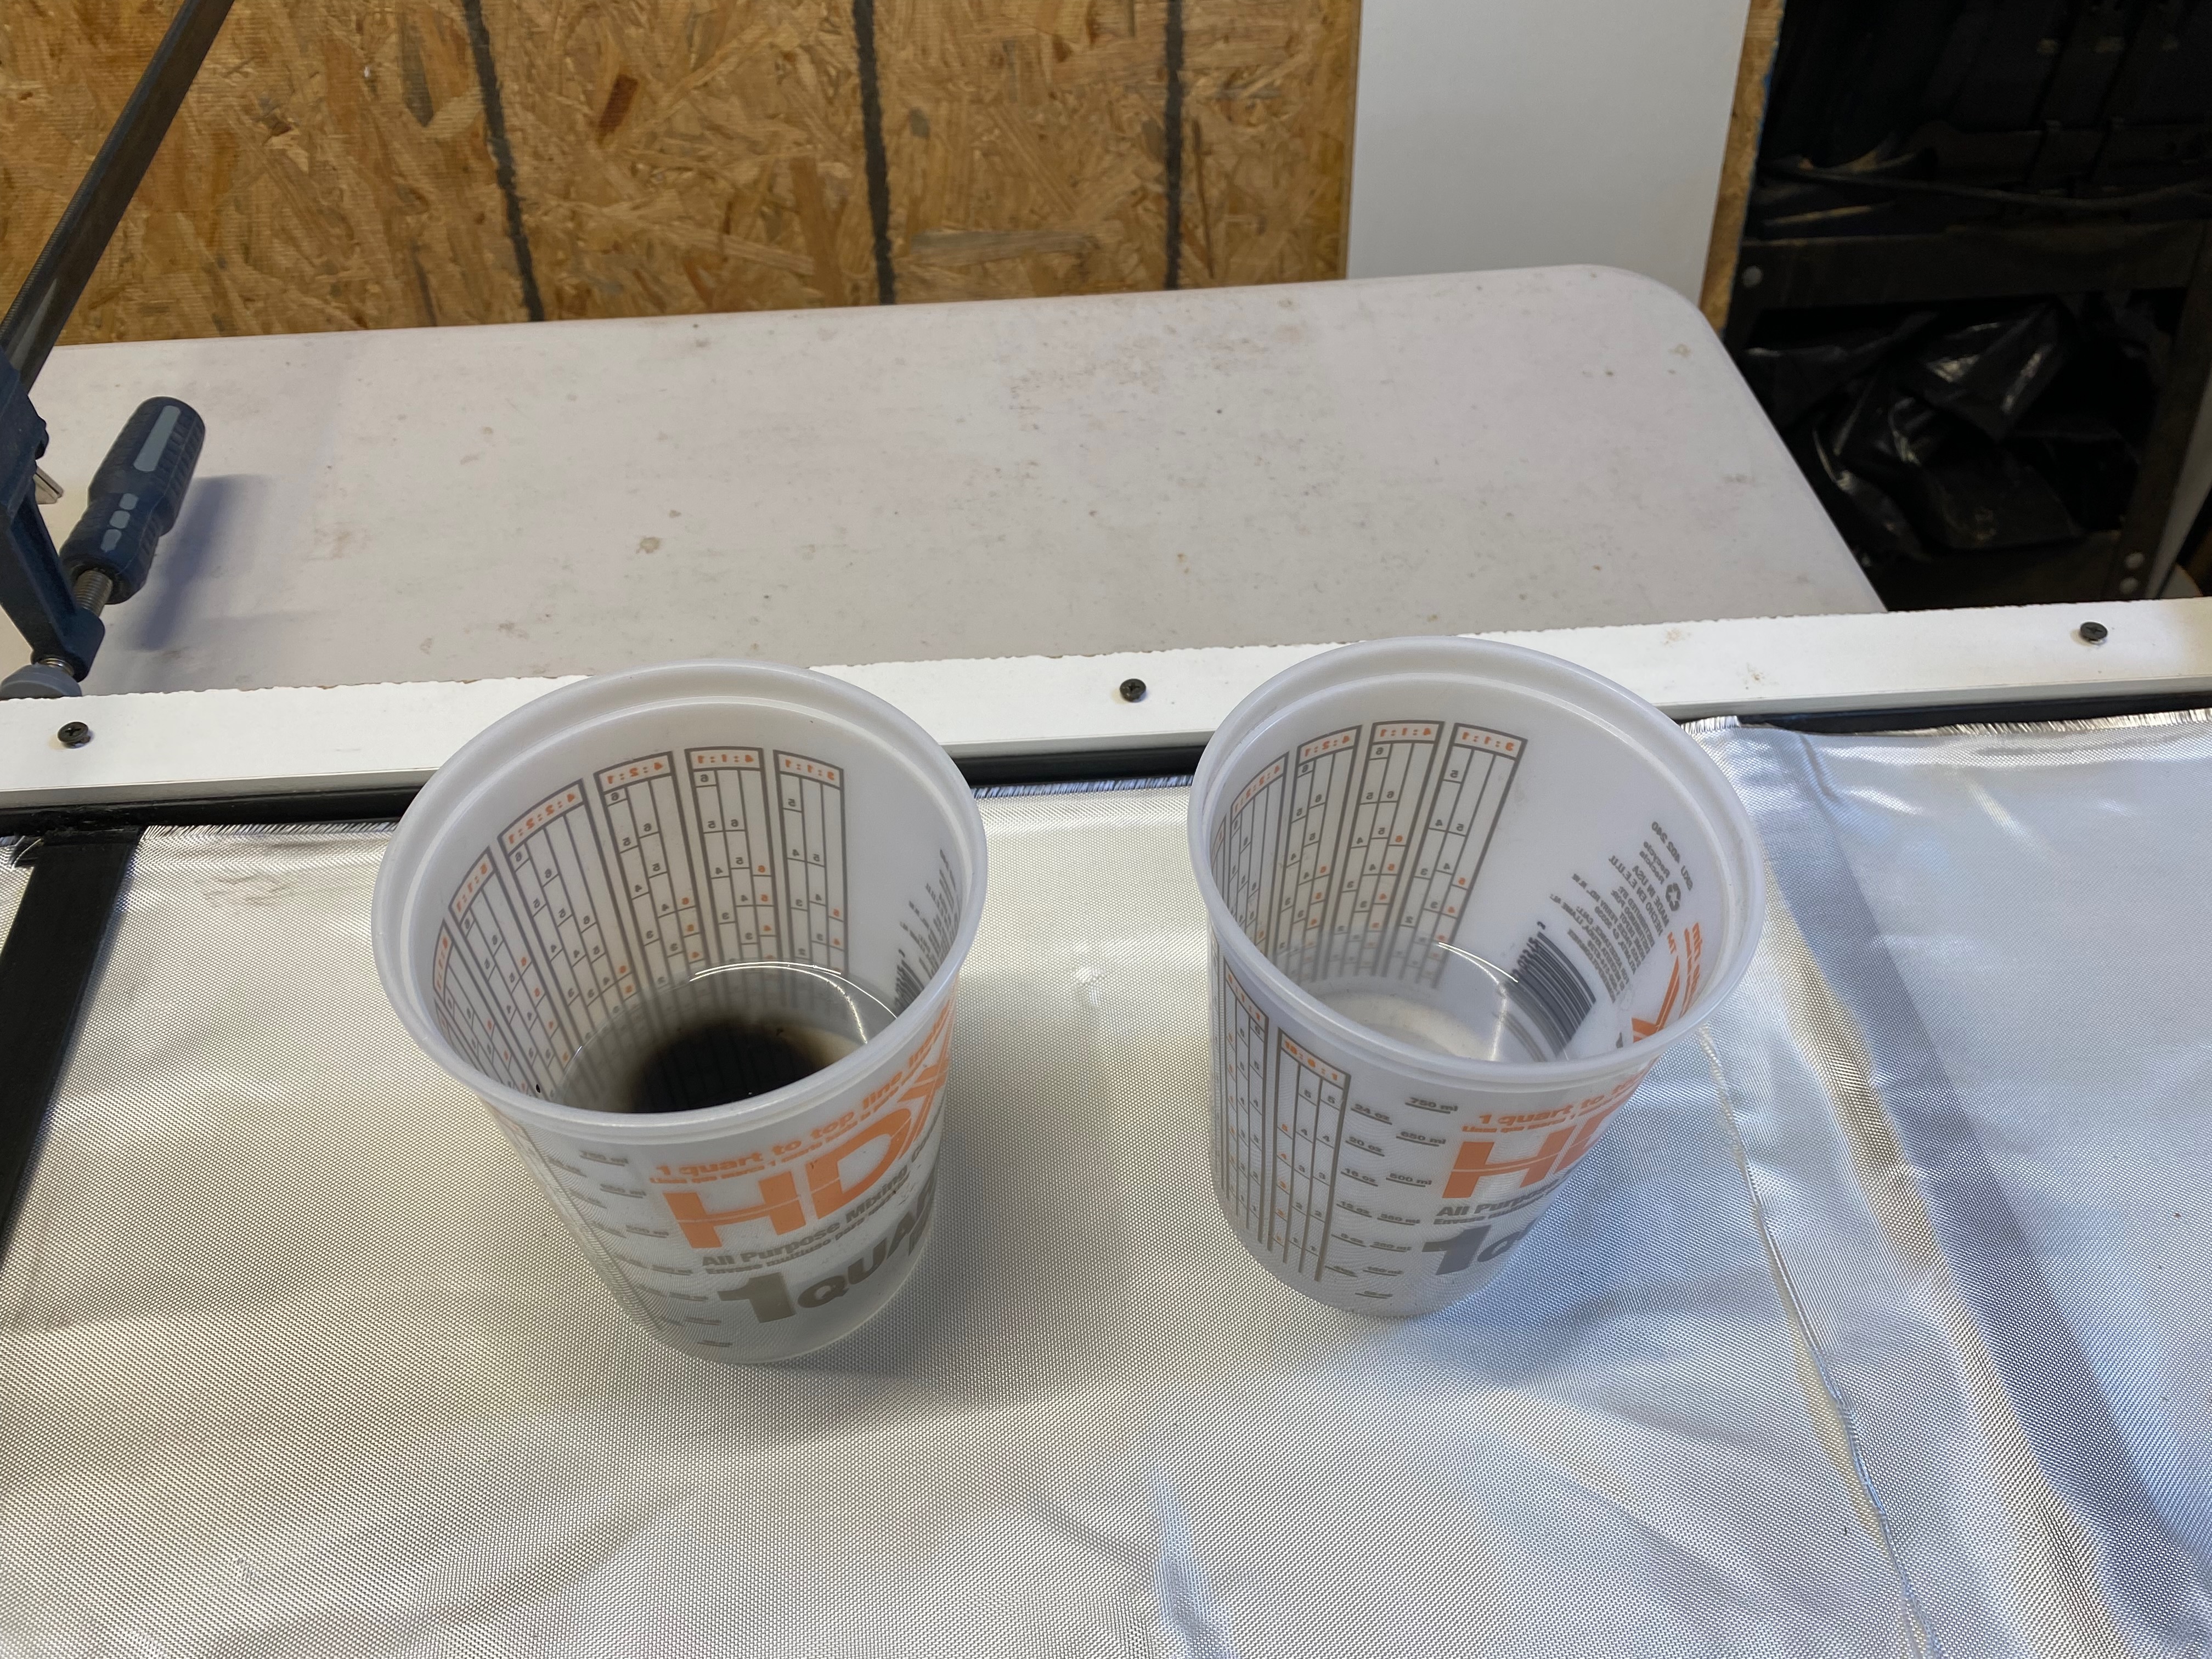
- Lay the fiberglass cloth into the bottom of the panel.
- Mix the resin and hardener and stir for the time recommended by the resin instructions.
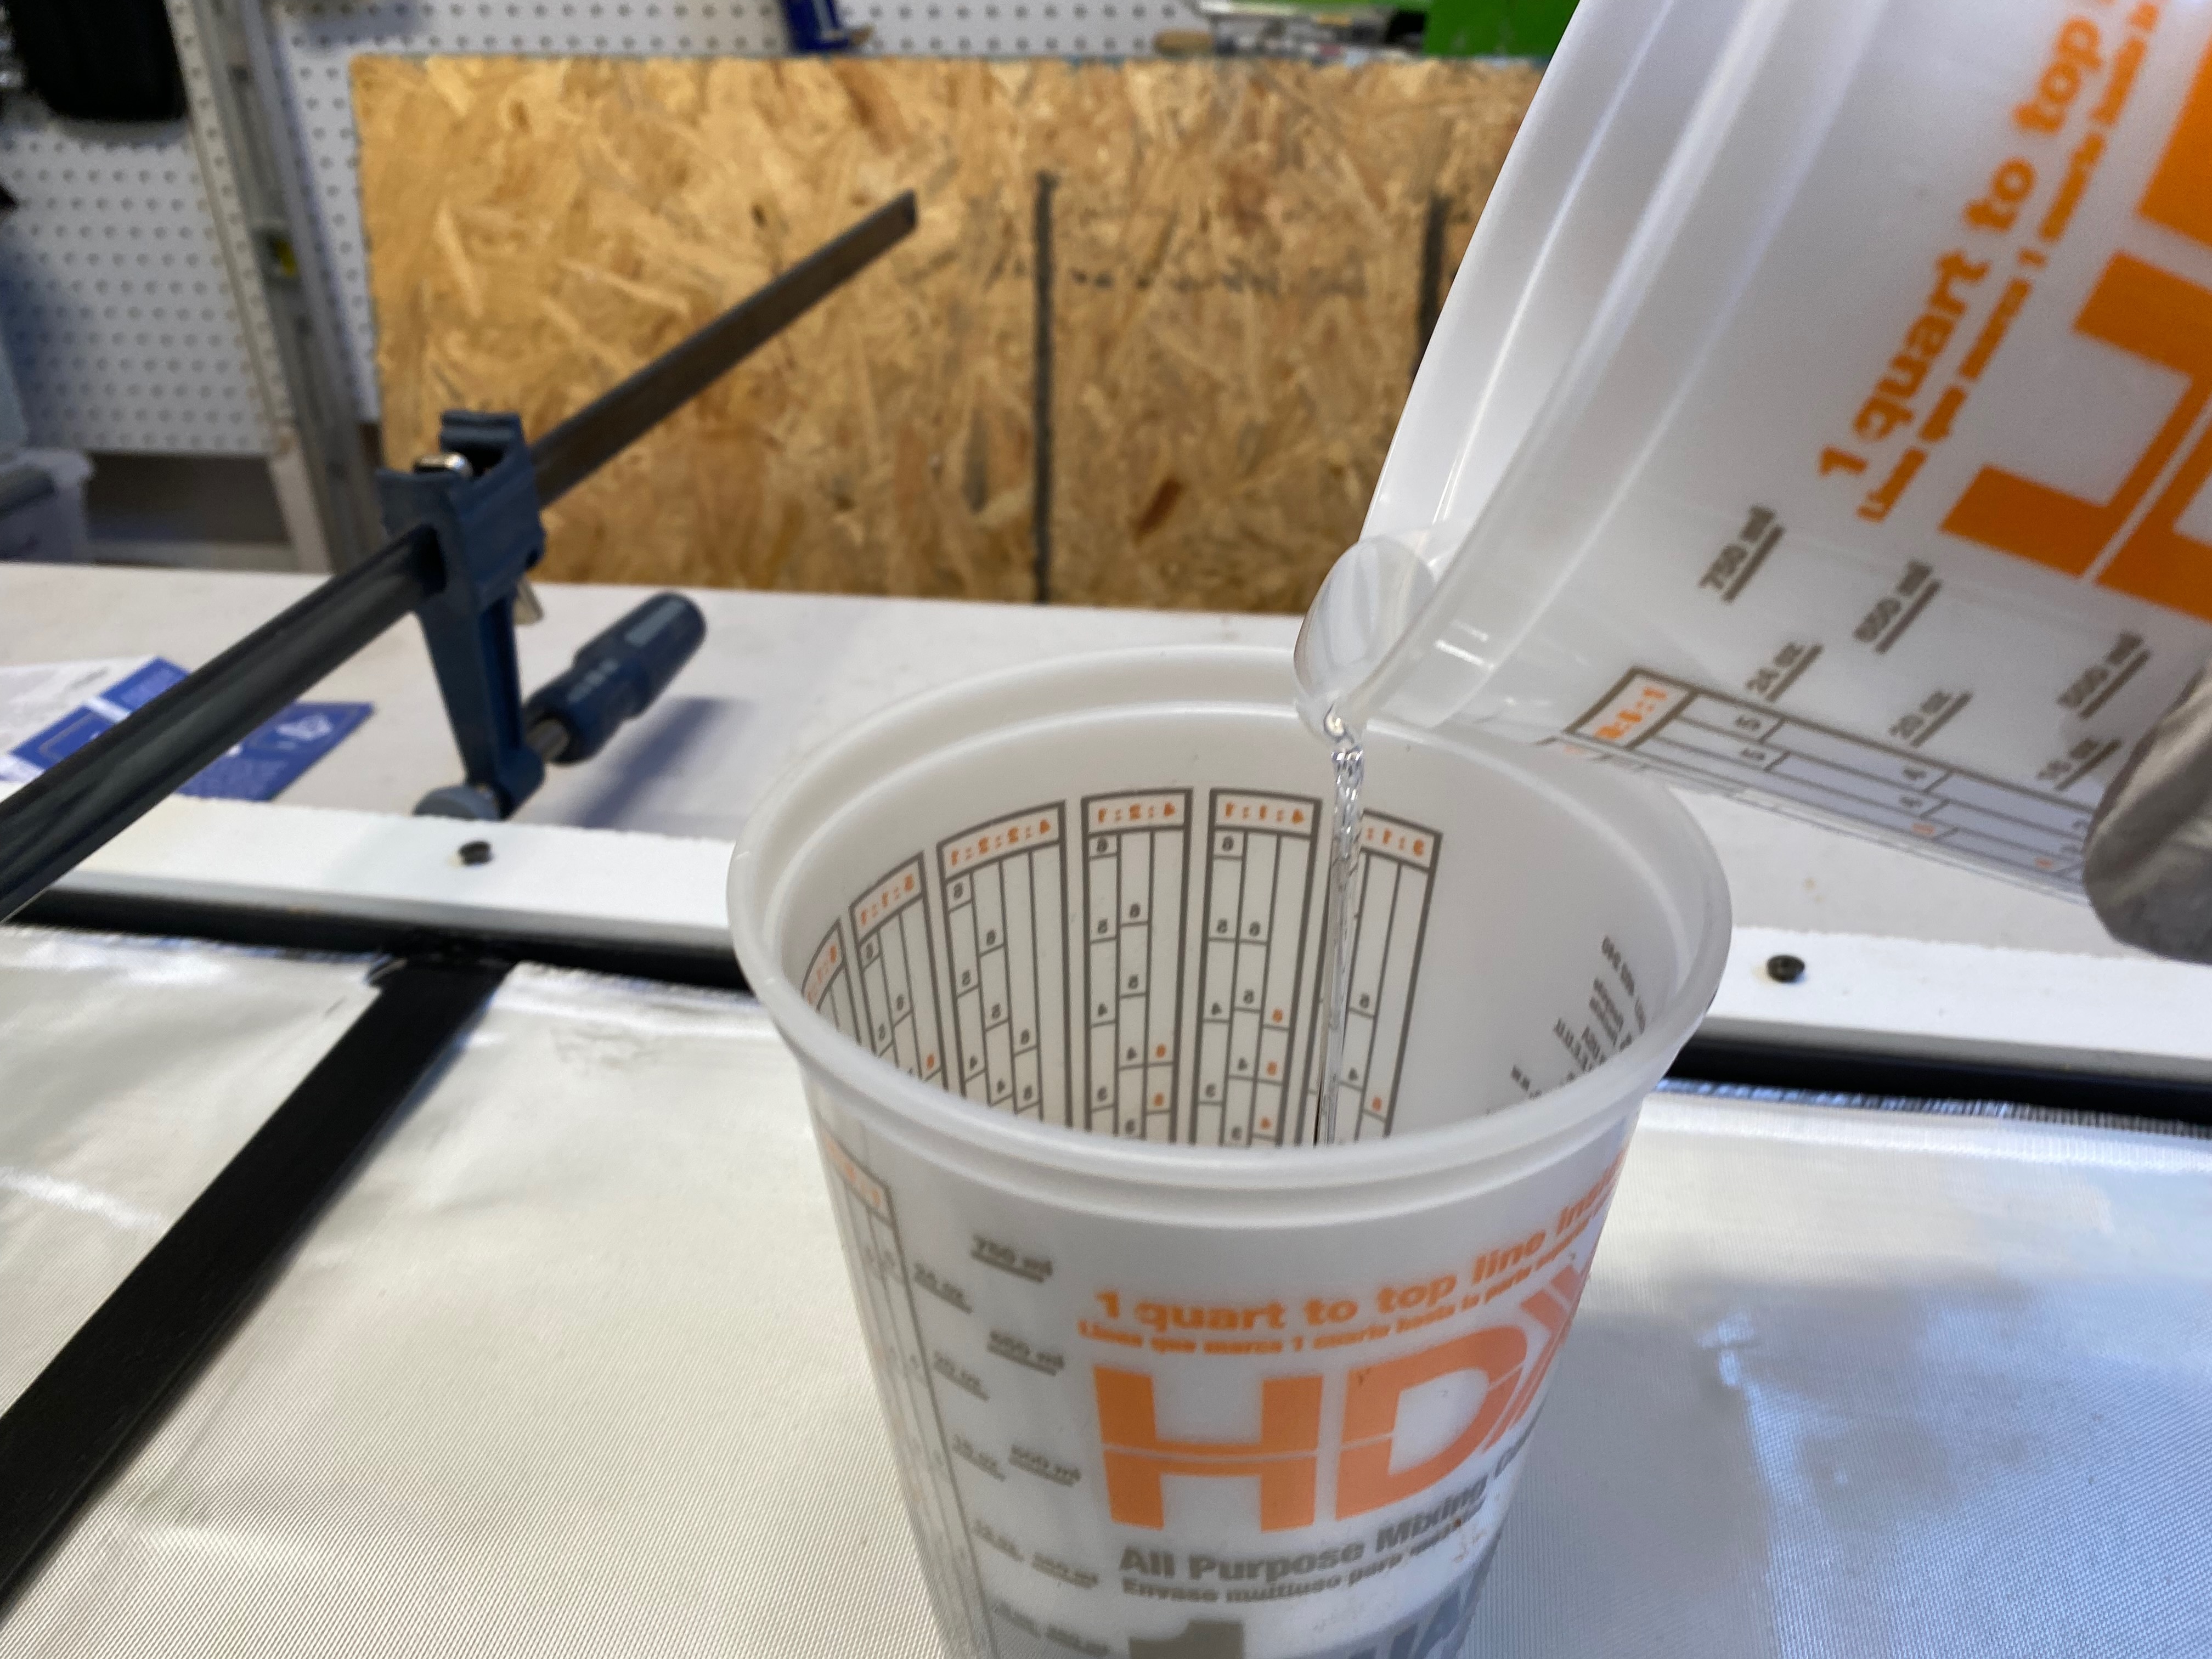
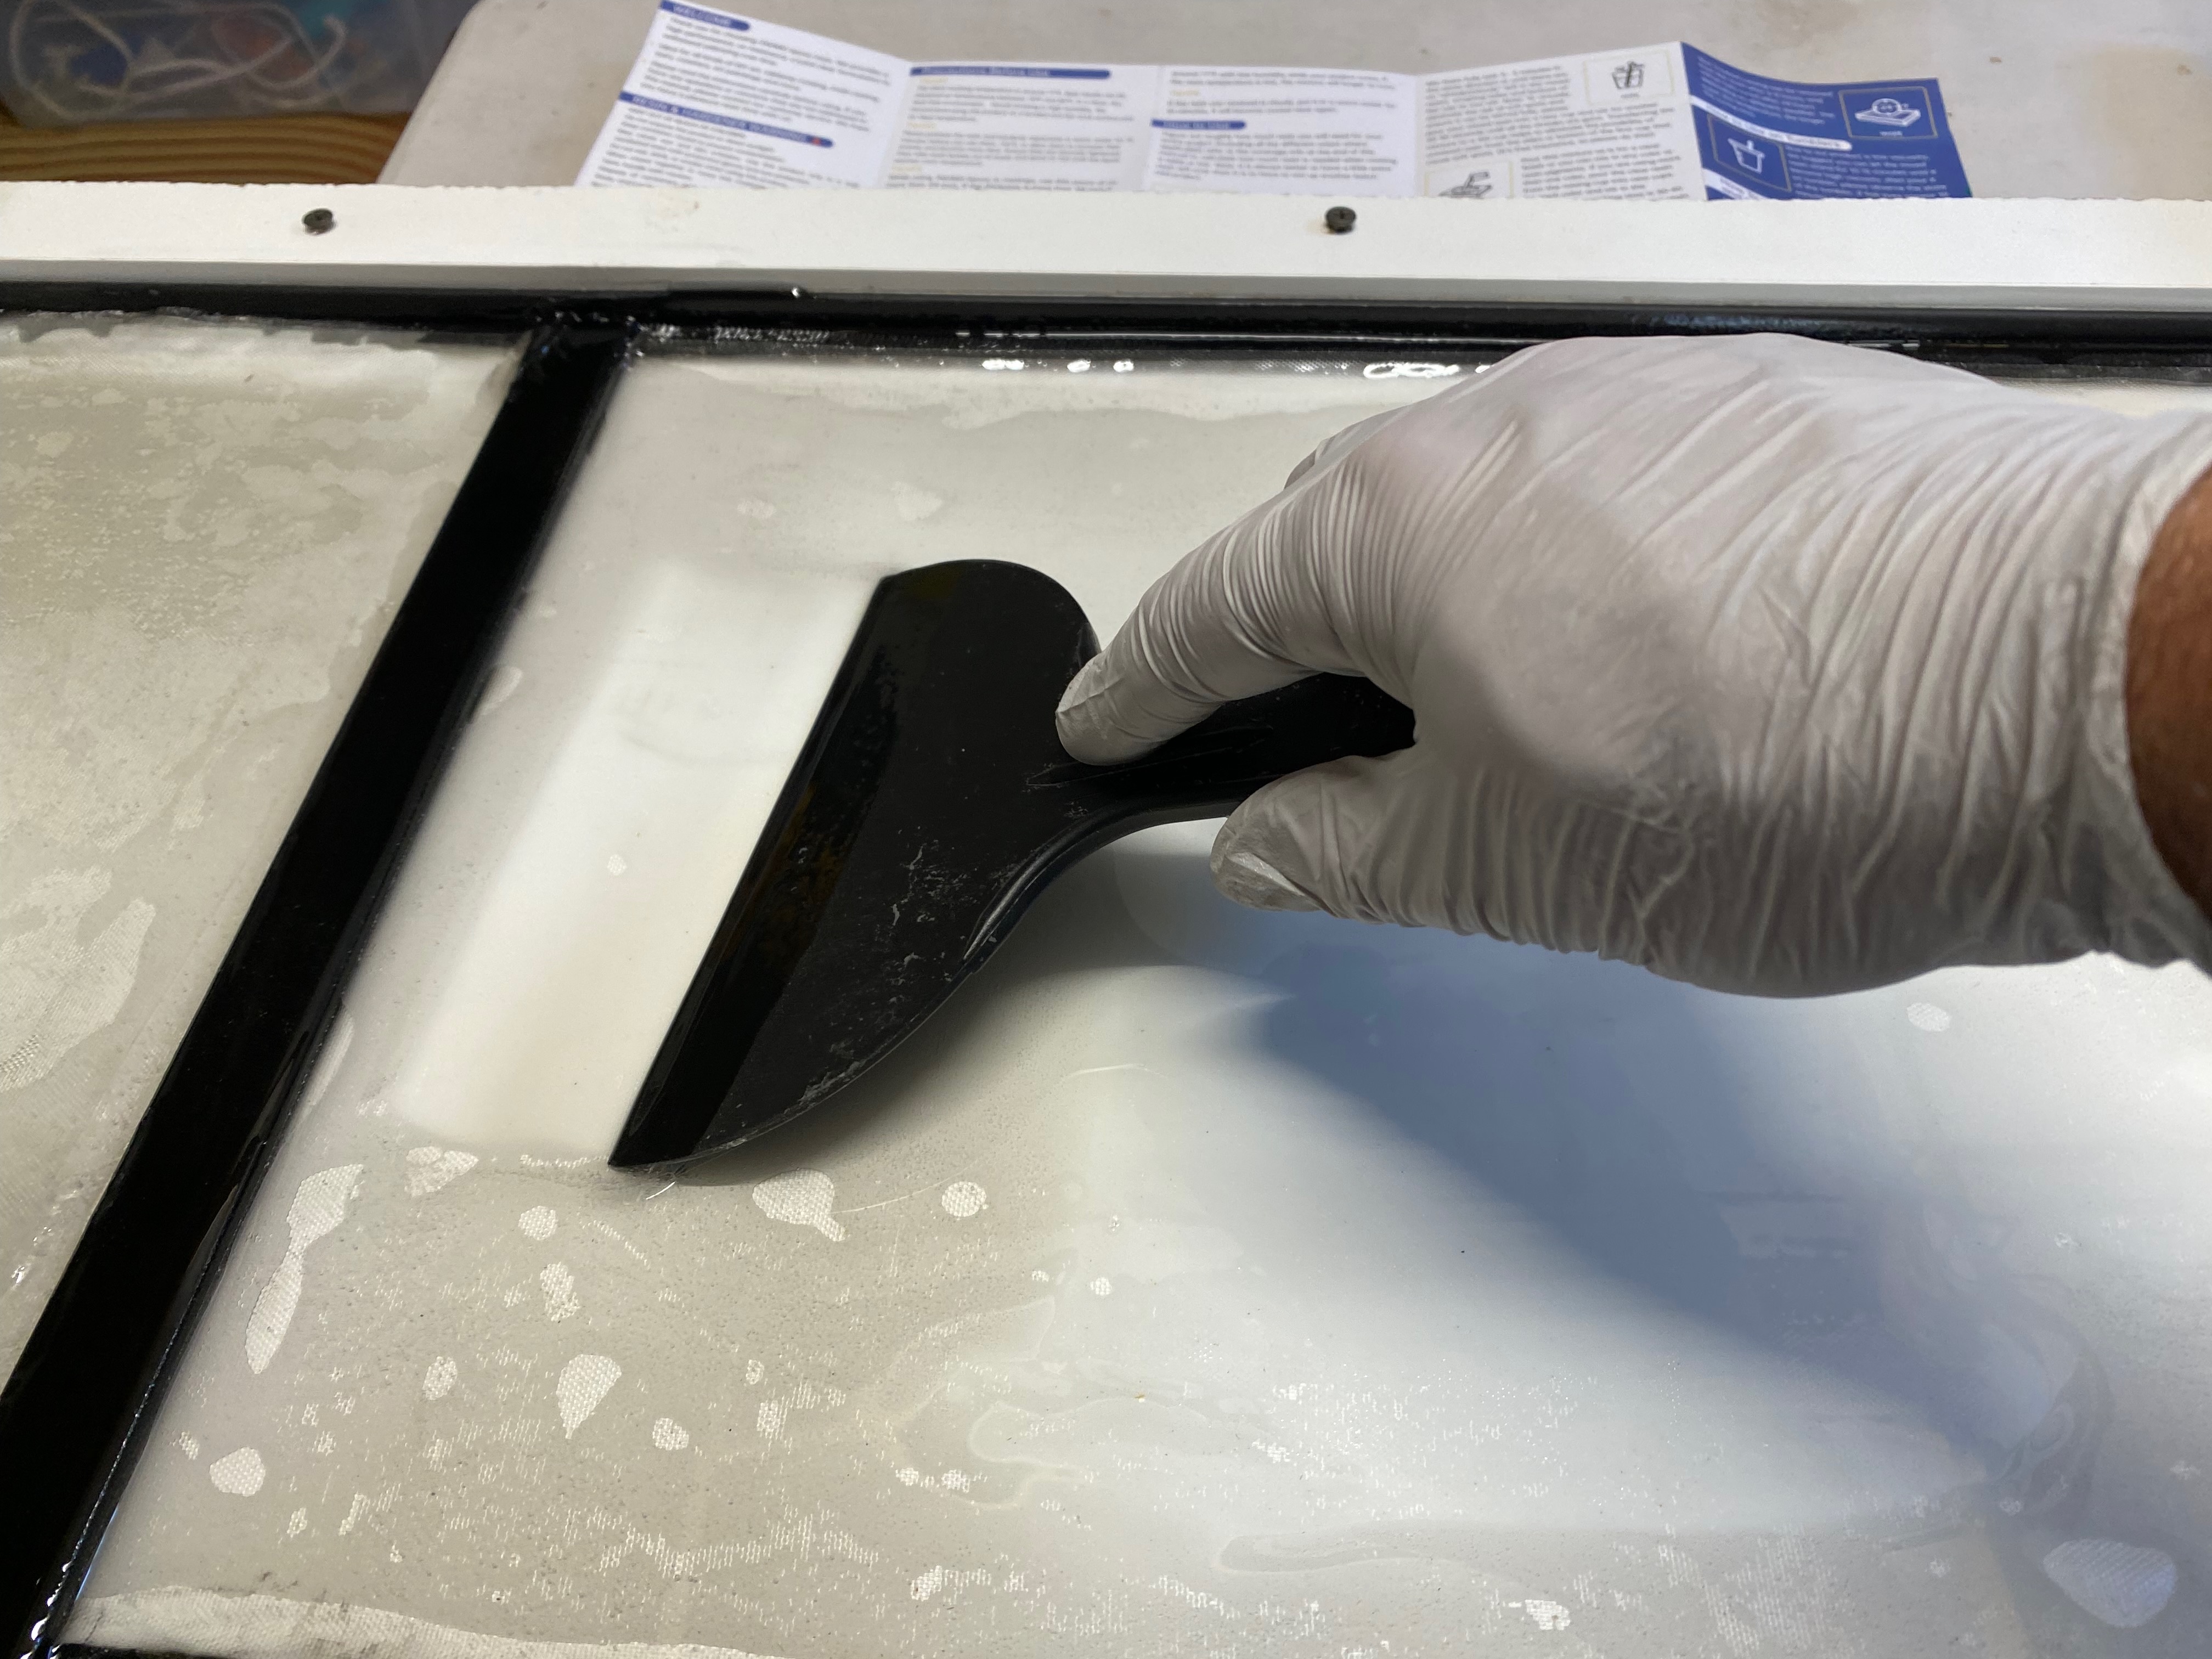
- Pour the 16 oz of resin over the fiberglass and squeegee it in, working out all the air pockets under the cloth.
- Let the back skin cure for 24 hours.
3. Remove Amine Blush
Epoxy produces a waxy byproduct called amine blush as it cures. Wash the cured fiberglass skin with warm water, dish soap, and a Scotch-Brite pad. Dry completely.
4. Drill Wire Exits
Measure exactly 2 inches inward from the steel frame on the cured back skin. Drill two holes just wide enough for your flat bus wire to pass through.
Previous: Phase 1 — Frame Prep & Bonding Surface Next: Phase 3 — Cell Placement & Routing